Hats Off to Microgreens—Nature’s Little Powerhouses!
Since their introduction into the California restaurant scene back in the ‘80s, microgreens have steadily gained popularity. These aromatic baby herbs (called by some chefs “vegetable confetti”), they’re rich in flavor and packed with antioxidants (often containing higher nutrient levels than more mature vegetable greens). Some researchers call them “nature’s little powerhouses.”
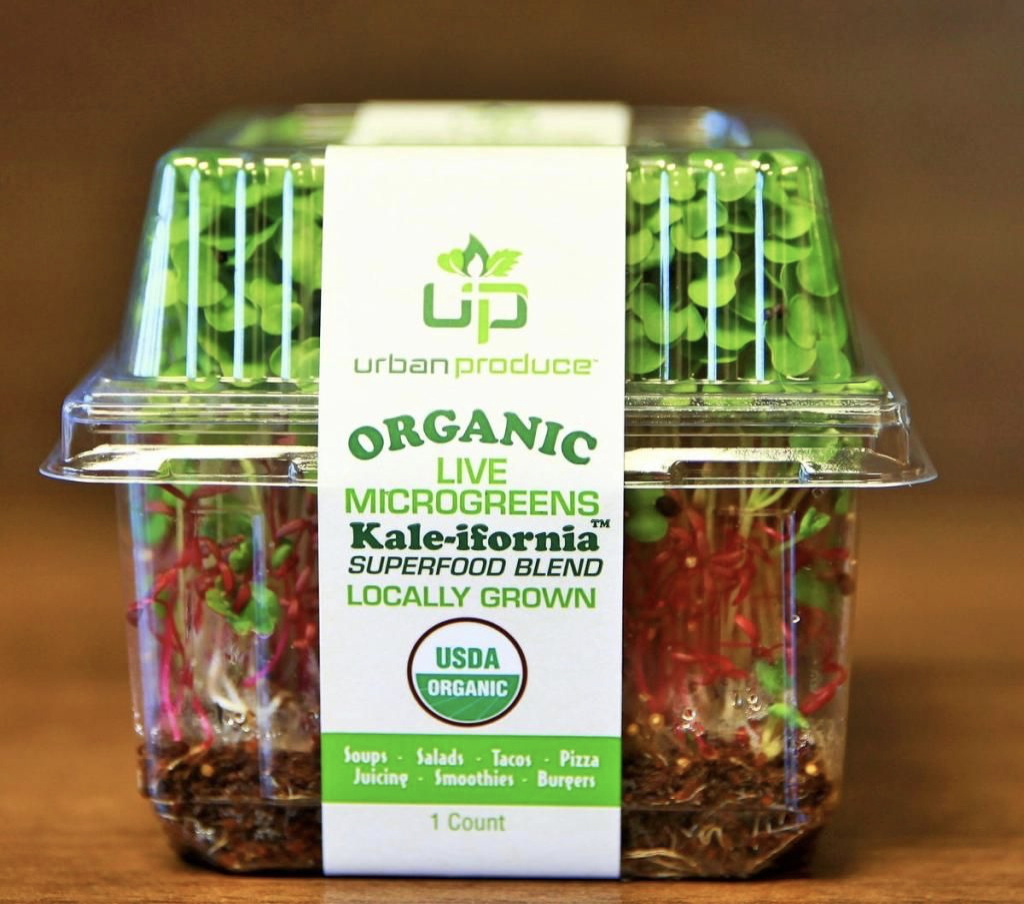
At approximately 1- to 3-inches tall, these tasty morsels shouldn’t be confused with sprouts. Sprouts don’t have leaves. Microgreens do. Also, don’t confuse them with baby greens. Unlike baby greens, micros are much smaller in size and can be sold before being harvested.
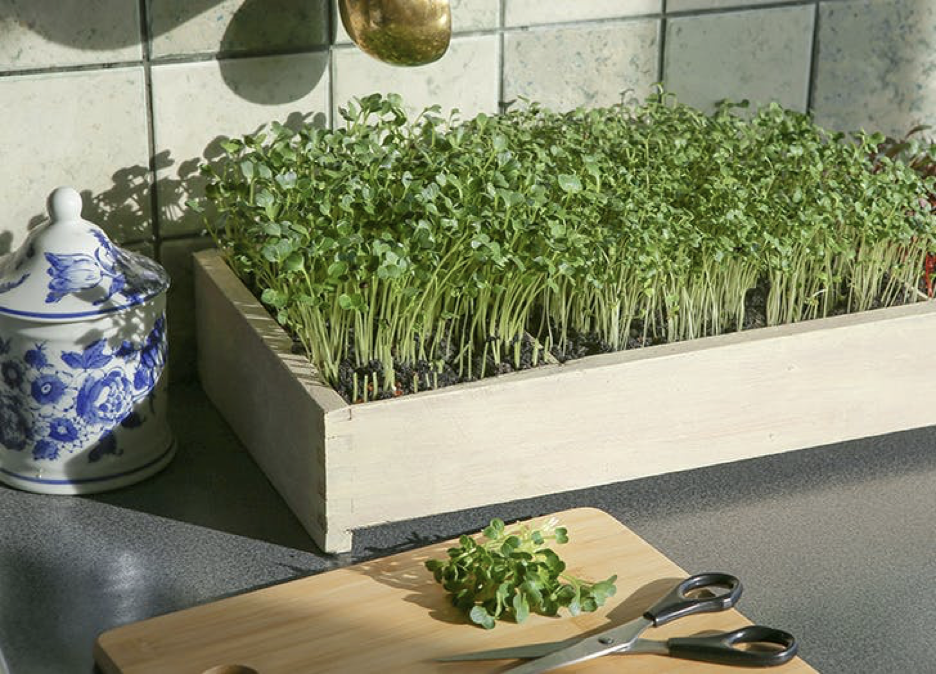
This means that micros can be bought whole and cut at home. In other words, you can keep cutting them; they’ll grow back a few times. And they’re easy and convenient to grow, as they can be grown in a variety of locations, including outdoors, in greenhouses, and especially in your windowsill.
They vary in taste, ranging from neutral to spicy, to slightly sour or even bitter, depending on the variety. Generally speaking, their flavor is considered strong and concentrated. The most popular micros include cauliflower, broccoli, cabbage, watercress, radish, and arugula; lettuce, endive, chicory, and radicchio; dill, carrot, fennel and celery; garlic, onion, and leek; amaranth, quinoa swiss chard, beet, and spinach; melon, cucumber, and squash.
Cereals such as rice, oats, wheat, corn and barley, as well as legumes like chickpeas, beans and lentils, are also sometimes grown into microgreens.
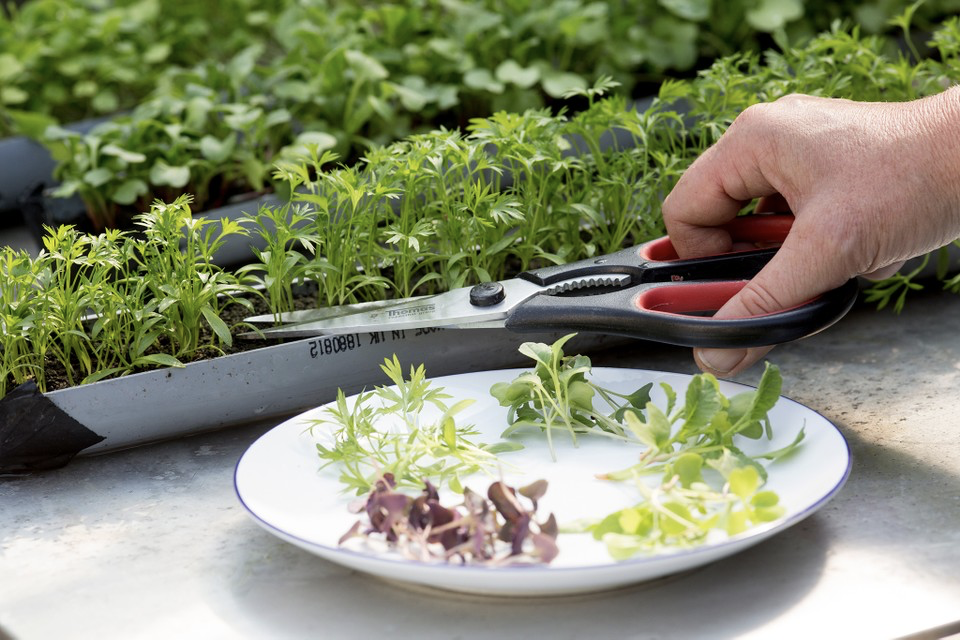
As with sprouts, microgreens make a delicious addition to salads, sandwiches, burgers, and wraps. A favorite use at our house with pita pockets. They can also be blended into smoothies or juiced. (Wheatgrass juice is a popular example of a juiced microgreen.)

And like baby spinach, another good use is to add them to your pizza toppings. They’re also tasty in soups, omelets, curries and other warm dishes.
Because micros can be expensive when you can find them in the grocery store, lots of folks are growing their own now. This could be considered a very low-maintenance garden, as they don’t need much equipment or time. And you can grow them year-round. To start your own microgreen garden, you need:
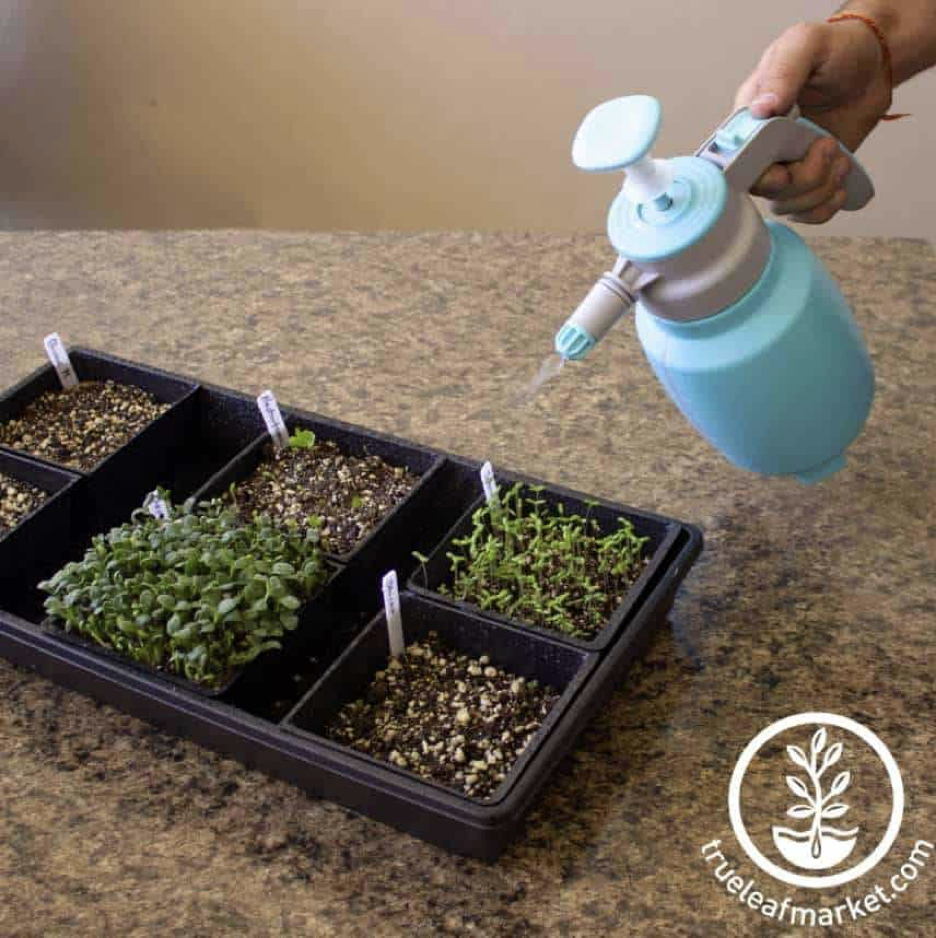
Then fill your container with soil (being careful not to over-compress it), and water lightly. Sprinkle your seeds atop the soil as evenly as possible. Lightly mist your seeds with water and cover your container with a plastic lid. Check on your tray daily and mist water as needed to keep the seeds moist.
A couple of days after the seeds have germinated, you can remove the plastic lid to increase their light exposure. Water once a day while your microgreens grow and gain color. After 7–10 days, your microgreens should be ready to harvest.
While I’m not sure I’d be growing my own right now, I think this information is worthwhile to store away. We never know when we might be in a situation where this would be a good answer to a food shortage, or some such challenge. The more we know, the better we can cope, right? Meanwhile, hats off to microgreens—nature’s little powerhouses!
At approximately 1- to 3-inches tall, these tasty morsels shouldn’t be confused with sprouts. Sprouts don’t have leaves. Microgreens do. Also, don’t confuse them with baby greens. Unlike baby greens, micros are much smaller in size and can be sold before being harvested.
This means that micros can be bought whole and cut at home. In other words, you can keep cutting them; they’ll grow back a few times. And they’re easy and convenient to grow, as they can be grown in a variety of locations, including outdoors, in greenhouses, and especially in your windowsill.
They vary in taste, ranging from neutral to spicy, to slightly sour or even bitter, depending on the variety. Generally speaking, their flavor is considered strong and concentrated. The most popular micros include cauliflower, broccoli, cabbage, watercress, radish, and arugula; lettuce, endive, chicory, and radicchio; dill, carrot, fennel and celery; garlic, onion, and leek; amaranth, quinoa swiss chard, beet, and spinach; melon, cucumber, and squash.
Cereals such as rice, oats, wheat, corn and barley, as well as legumes like chickpeas, beans and lentils, are also sometimes grown into microgreens.
As with sprouts, microgreens make a delicious addition to salads, sandwiches, burgers, and wraps. A favorite use at our house with pita pockets. They can also be blended into smoothies or juiced. (Wheatgrass juice is a popular example of a juiced microgreen.)
And like baby spinach, another good use is to add them to your pizza toppings. They’re also tasty in soups, omelets, curries and other warm dishes.
Because micros can be expensive when you can find them in the grocery store, lots of folks are growing their own now. This could be considered a very low-maintenance garden, as they don’t need much equipment or time. And you can grow them year-round. To start your own microgreen garden, you need:
- Good-quality seeds.
- A container filled with potting soil or homemade compost.
- Proper lighting — either sunlight or ultraviolet lighting, ideally for 12–16 hours per day.
Then fill your container with soil (being careful not to over-compress it), and water lightly. Sprinkle your seeds atop the soil as evenly as possible. Lightly mist your seeds with water and cover your container with a plastic lid. Check on your tray daily and mist water as needed to keep the seeds moist.
A couple of days after the seeds have germinated, you can remove the plastic lid to increase their light exposure. Water once a day while your microgreens grow and gain color. After 7–10 days, your microgreens should be ready to harvest.
While I’m not sure I’d be growing my own right now, I think this information is worthwhile to store away. We never know when we might be in a situation where this would be a good answer to a food shortage, or some such challenge. The more we know, the better we can cope, right? Meanwhile, hats off to microgreens—nature’s little powerhouses!
Sources:
- www.pinterest.com
- www.purewow.com
- www.sidechef.com
- www.trueleafmarket.com
- www.gardenersworld.com
 Alice Osborne
Weekly Newsletter Contributor since 2006
Email the author! alice@dvo.com