High Speed Blenders Make Much More than Smoothies
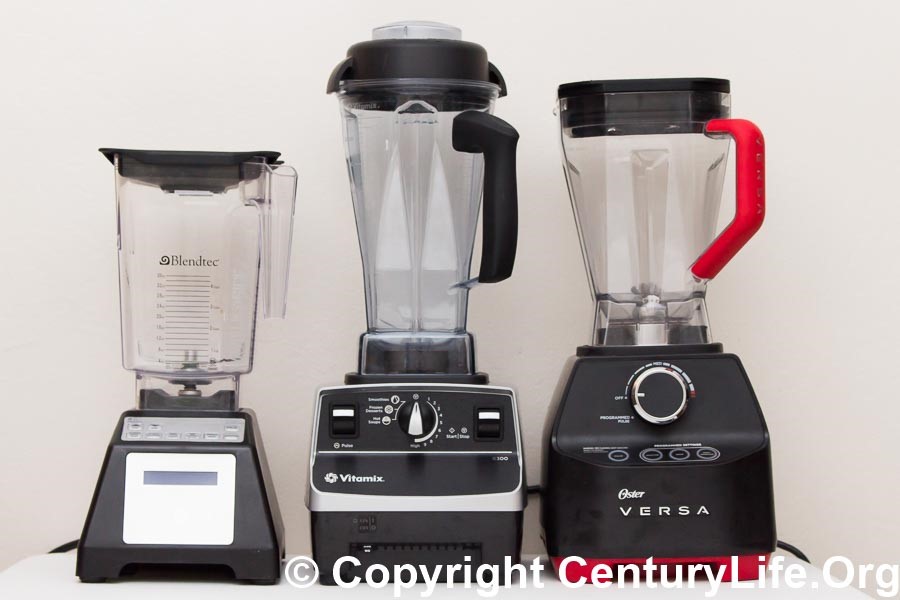
If you don't have a high speed blender (Blendtec, Vitamix, etc.) yet, let me share some good reasons for seriously considering getting one.
I got my first one in the 1980s, way before smoothies were the chi-chi thing to do. I saw it demonstrated at our Benton-Franklin Country Fair and was overwhelmed with desire for this gem. It took me 12 months to save for it, and the following year, at the aforementioned Benton-Franklin County Fair, I purchased my treasured Vitamix.
That machine has performed flawlessly for over 30 years. I gave it to my oldest daughter a couple years ago and got a Blendtec. I used the Blendtec for a year and then gave it to my youngest daughter. We replaced it with another Vitamix. My point is, since 1985 I've never missed a day without using a high speed blender and our kids are following suit.
It's such a smart and efficient tool. Sure, it does things standard blenders can do, like make smoothies, but that's just the beginning. Because it is such a smart and powerful tool, you shouldn't stop at smoothie-making. For instance, here are some unique things a high speed blender can do, and do really well:
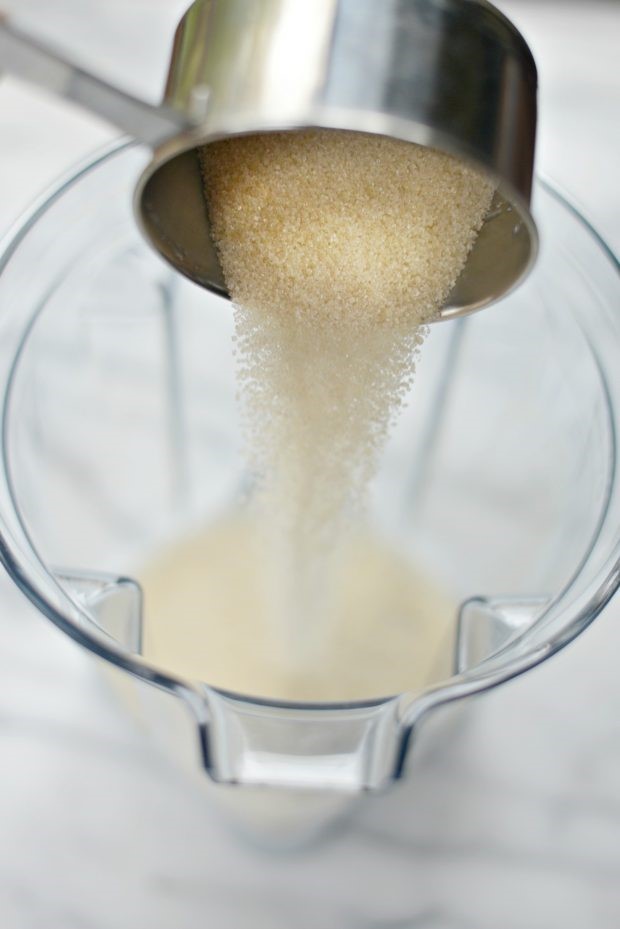
- Make your own powdered sugar. Who hasn't started a dessert recipe and realized well into the middle of it that there's not enough powdered sugar on hand? Grrrrrr, right? Well, save yourself a trip to the grocery store and DIY it. A high-speed blender's powerful motor can grind regular white sugar into floury powdered sugar very quickly. Just add a pinch of cornstarch to prevent it from clumping and you're back in business.
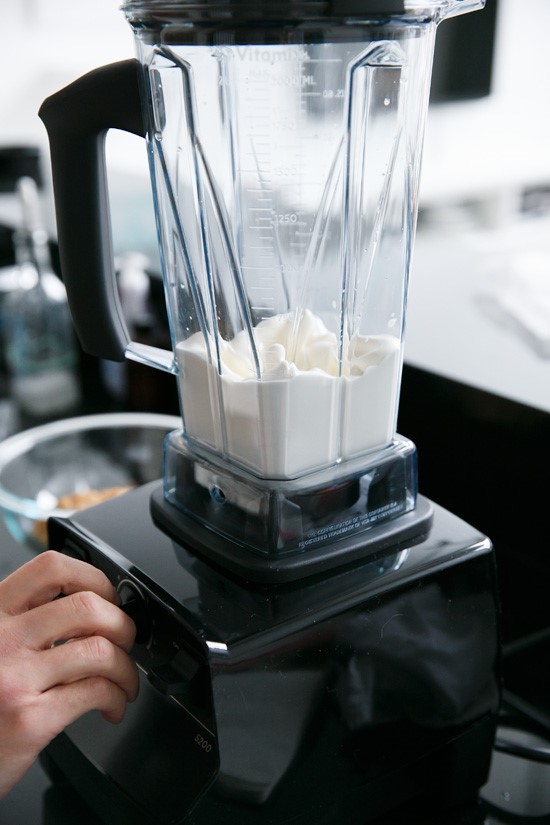
- Churn out freshly whipped cream. A high-speed blender makes easy work out of whipping cream. The result is light and fluffy, while your hands are free to work on something else! Just pour heavy cream into the container and blend on high until soft peaks form.
- Grind cracked wheat cereal, or make gluten-free, whole grain flour. A high-speed blender can grind oats, coconut, rice, and quinoa into flour. This is especially nice to know if you eat gluten free-you can save a LOT of money by making your own non-gluten flours.
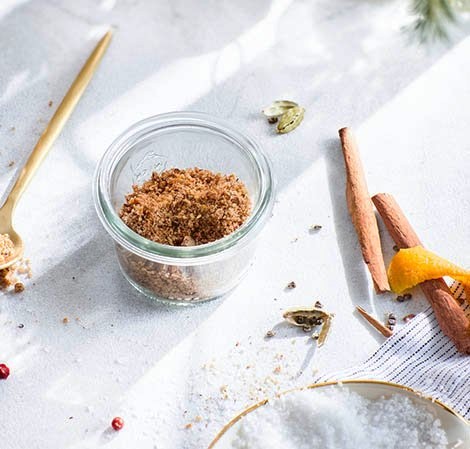
- Heat and cook things. Since the motor of a high-speed blender is so powerful, it can actually heat and cook things as it blends. If you toss a bunch of vegetables in it, along with some broth, you can actually blend up a container of piping-hot soup. It will even make rich and creamy lemon curd (No more fussing over the stove!).

People love this idea so much that the chefs at Vitamix actually created their own recipe for no-stove-top lemon curd that only takes 5 minutes to prep and 5 or 6 minutes to "cook." This is the perfect filling for lemon bars, by the way. Reviewers who tried this love it and share some tips: First have EVERYTHING at room temperature; second, try using Meyers lemons for an even better flavor; and third, you can use less sugar (if you find 1 cup makes the curd too sweet) and still have a terrific outcome.

Easy Blender Lemon Curd

Cook time:
Yield: 2 cups
Serving size: 1
Calories per serving: 1,070
1 tablespoon finely grated lemon zest (from 1 lemon)
1/2 cup freshly squeezed lemon juice (from 3 to 4 lemons)
5 large eggs
1 cup sugar
1/8 teaspoon kosher salt
1/2 cup unsalted butter cut into 8 pieces, at room temperature
Directions:
Reduce the speed to medium, remove the lid plug, and carefully add the butter one cube at a time. Once all the butter is added, blend for 30 seconds more until glossy.
Remove the lid carefully (steam will be releasing) and transfer the curd to a glass jar or other heat-proof container to cool to room temperature, about 20 minutes. Cover and refrigerate to thicken and set overnight.
RECIPE NOTES
Storage: The lemon curd can be stored in an airtight container in the refrigerator for up to 5 days or frozen for up to 3 months. Defrost in the refrigerator overnight.
Recipe formatted with the Cook'n Recipe Software from DVO Enterprises.
Now one last thought-another way I use my high speed blender. Years ago I bought a used blender container from Vitamix (they sell used parts and refurbished blenders on their website, www.vitamix.com) for the purpose of cold composting. Here's a tutorial on the topic from www.plant-powered.com:
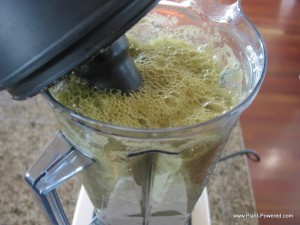
"Cold composting is closer to nature's way. Organic material is directly applied in a thin semi-liquid laying on the soil's surface, without being 'cooked' like hot composting, and is allowed to break down naturally.
"Composting with [a high speed blender] gives you the best of hot and cold composting. Pureeing organic kitchen scraps will not bring the temperature of the compost above 160 degrees F (71 C), thus retaining the beneficial microorganisms and nutrients.
["By using a high speed blender], you avoid putting any weed seeds into the compost. And if any do make it into the container, they are destroyed by the action and speed of the blades.
"And because the compost is immediately applied after it's made, it's ... a fast and easy composting method.
"All you need to make free, super nutrient-dense compost is
- A spare wet blade container (never use your normal food container for composting or making fertilizers and natural pesticides.) Loosely fill the container to the 6-cup mark with leftovers that you would normally run through a garbage disposal. (Don't compost the ends of banana peels or certain things that could put a strain on your blender motor.)
- 1/4 cup cottonseed meal for each batch (this establishes "proper carbon-to-nitrogen ratio).
- Water to cover the produce scraps.
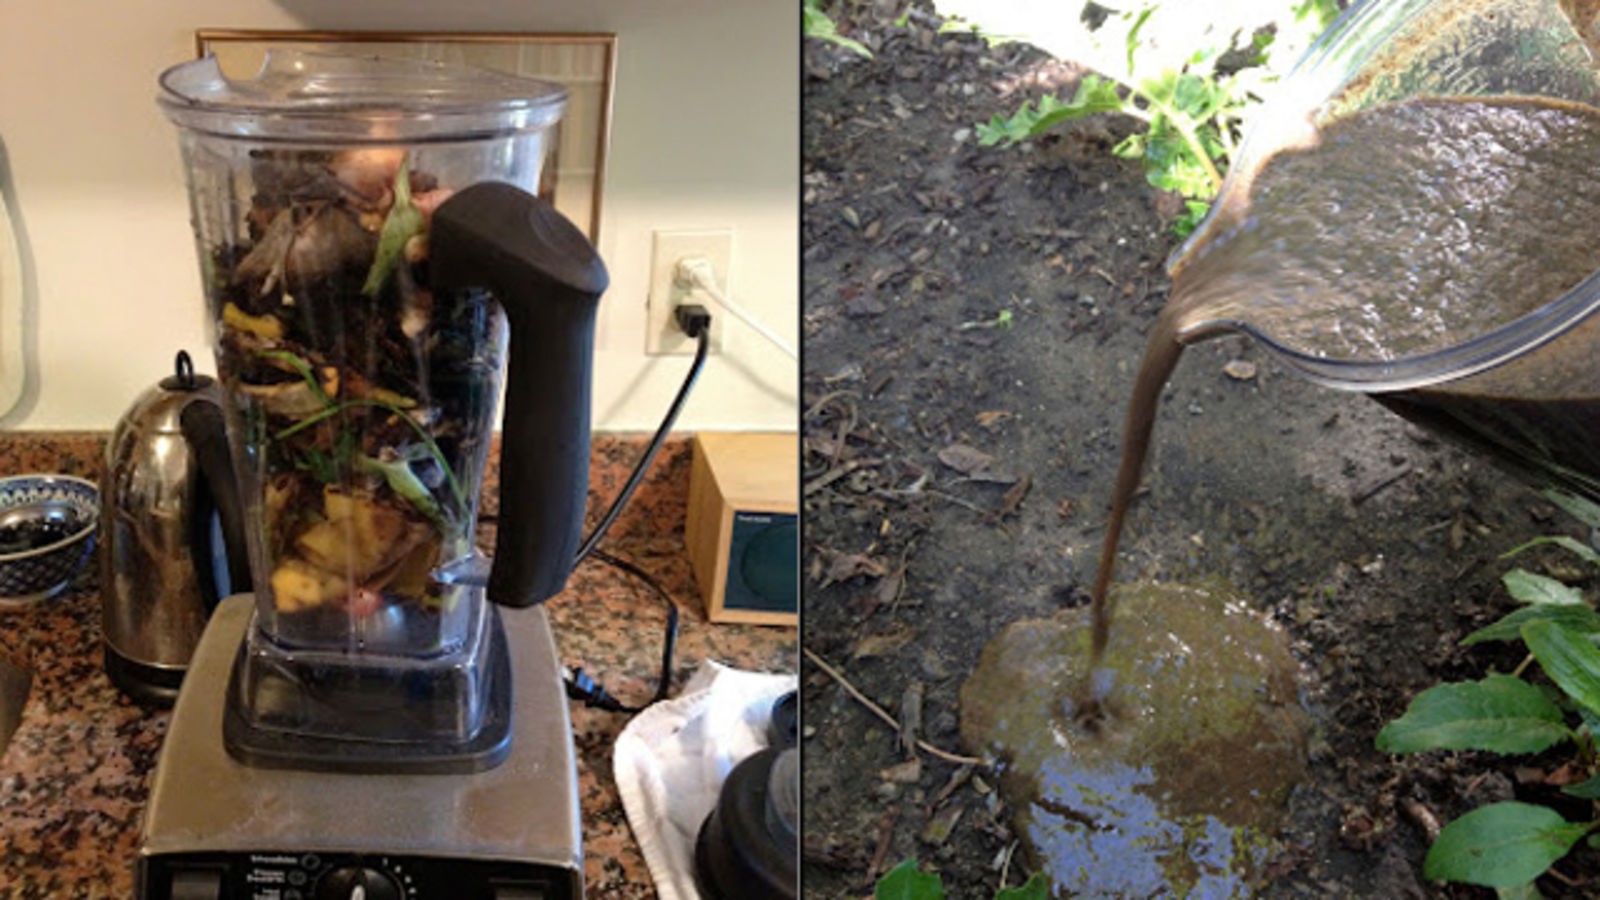
Blend for 1-2 minutes, starting on LOW and moving to HIGH. Immediately after making the puree, pour it on the soil around your plants. Wait a day to allow the puree to seep in. Gently till the soil one to two inches deep."
- www.lifehacker.com
- www.plant-powered.com
- www.ohsweetbasil.com
- www.vitamix.com
- www.pinterest.com
- www.loveandoliveoil.com
- www.simplyscratch.com
- www.amazon.com
- www.centurylife.org
 Alice Osborne
Weekly Newsletter Contributor since 2006
Email the author! alice@dvo.com