Keep Whipped Cream Stiff, Longer!
Wouldn’t it be wonderful if the consistency of our whipped cream was the same the second day as it was the first? You know what I mean…the second day it’s started to get a little limp or runny. Dang.
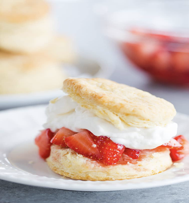
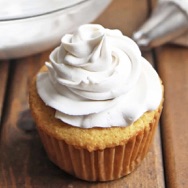
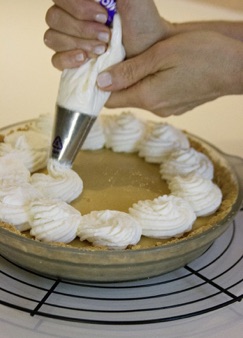
No big deal, perhaps, if all you’re using it for is to top your strawberry shortcake. But if you’d like to pipe it onto cupcake tops, for instance, then you want it to stay stable longer. Stable longer…is this possible?

Yes it is! While keeping whipped cream fresh longer can be tricky, it’s not rocket science. On a great site, Veena Azmanov: Cake Artist and Food Enthusiast (www.veenaazmanov.com), I found five simple and easy ways to stabilize whipped cream. I tried one of her methods on a dessert this past Sunday, and 3 days later the whipped cream was still stiff and stable. It was then I knew I had to share Veena’s information with you.
(And by the way, here’s just a reminder that besides the standard vanilla, you can flavor whipped cream with anything from cocoa, lemon, cinnamon, coconut, maple, cherry, strawberry… the list goes on.)
METHOD 1: Gelatin. This is common in bakeries and commercial dessert shops. It usually has the most extended shelf life. Your whipped cream will hold its shape longest. It’s not vegetarian so perhaps not a choice for everyone. A substitute for gelatin is usually agar-agar. This can be tricky and you need to pay close attention to the temperature of gelatin when adding to the cream. Here’s the standard recipe:
Gelatin-Stabilized Whipped Cream
Serving size: 3
Calories per serving: 300
1 cup whipping cream
2 tablespoons sugar fine grain sugar, or honey
1 tablespoon gelatin (OR agar-agar if vegetarian)
2 tablespoons cold water
1 teaspoon vanilla extract or extract of your choice
Directions:
PREPARE GELATIN: Place the gelatin and water in a microwave-safe bowl. Let stand for two minutes. It will bloom and become soft. Place gelatin in a double boiler or microwave for a 10-sec interval until all the gelatin granules dissolve.
Set aside to cool but not set. This is very important. (Be sure that the gelatin is completely dissolved – not visible gelatin granules)
WHIP THE CREAM
Pour the whipped cream into a mixer bowl and mix on medium speed for 1 minute. Slowly add in sugar. Once the cream has reached between soft and stiff peaks, add a tablespoon or two of whipped cream to the gelatin to equalize the temperature. Combine the cream and gelatin well – this will ensure the gelatin does not seize when you add to the cold cream.
Now pour the gelatin mixture into the mixer bowl of whipped cream and continue to whisk. Do not over beat at this point. You will see the cream will hold stiff peaks.
It can used immediately to decorate cakes, pies, and other desserts. Spread or pipe as desired.
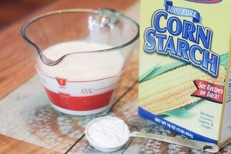
METHOD 2: Cornstarch. Here’s another way to stabilize you do is add it to the whipped cream after adding the sugar. The best proportions are 1 tablespoon for every 1 cup whipping cream.
METHOD 3: Confectioners’ Sugar/Powdered Sugar. Again what you are doing here is taking advantage of the starch in the confectioner’s sugar which usually is either cornstarch or potato starch. This is a home baker’s favorite approach. Use 3 tablespoons for every 1 cup whipping cream.
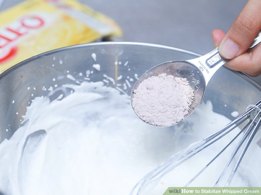
METHOD 4: Milk Powder. This works on two levels. First, it takes advantage of the starch in the milk powder which is usually cornstarch. Second, it adds a more milky flavor as compared that compliments the flavor of the whipped cream. Along with powdered sugar, this is the other favorite stabilizing choice amongst home bakers. You’ll use 3 tablespoons for every 1 cup whipping cream.
METHOD 5: Pudding Mix. Pudding mix already contains starch (cornstarch or arrowroot). The best proportions are 3 tablespoons for every 1 cup whipping cream.
Heartfelt thanks goes to Veena for generously sharing her tricks of the trade with all us home-bakers out there. Give any of these methods a try this spring and summer and see if the whipped cream on your desserts doesn’t stay stiff, longer!
- www.browneyedbaker.com
- www.leelalicious.com
- www.veenaazmanov.com
- www.pinterest.com
- www.wikihow.com
 Alice Osborne
Weekly Newsletter Contributor since 2006
Email the author! alice@dvo.com