A Professional Baker’s Tips for Taking So-So Muffins to So-Great!
I have the deepest respect for our Cook’n cooks and bakers. I doubt we could find a more seasoned and talented group of meal-makers anywhere. It’s because of my awareness of your skill that I often hesitate to talk about some topics.
But with this said, I’ve decided to go ahead (maybe with a little trepidation) and share this information anyway. The topic? Outstanding muffins.
There are muffins, and then there are muffins. The fact is, there are some little-known tricks to going from so-so to so-GREAT muffins that maybe some of our readers don’t know.
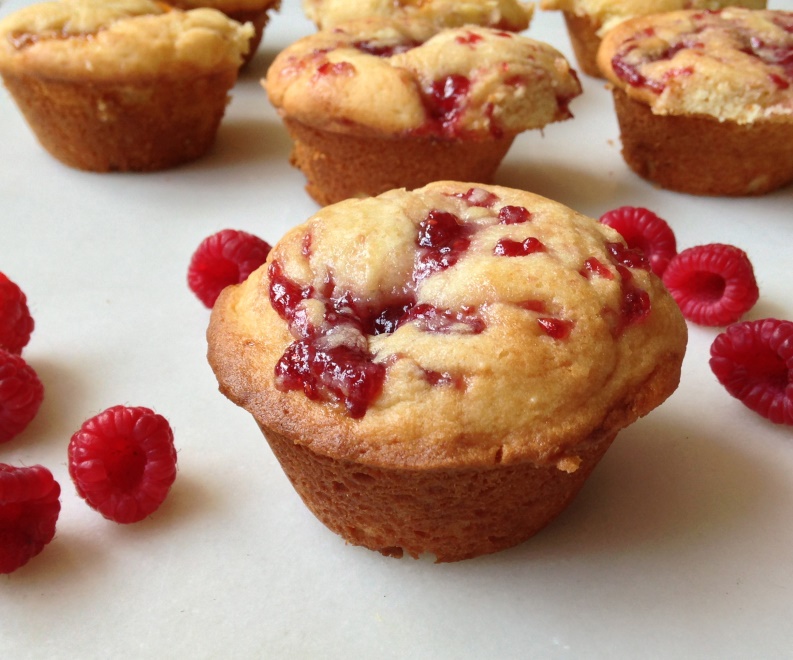
First of all, what makes a perfect muffin? Erin McDowell, whose been a professional muffin and scone baker since she was 17, explains: “Like so many baked goods, what makes a perfect muffin is likely to depend on the eater’s personal preferences. I identify a good muffin by its crispy top, moist interior, and plenty of inclusions. (I once attempted to exchange a muffin at a bakery because I could only spot a single, lone blueberry.)”
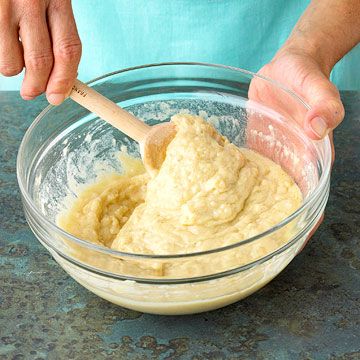
From her many years of experience at muffin-making, Erin also advises that there are a few rules to keep in mind: “Most importantly, never over-mix the batter. The more you mix, the more the batter will develop gluten—those dangerous protein strands which are desirable for bread baking but can make a muffin unnecessarily tough. Mix just until the ingredients are thoroughly combined and homogenous, then move on.”

Erin also advises that when it comes to muffins, bigger really is better. A bigger muffin means more surface area at the top, plus a longer bake time, which means more time for that top surface to get crisp and awesome, in true muffin top form. To get a bakery-style, big ol' muffins, she uses freestanding paper baking cups. You can buy them at baking supply stores or online (amazon.com). Her favorite brand (pictured) is the Honey-Can-Do 2595 Mini Panettone Mold, 25-Pack for $9.36 on amazon.com. There’s no need to grease these, by the way.
They don’t need to be put in muffin pans, and can simply stand alone on a baking sheet—so there’s no need for a special size pan to get massive muffins of greatness! Fill your muffin cups about 2/3 way full—this ensures a nice dome on top.
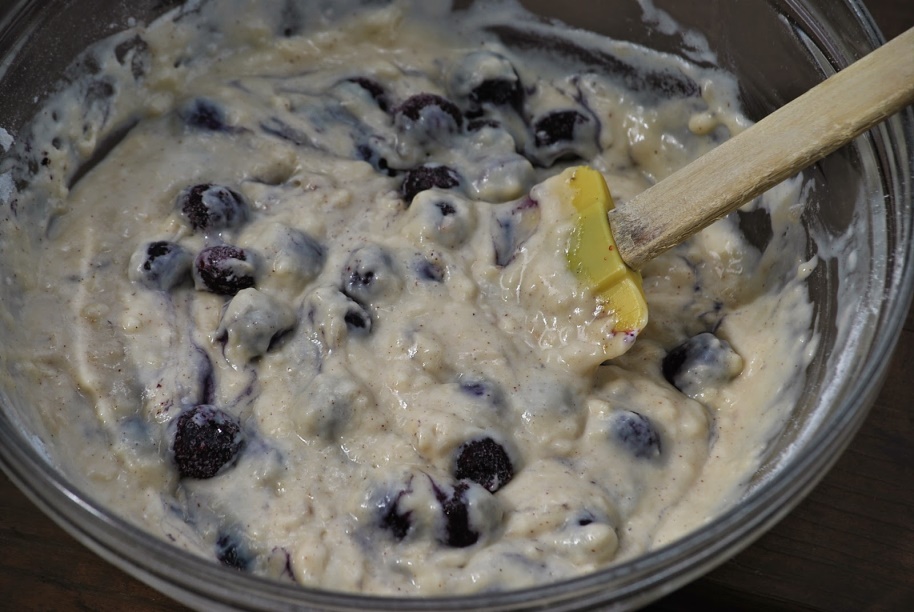
And then inclusions. Erin says this is where a muffin goes from good to GREAT. Don’t skimp on inclusions—they should speckle the batter enough that you get some in every bite. When adding fresh fruit, it’s best to toss them in a portion of the flour (about 1/4 cup to every 2 cups of fruit)—this helps keep them suspended in the batter during baking.
It’s also important to mix very carefully if you’re adding delicate fruit (like raspberries), or they’ll break down a lot during mixing. Dried fruit and nuts are also good to add—leave them in big chunks so they add texture to the batter, or chop them up nice and fine to distribute them more evenly. You can also swirl things like jam, peanut butter, Nutella, or caramel into the batter. If you can dream it, you can make it into a muffin.
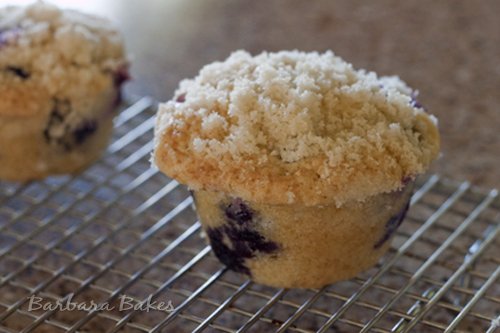
And of course, there must be toppings. Don’t we all like our muffins to have some kind of topping, whether it’s a sprinkling of coarse sugar, a crumbly streusel, or a flavorful glaze? Erin suggests we apply the toppings to the surfaces of the muffins just before baking. If you’re using a glaze, it can be nice to apply it both before and after baking. It adds so much flavor, as well as a nice glisten to the surface.
Finally there’s the baking. Don’t over-bake your muffins! This dries them out and makes the surface too dark. Bake them just until a skewer inserted into the center comes out clean, or with just a few moist crumbs.
I’ve learned some things from Erin and I hope you have as well. Let’s put this tutorial to work with her favorite muffin recipe. Thank you Erin, for sharing your expertise!
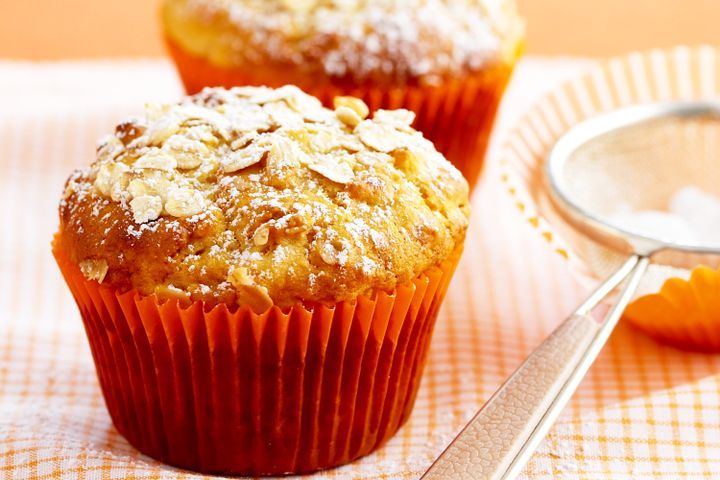
APRICOT-OAT MUFFINS
MAPLE BUTTER GLAZE
2 tablespoons unsalted butter
3 tablespoons pure maple syrup
Pinch salt
MUFFIN BATTER
2 ¼ cups all-purpose flour
¾ cup old fashioned oats (plus extra for garnishing muffin tops, if desired)
1 tablespoon baking powder
½ teaspoon baking soda
½ teaspoon fine sea salt
½ cup unsalted butter, melted and cooled slightly
1 cup sugar
2 large eggs, at room temperature
1 ½ teaspoons vanilla extract
1 cup buttermilk, at room temperature
1 ½ cups chopped dried apricots
Make the glaze: in a small pot, melt the butter. Stir in the maple and bring to a simmer. Simmer for 1 minute. Stir in the salt. Set aside.
Preheat the oven to 350°F. If you have them, place 8 freestanding paper baking cups on a baking sheet. (If not, grease a muffin tin well.)
In a small bowl, whisk the flour, oats, baking powder, baking soda, and salt to combine.
In a medium bowl, whisk the melted butter and sugar to combine. Add the eggs one at a time and mix well to incorporate. Beat in the vanilla extract.
Add the flour mixture and mix well to combine (this is a good time to switch to a silicone spatula).
Add the buttermilk and mix until fully incorporated. Fold in the apricots.
Divide the batter between the baking cups - filling about 2/3 of the cup.
Brush the surface generously with the glaze.
Bake until a toothpick inserted into the center comes out clean (or with a few moist crumbs), 17-20 minutes.
Brush the tops of the muffins with the remaining glaze.
Transfer to a wire rack to cool.
- www.chezcateylou.com
- www.pinterest.com
- www.amazon.com
- www.mystoryinrecipes.blogspot.com
- www.barbarabakes.com
- www.taste.com.au
 Alice Osborne
Weekly Newsletter Contributor since 2006
Email the author! alice@dvo.com