The Danish Dough Whisk Makes Any Bread, Cake, or Muffin Better
Why? In a nutshell, no more over-mixed batter and no more dough hands. But let’s get into detail (and I thank Epicurious for this overview):
At first glance, it looks like a cross between a magical scepter and a random doodle in a high school notebook, or maybe a decent kitchen tool that got mangled in a vacuum cleaner accident. But the dough whisk, also called "brodpisker" in its native Denmark, is no lame single-use, flash-in-the-pan, late-night infomercial gimmick.
Strong enough to slice through the thickest no-knead bread dough while being gentle enough to blend the most delicate pancake batter, this misshapen tool actually makes a whole lot of sense. Believe me, this tool is no flash-in-the-pan trend or gimmick. Here are just a few of the banes of our existence that this tool has permanently banished:
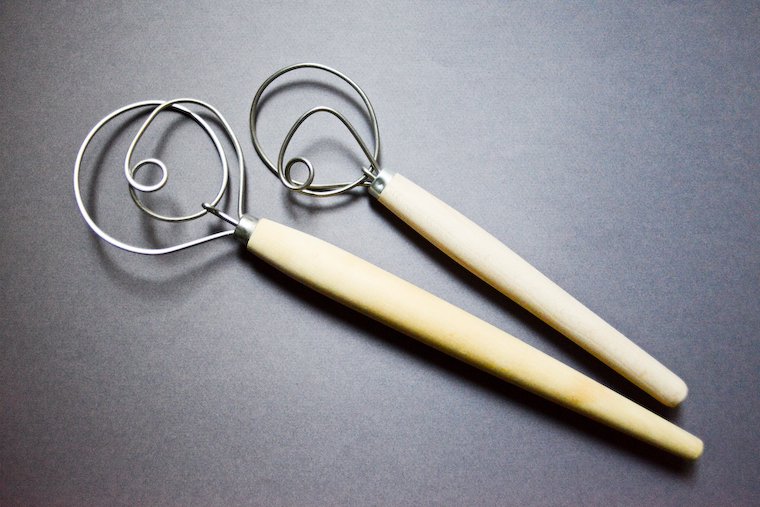
First, there’s NO MORE HARD-TO-CLEAN SPOONS. If you've used a wooden spoon to mix dough or batter, you know that those mixtures like to cling to the wood with a barnacle-like grip. This whisk’s three different sizes of circular coils, stacked one on top of the other to form a three-dimensional shape, glides through thin or thick batters and doughs with a surface area that one manufacturer claims is a mere 5% that of a wooden spoon. It’s a snap to clean!
Then, there’s NO MORE HIDDEN FLOUR POCKETS OR OVERWORKED BATTER. And this is another advantage of that minimal surface area. The wires cut into batter and dough quickly and effectively, easily scraping up those evil pockets of flour that like to hide in the bottom of every mixing bowl. And since the dough whisk blends mixtures so efficiently, you're less likely to over-mix your batter. Your muffins, brownies, or pancakes will come out perfectly tender.
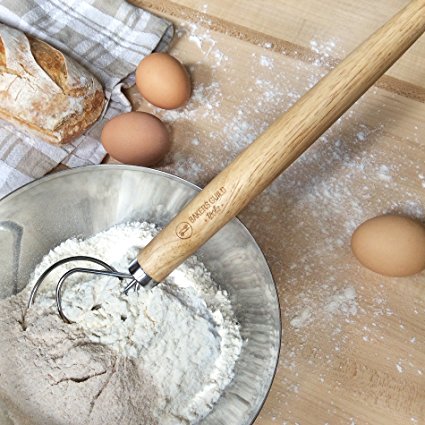
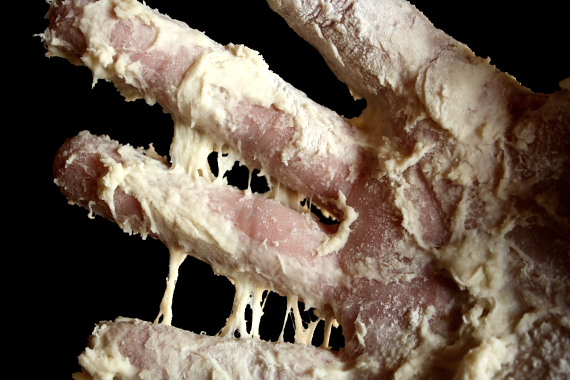
And how about NO MORE "DOUGH GLOVES"? Most dough recipes (especially ones for no-knead bread) start out messy, with cups and cups of flour to blend with water and other ingredients. A big wooden spoon, so useful in so many other cooking contexts, feels clumsy for this task. So the tendency is to set aside any tools, roll up your sleeves, and use your hands to blend that dough, but then you end up with the aforementioned "dough gloves," which are exactly what they sound like: appendages so thoroughly coated in sticky dough that it's a 5-minute project just to clean them. Enter the Danish dough whisk, and NO MORE “DOUGH GLOVES!”
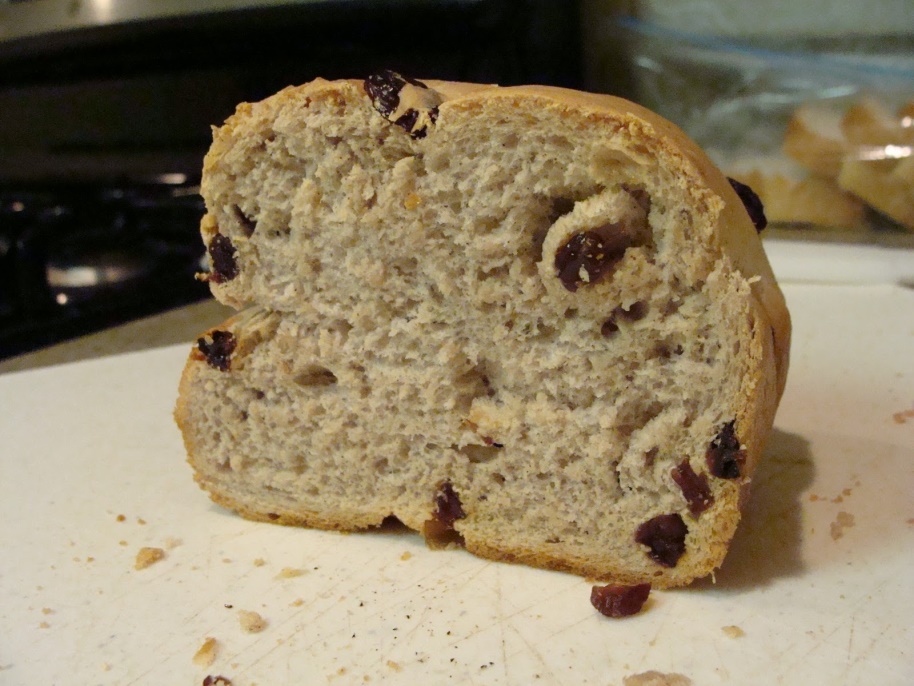
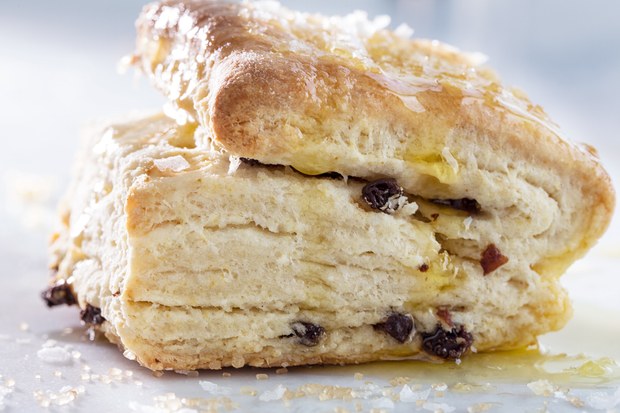
Finally, NO MORE POCKETS OF RAISINS. Even though pockets of raisins actually sound pretty pleasant (though messy), no one really wants their raisin bread, challah, or scones to have unevenly mixed pockets of dried fruit. And since the dough whisk is so good at cutting into thick dough, it can incorporate add-ins like fruit, nuts, and chocolate with the utmost of ease and accuracy!
I found my Danish dough whisk at our local kitchen specialty store. You can find these online at amazon.com, as well. They cost from $4 to $16, depending on size and materials used. I’ve been using mine for several weeks now and am convinced this tool is well worth the space it takes up.
I’ll close with one of the best recipes for scones I’ve ever used (courtesy of www.epicurious.com). Try out your new dough whisk on this scrumptious treat!
BUTTERY IRISH SCONES (yield: 8 scones)
1 cup cold whole milk
1/4 cup sugar
1 teaspoon kosher salt
3 cups all-purpose flour, plus more for dusting
2 1/2 teaspoons baking powder
1 cup cold unsalted butter, divided
1/2 cup dried currants
Demerara or turbinado sugar (for sprinkling)
Flaky sea salt (for sprinkling)
Preheat oven to 375°. Line a rimmed baking sheet with parchment paper.
Whisk milk, granulated sugar, and kosher salt in a medium bowl until sugar and salt dissolve. Whisk flour and baking powder in a large bowl. Cut 10 Tbsp. butter into 1/2" cubes, add to flour mixture, and blend with a pastry cutter or your fingertips until pea-size pieces form with some larger chunks remaining. Add milk mixture and stir with a fork until large clumps form. Gently knead in the bowl until dough just comes together. Transfer to a lightly floured work surface.
With a lightly floured rolling pin, roll out dough to a 14x8" rectangle, with long side facing you. Heat 2 Tbsp. butter in a small, microwave-proof bowl in the microwave until softened but not melted, about 20 seconds. Spread evenly over dough with fingertips, then sprinkle currants evenly on top and press to adhere. Fold up bottom third of dough over center, then fold down top third to meet bottom edge, as if folding a letter. Fold in half crosswise, then, using a rolling pin, gently flatten into an 8x4" rectangle.
Cut dough in half lengthwise and in quarters crosswise to form 8 even squares. Transfer to prepared pan, spacing 2" apart. Sprinkle tops generously with demerara sugar and lightly with flaky sea salt.
Bake until scones are golden brown, 25-30 minutes. Meanwhile, melt remaining 4 Tbsp. butter in a small saucepan over medium-low heat. When butter bubbles, remove from heat and skim off foam from surface. As soon as the scones come out of the oven, lightly brush tops with clarified butter, leaving behind white solids in bottom of saucepan. Cool scones on sheet on a wire rack and serve hot, warm, or room temperature.
Do Ahead
Rolled and cut scone dough can be frozen in an airtight container up to 2 days. Bake directly from the freezer, increasing baking time as needed. Scones can be made 6 hours ahead-let cool completely and store in an airtight container at room temperature.
- www.chocolateandzucchini.com
- www.amazon.com
- www.betterwithbutter.com
- www.themarthainitiative.blogspot.com
- www.epicurious.com
 Alice Osborne
Weekly Newsletter Contributor since 2006
Email the author! alice@dvo.com