Paneer—FRESH CHEESE in 30 Minutes!

Are you acquainted with paneer? It’s the star ingredient in some favorite Indian dishes—curry for instance. It’s a firm cheese found in many grocery stores and all whole foods stores. I first read about it on a great foodie site, The Kitchn (www.thekitchn.com). Here’s what they had to say, just in case you’re new to this cheese as well:
Paneer is also type of fresh cheese, meaning you can make it and eat it right away — no aging or culturing required. It's also one of the easiest cheeses to make at home. All you need is milk, lemon juice or vinegar, and a bit of salt to season. When you mix the milk and lemon juice, the acidity in the lemon juice will cause the milk to curdle, meaning it separates into curds and whey.
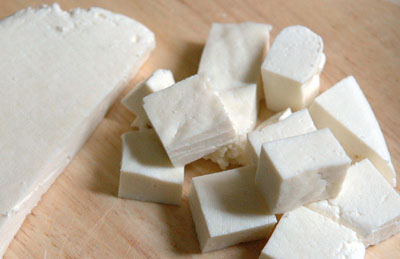
All you have to do is remove the whey and press the curds, and voila, you have a simple, basic cheese. It’s a cheese that won't melt or get gooey the way mozzarella or cheddar will, but that is actually a keen advantage.
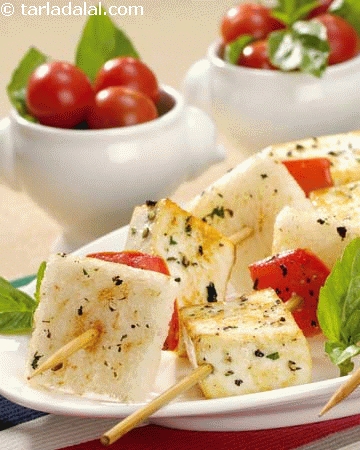
Because paneer won't melt, you can stir chunks into a soup or creamy curry, crumble it over flatbreads, fold small dices into homemade macaroni and cheese, sprinkle shreds over tossed salad, or even skewer cubes onto kebabs for grilling. Its uses are left to your imagination, but no matter the treatment, you can count on paneer keeping its shape and chewy texture.

Its flavor is fairly mild and milky on its own, so it's best when paired with strong, spicy flavors. The aforementioned classic Indian curry or a dish such as saag paneer would be perfect. It's also nearly identical to Mexican queso fresco and Italian ricotta salata, and can usually be used in recipes calling for either of those ingredients.
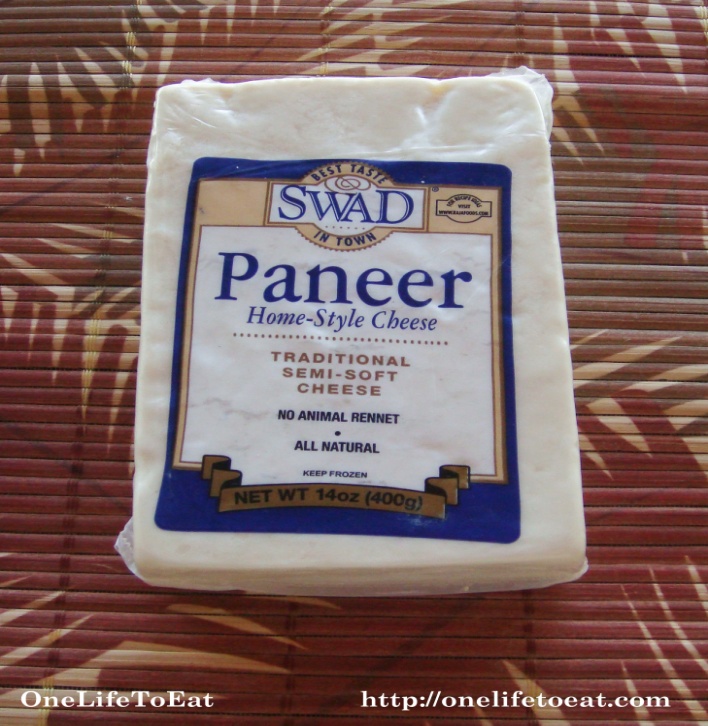
So wh you can easily buy it, where's the fun in that? If you have a pot, a strainer, and some cheesecloth, you can have fresh homemade paneer cheese in about 30 minutes.
The process for making paneer (which is similar to making fresh ricotta) works best if you're using whole milk. You might have success with 2%, but avoid skim or nonfat milk as there just isn't enough milk fat left in the milk to actually separate into curds and whey. Also, avoid using ultra-high temperature (UHT) pasteurized milk, as this pasteurization process changes the protein structure of the milk and prevents it from separating. Unfortunately, labels don't always make it clear when milk has been UHT pasteurized. If your milk won't separate into curds and whey, there's a good chance it was UHT pasteurized.
This fresh cheese won't last long in the fridge, so if you don't use it right away, definitely make sure you have plans for it within a few days. Honestly, you probably won’t have a problem with it hanging around. If you’re not including it in some of your recipes for dinner, you’ll find this wonderful cheese makes the perfect midnight snack.
I’ll close The Kitchn’s basic HOW-TO recipe. You’ll love how easy and quick this is to make. Imagine, fresh cheese in 30 minutes! Then read on for another recipe on for a delectable stir fry recipe that stars not only your newly-made paneer, but those lovely bell peppers that are in season right now.
BASIC PANEER (yield: 2 cups)
1/2 gallon whole milk, not UHT pasteurized
1/4 cup lemon juice or vinegar
1/4 to 1/2 teaspoon salt
Equipment
4-quart saucepan
Slotted spoon
Strainer or colander
Mixing bowl
Cheesecloth, nut bag, or other cloths for straining
Dinner plates
Weight, such as a 32-ounce can of tomatoes
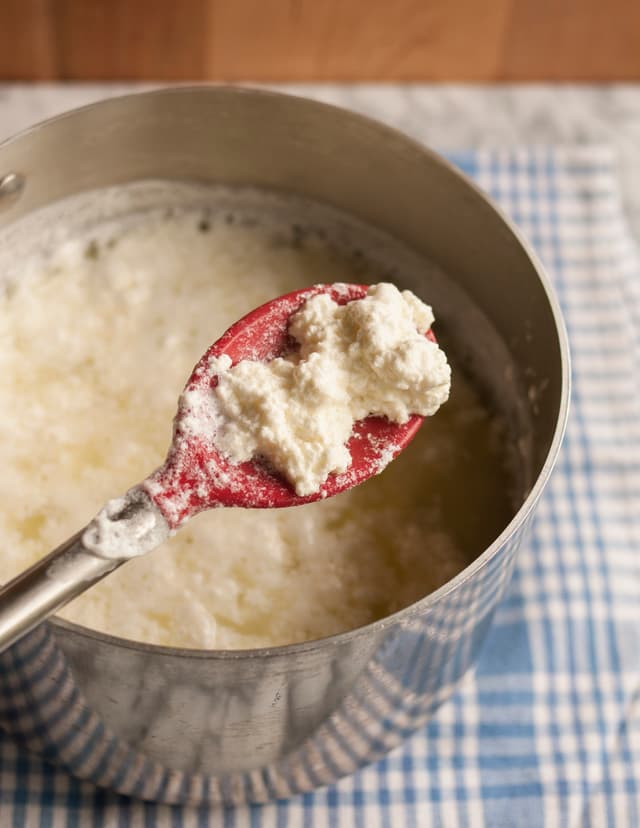
Heat the milk: Pour the milk into the saucepan and set over medium heat. Bring the milk to a bare simmer — just below the boil at around 200°F. Stir the milk occasionally, scraping the bottom of the pot to make sure the milk doesn't scald. When ready, the milk will look foamy and steamy.
Add the lemon juice: Remove the milk from heat and stir in the lemon juice. The milk should begin to curdle immediately, but it's ok if it doesn't.
Let the milk stand for 10 minutes: Cover the milk and let stand for 10 minutes to give the acid time to completely separate the curds and whey. At the end of 10 minutes, the curds should be completely separated and the liquid should look yellow and watery. If the milk hasn't separated, try adding another tablespoon of acid. If it still won't separate, check your milk and be sure you are using non-UHT milk; this kind of milk won't separate.
Strain the curds: Set a strainer or colander over a mixing bowl and line it with cheesecloth, a nut bag, or other straining cloth. Carefully scoop or pour the curds into the strainer, letting the whey collect in the bowl beneath.
Squeeze the curds: Gather the cheesecloth in your hand and gently squeeze to remove the excess whey.
Salt the curds: Open the cheesecloth and sprinkle 1/4 teaspoon of salt over the curds. Stir gently and taste. Add more salt if desired.
Press the curds: Transfer the curds (still in the cheesecloth) to a large dinner plate. Shape them into a rough square and then fold the cheesecloth tightly around the curds to form a neat rectangular package. Set a second plate on top of the package and weigh it down. Press for at least 15 minutes or up to 1 hour.Use or refrigerate the paneer: Once pressed, your paneer is finished and ready to use. You can use it immediately or refrigerate for up to two days. Refrigerated paneer will be firmer and less likely to crumble than fresh paneer.
RECIPE NOTES:
Whole vs. 2% vs. Non-Fat Milk: While whole milk is our favorite for making ricotta, 2% milk can also be used, though the ricotta is slightly less rich and creamy. Avoid using skim and nonfat milks; these don't separate as easily into curds and whey.
Pasteurized Milk: Pasteurized milk is fine to use for making ricotta, but avoid UHT (Ultra High Temperature) pasteurized milk as this process changes the protein structure of the milk, preventing it from separating.
Using the Leftover Whey: The leftover whey can be used in place of water in any baking recipe, whizzed into smoothies, or drunk on its own over ice.
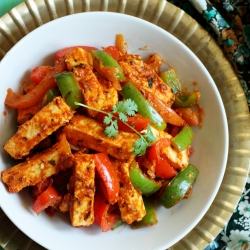
PANEER AND BELL PEPPER STIR FRY
(This is a stunner of a dish, both in terms of looks and taste.
2 tablespoons extra virgin olive oil
1 1/2 heaping cups sliced mixed bell peppers
1 onion, sliced
11/4 cups paneer, sliced into long fingers
5 to 6 cloves garlic, sliced lengthwise
A few black peppercorns, roughly crushed
Salt to taste
Toss everything together in your extra hot pan, once you’ve heated the oil. Fry for three minutes and you’re done!
- www.thekitchn.com
- www.onelifetoeat.com
- www.tarladalal.com
- www.bodyprob.blogspot.com
- www.tastespotting.com
 Alice Osborne
Weekly Newsletter Contributor since 2006
Email the author! alice@dvo.com