Let’s Make Some Different Biscuits!
Sometimes it’s just fun to make biscuits. And we’ll start with cathead biscuits. Ever heard of them? I hadn’t. I found this idea at the Prepared Pantry (www.preparedpantry.com).
Besides wondering what they are, I wondered why make them, and are they any good? Turns out they are good, very comparable to most biscuits. They aren’t as light as a traditional biscuit, but they’re good, substantial biscuits. And you cook them in a pan on the stovetop—no oven.
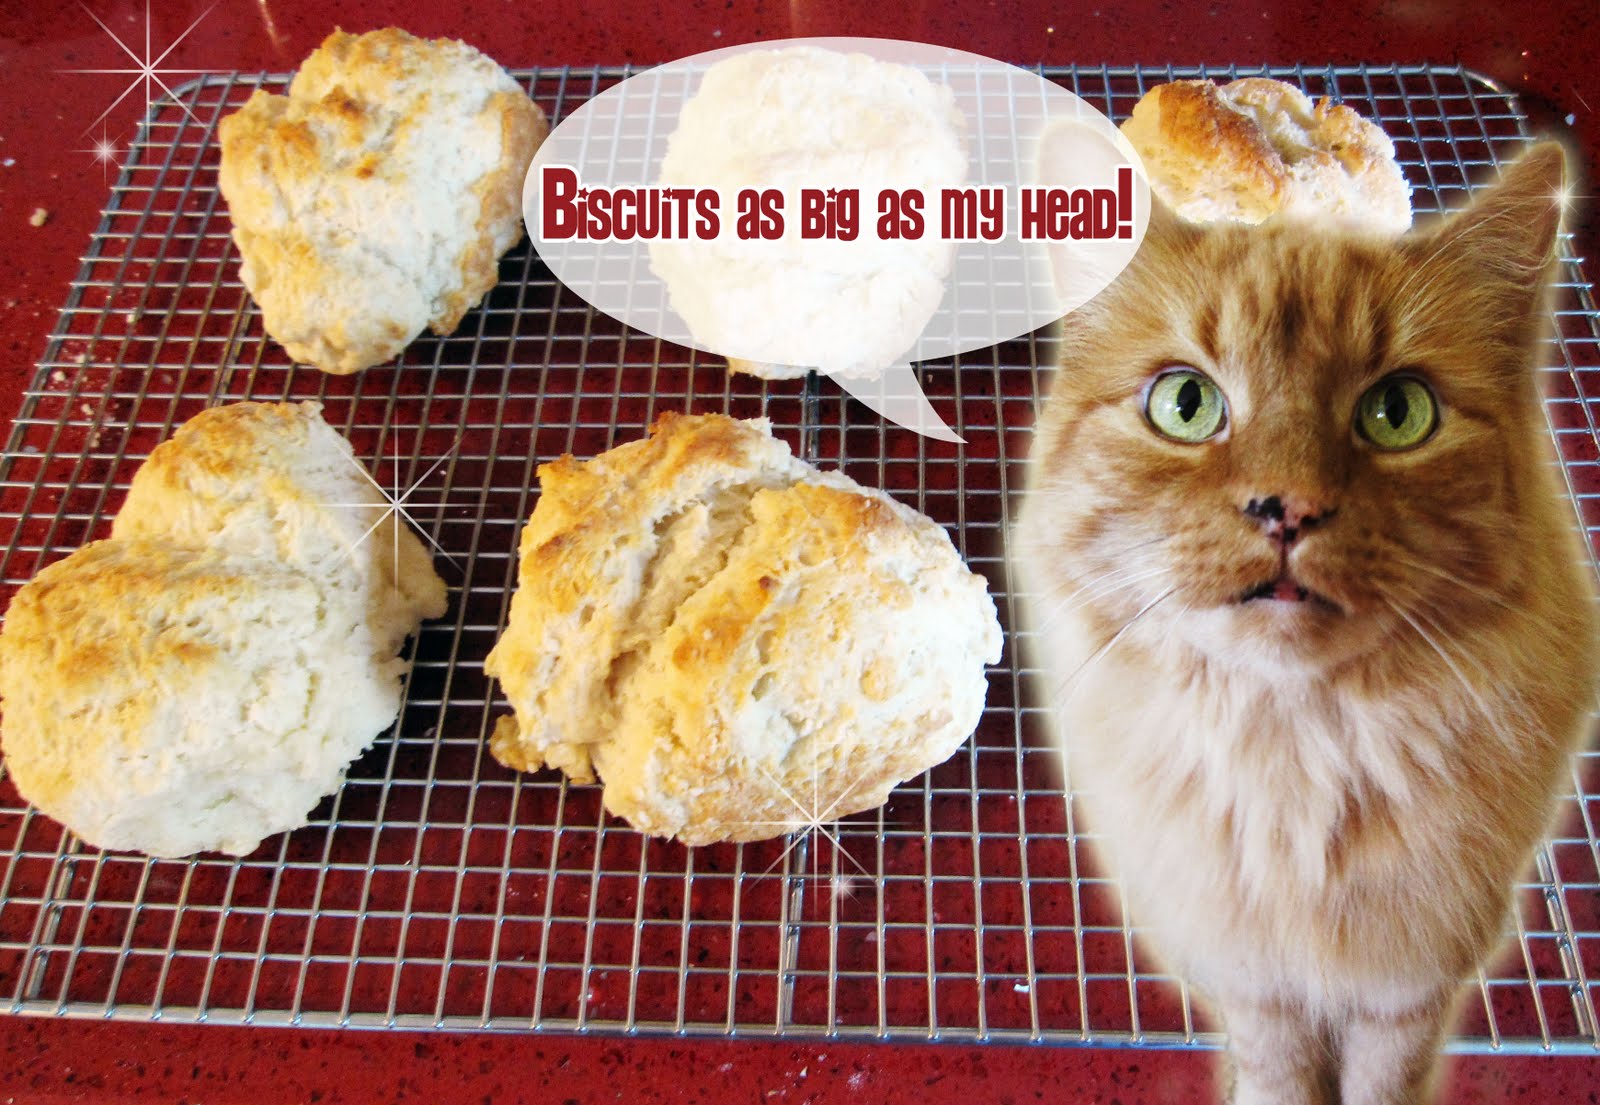
And they’re also fun—it’s nice to make something different. Also, you don't have to turn the oven on and heat up the house when the weather’s hot. You can cook them on the patio, on the grill, and when camping.
You can use any just-add-water biscuit mix, but the one thing you want is to get them as crusty as possible. Shortening makes a crustier biscuit, but the idea of using hydrogenated fat just turns me off, so I’m sticking with butter.
Prepared Pantry’s chief chef and owner, Dennis Weaver, shared a recipe for them that he found in Alford and Duiguid’s book, Home Baking. Cathead biscuits are described as quick and easy because you don’t have to roll the dough and cut them; you just drop blobs of dough in the hot fat.
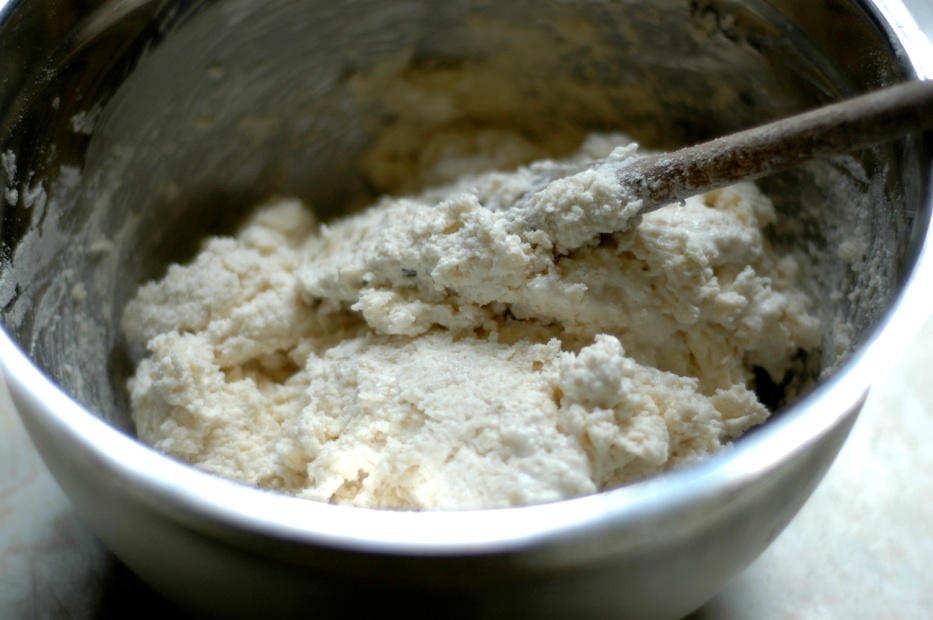
With this recipe, you add all the dry ingredients in a bowl, add melted butter (or shortening) to the cold milk, and then stir the milk mixture into the dry ingredients.
When Dennis made his catheads, he melted butter in a nonstick skillet (a cast iron skillet that is well seasoned will work well). Then he used a lever-type ice cream scoop to quickly drop big mounds of batter about a half-inch apart into the pan with the melted butter.
This recipe filled an 11-inch skillet perfectly and made nine biscuits, three to four inches across (the size of a cat’s head). Here’s the recipe:
SKILLET CATHEAD BISCUITS
2 cups plus 2 tablespoons all-purpose flour
2 teaspoons baking powder
1/2 teaspoon baking soda
3/4 teaspoon salt
1 teaspoon sugar
2 tablespoons dry buttermilk
1 cup cold milk
8 tablespoons butter (OR 4 tablespoons butter and 4 tablespoons shortening, melted together but cooled to warm)
In a large bowl, whisk the flour, baking powder, baking soda, salt, sugar, and buttermilk powder together.
Pour the melted fats into the cold milk, whisking until the fat solidifies and the milk looks curdled.
Make a well in the dry ingredients and pour in the liquid mixture. Stir with a fork just until the batter clumps and form a wet mound in the bottom of the bowl.
Melt 2 tablespoons of butter in an 11-inch skillet.
Using a 1/4 cup (2-inch diameter) ice cream scoop (4 ounce), scoop the batter from the bowl onto the hot frying pan, leaving 1 1/2 inches between the biscuits for expansion. As soon as you put the mounds in the pan, flatten then to less than an inch with the back of a wet spoon.
Cook until they are crusty brown on the bottom, turn them and cook until the tops are brown. Turn them over cook the first side again until you drive the heat through the biscuits. Serve them hot.

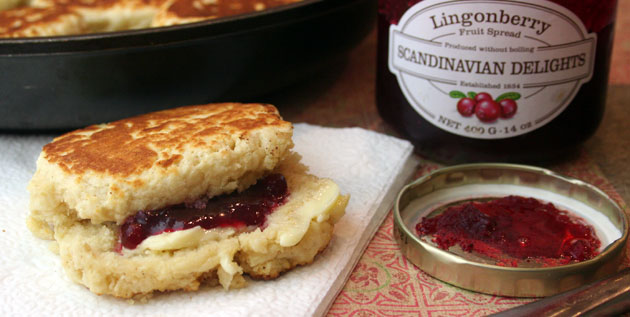
Now let’s move from cathead biscuits to Cheddar Bay Biscuits. If you’re a Red Lobster (the restaurant) fan, then you know the biscuit I’m talking about. Who couldn’t make a meal just out of them alone?
We’ve passed a few copycat recipes around the neighborhood, trying to duplicate these divine biscuits, but to no avail. That is until we found this peach of a recipe on a great mommy blog, Joyful Abode (www.joyfulabode.com).
This is the one you want. They’re easy to mix up and quick to get into the oven. This is another drop biscuit recipe. I like using a spring-loaded ice cream scoop to measure and drop. Perfect biscuits every time!

COPYCAT CHEDDAR BAY BISCUITS
2 cups of buttermilk biscuit mix (like Bisquick or Jiffy Mix)
½ teaspoon garlic powder
1 to 1½ cups shredded cheddar cheese
⅔ cup milk
2 Tbsp butter, melted
2 tsp oregano or parsley
1 teaspoon garlic salt
Preheat your oven to 400°F. Prepare a baking sheet with parchment paper or nonstick cooking spray. Mix biscuit mix, garlic powder, and shredded cheddar cheese. Add the milk. Stir until combined. Drop lumps of dough onto your cookie sheet, spaced about 1.5 inches apart.
Bake for 10 minutes. Mix melted butter, herbs, and garlic salt. When the timer goes off, brush the butter mixture over the biscuits and return to the oven. Bake another 5-6 minutes or until lightly browned. Optionally, brush with butter mixture again when they're done.
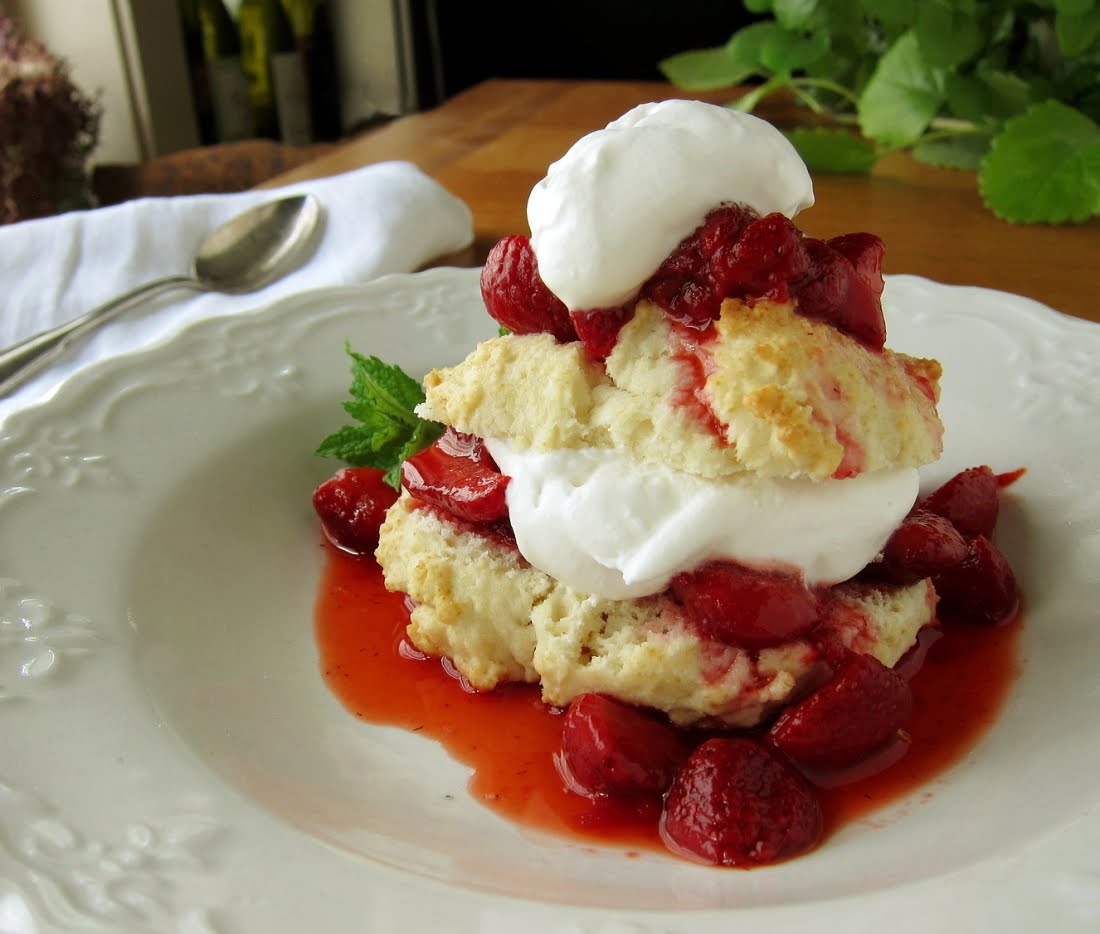
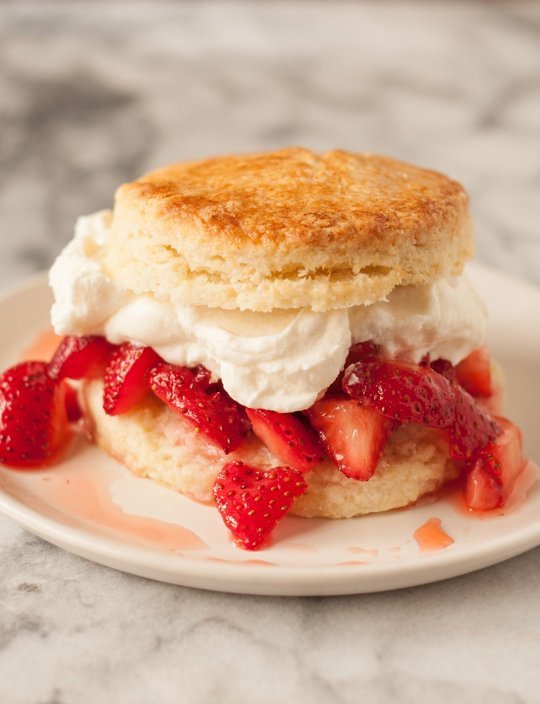
Finally, how about a sweet biscuit that’s perfect for strawberry shortcake? Why perfect? Because the denser texture of a sweet biscuit doesn’t fall apart with the application of crushed strawberries and loads of whipped cream, that’s why. And the flavor combination of a sweet biscuit with the berries and cream can’t be beat!
Just split a biscuit into two halves, place in a bowl and slather with lots of berries and cream. You’re set. This recipe makes 12 to 16 shortcakes—enough for a party. Just cut the recipe in half for a smaller crowd. (Sometimes it’s just fun to make biscuits!)
STRAWBERRY SHORTCAKE BISCUITS
Shortcake Biscuits:
16 tablespoons unsalted butter, cold
4 cups all-purpose flour
1/3 cup sugar
1 1/2 tablespoons baking powder
1 teaspoon salt
2 cups heavy cream
Strawberries:
4 pints strawberries
1/2 cup sugar
2 tablespoons lemon juice (from 1 lemon)
Whipped Cream:
3 cups heavy cream
1/2 cup powdered sugar
1 teaspoon vanilla
Shortcake:
Preheat oven to 425°F. Place a rack in the middle position. Line a baking sheet with a baking mat or parchment paper.
Cut butter into small pieces: After cutting, place in the freezer for 10 minutes.
Mix dry ingredients: Combine the flour, sugar, baking powder, and salt in the bowl of a food processor. Pulse a few times to mix the ingredients.
Cut butter into dry ingredients: Add the chilled butter pieces to the food processor and stir with a spatula to mix the butter into the flour. Pulse 10 to 12 times, until the butter has been cut into pieces no larger than a pea.
Add heavy cream: Pour 1 cup of the heavy cream over the flour-butter mixture and pulse 1 to 2 times to incorporate. Pour the second cup of cream over the mixture and pulse 4 to 5 times, until the cream has been incorporated and the biscuit dough looks shaggy and lumpy.
Shape biscuit dough: Turn the biscuit dough out onto a lightly floured surface, and pat it into a rectangle with floured hands. Cut the dough into three sections with a bench scraper or knife, and pile the sections on top of each other. Then press and pat it down again to a rectangle roughly 3/4-inch thick.
Cut out biscuits: Use a circular biscuit cutter to cut out 12 to 16 biscuits, pressing the scraps together if you like. Alternatively, use a bench scraper or knife to cut the dough into 12 to 16 square biscuits. In either case, cut straight down, then lift the biscuit cutter or knife straight up; don't twist or saw the dough. Dip the biscuit cutter or knife in flour to prevent sticking if necessary.
Brush biscuits with cream or butter. This gives them a golden crust.
Bake biscuits 12-15 minutes. Transfer the biscuits to the prepared baking sheet. Bake for 12 to 15 minutes, until puffed and lightly golden on top. For a more deeply golden top crust, run them under the broiler for a few minutes — keep a close eye on them, though! They can darken and burn very quickly.
Serve or store biscuits: Biscuits can be served warm or room temperature. Alternatively, cool the biscuits completely, then store them in an airtight container for up to 24 hours. Biscuits can also be pre-cut into the tops and bottoms, and each stored separately — this makes the final assembly go a bit quicker.
Strawberries:
Cut strawberries: Wash the strawberries and pat dry. Remove the stems, then slice or chop them into small pieces.
Combine with sugar and lemon juice: Pour the sugar and lemon juice over the strawberries. Stir to combine.
Macerate for at least 1 hour: Macerate the strawberries for at least an hour, until very syrupy. You can also refrigerate the strawberries for up to 24 hours before serving.
Whipped cream
Pour the cream into a high-sided bowl or pan.
Beat until slightly thickened.
Add powdered sugar and vanilla: When the whipped cream has thickened, but isn't yet stiff, add the powdered sugar and vanilla.
Blend until cream holds stiff peaks: Stop if you see any hint of graininess. The whipped cream should look thick and glossy, and it will hold its shape when you lift the blender.
Use or store whipped cream: Use the whipped cream right away or keep it refrigerated in an airtight container for up to 4 hours. If keeping the whipped cream longer than 4 hours, you may want to briefly re-whisk before serving.
- www.wheretoeatinpigeonforge.blogspot.com
- www.mindybakes.com
- www.food.com
- www.lastcallforcorn.blogspot.com
- www.recipeshubs.com
 Alice Osborne
Weekly Newsletter Contributor since 2006
Email the author! alice@dvo.com