My Life-Changing Kitchen Discovery
I’ve written a ton about freezer meals, but a couple weeks ago I mentioned how I was trying homemade frozen pizza for the first time, and I promised I would write an article about it. So here it is.
I am beyond excited that it totally works!! This is totally a game changer;). I froze 4 pizzas, and we had 2 easy peasy pizza nights! My mom is super excited because she always makes pizzas for Christmas Eve- and the fact that she knows that she can freeze them will totally change her future Christmas Eve’s!
I’m pretty sure you could use any pizza crust recipe you have. I used a very basic one that my mom used when I was growing up. It’s quick, easy, and I’ve included it here for your benefit:).
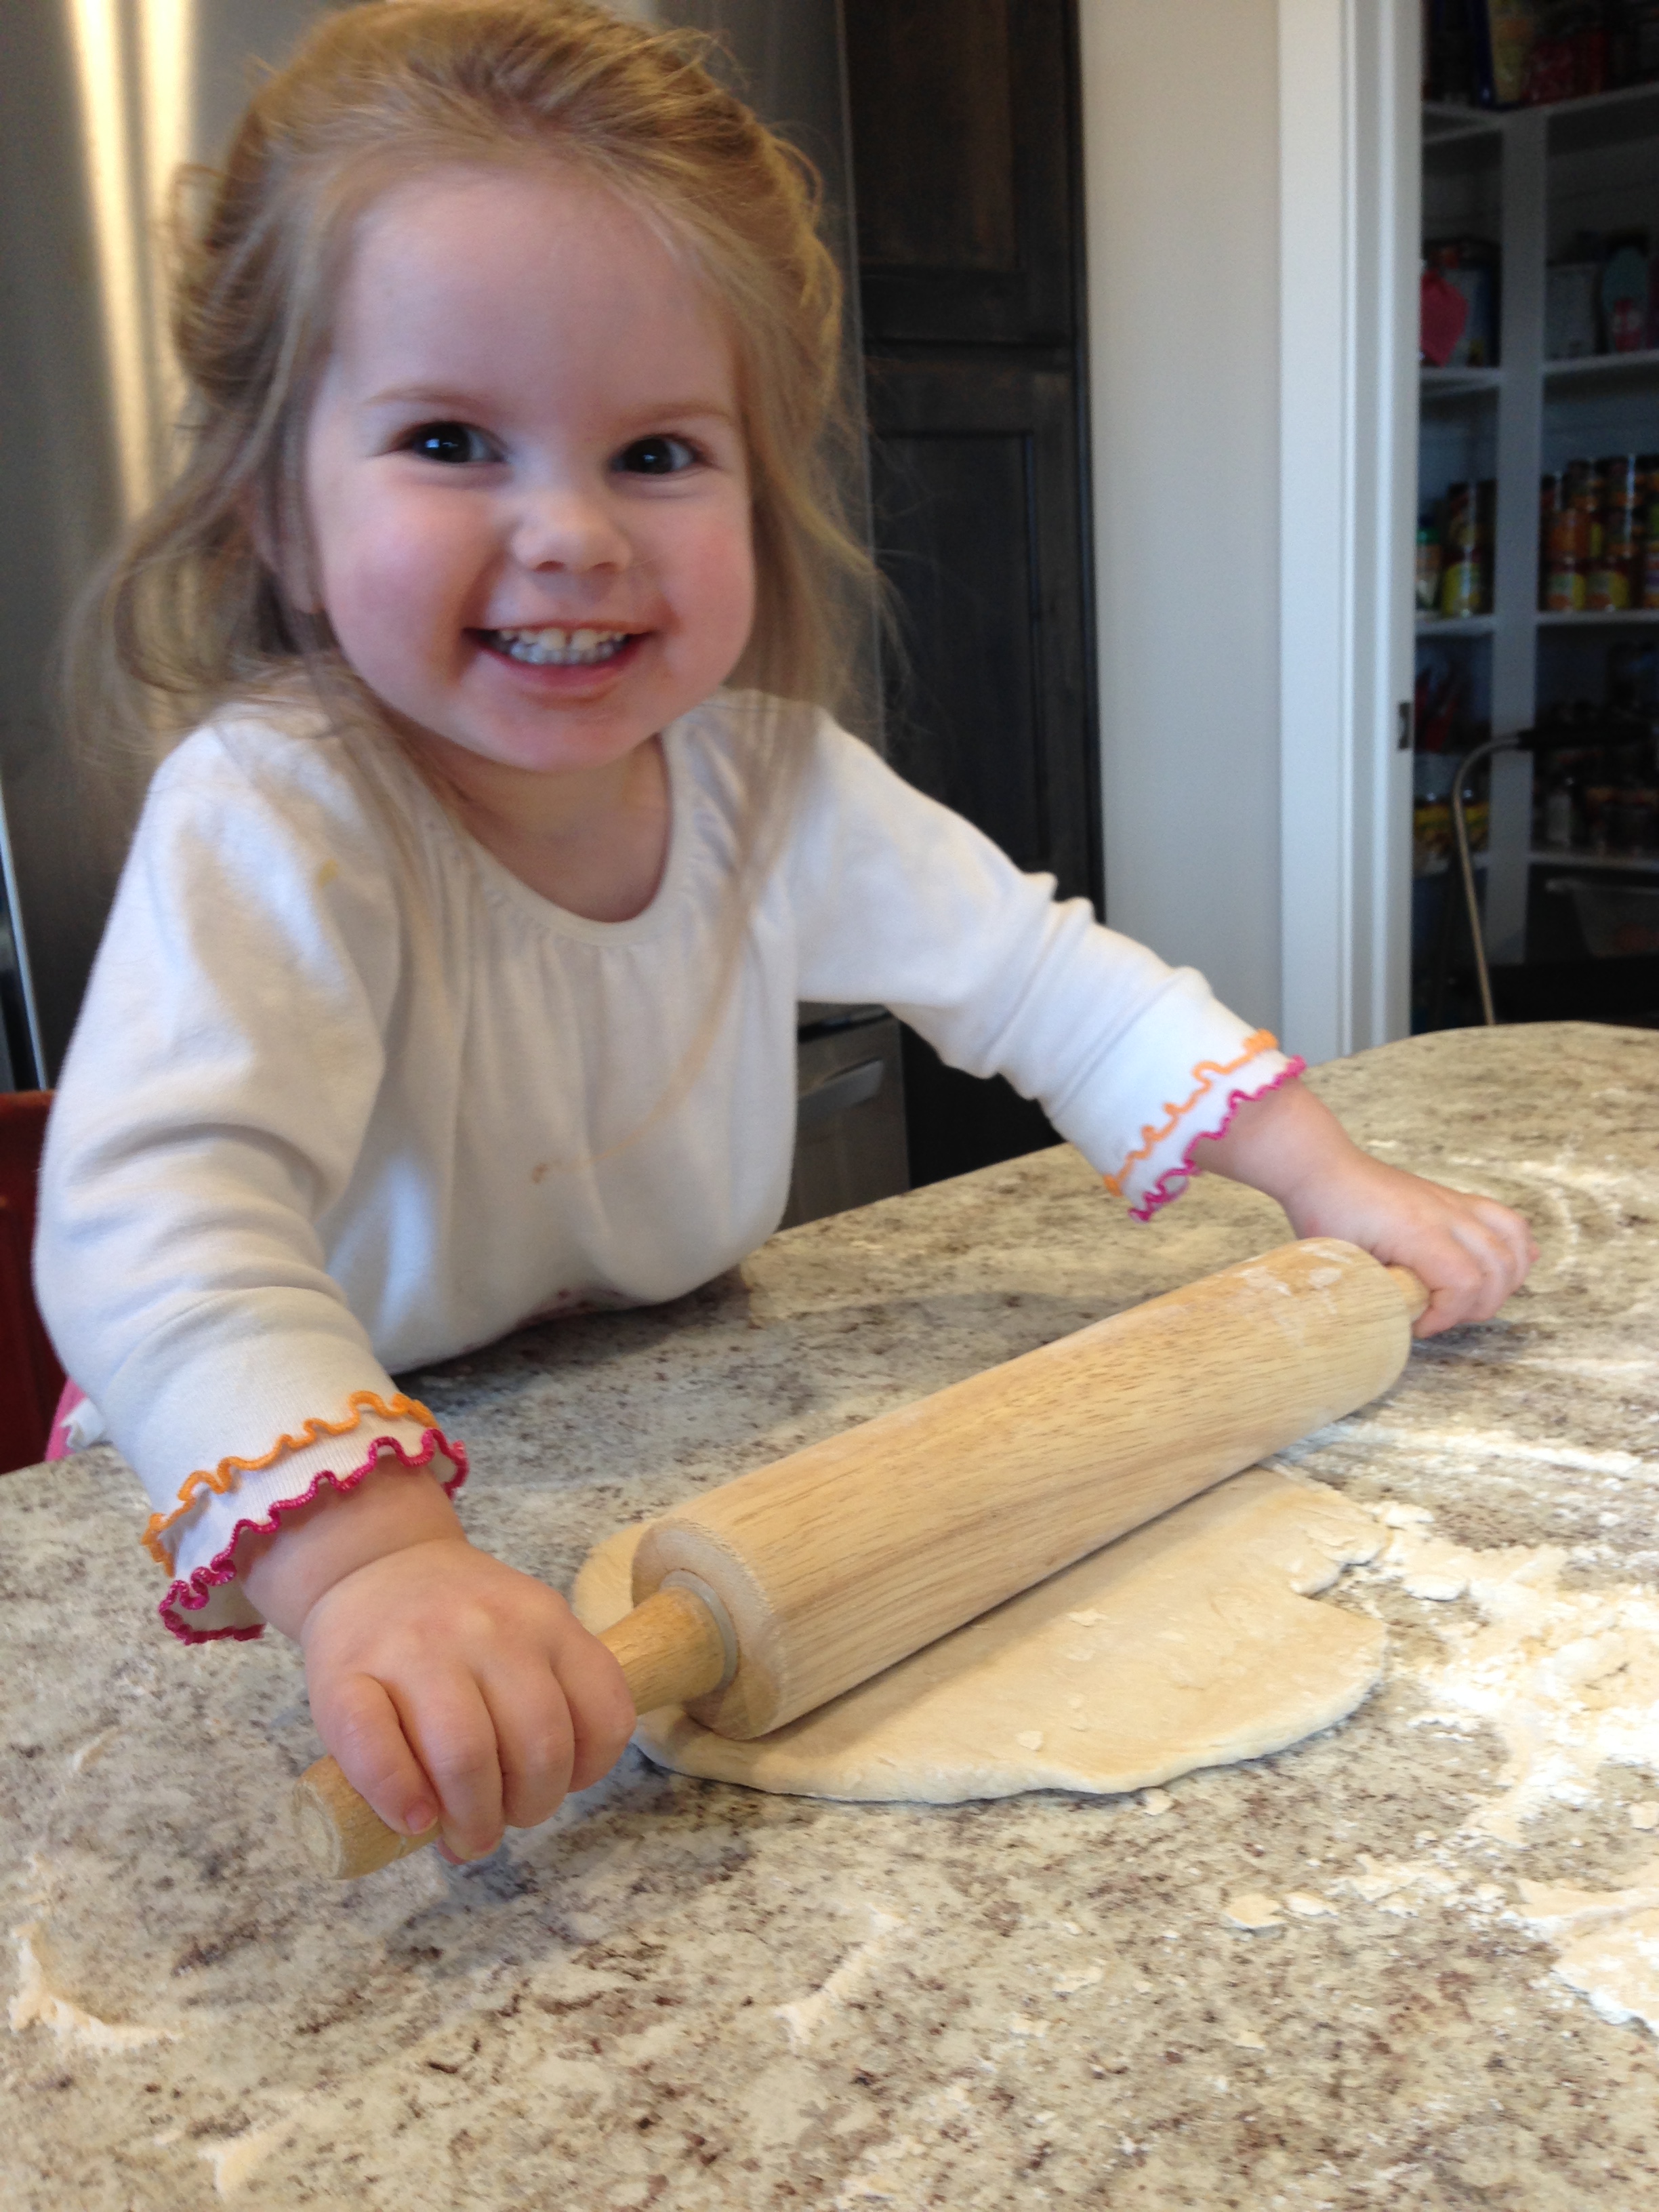
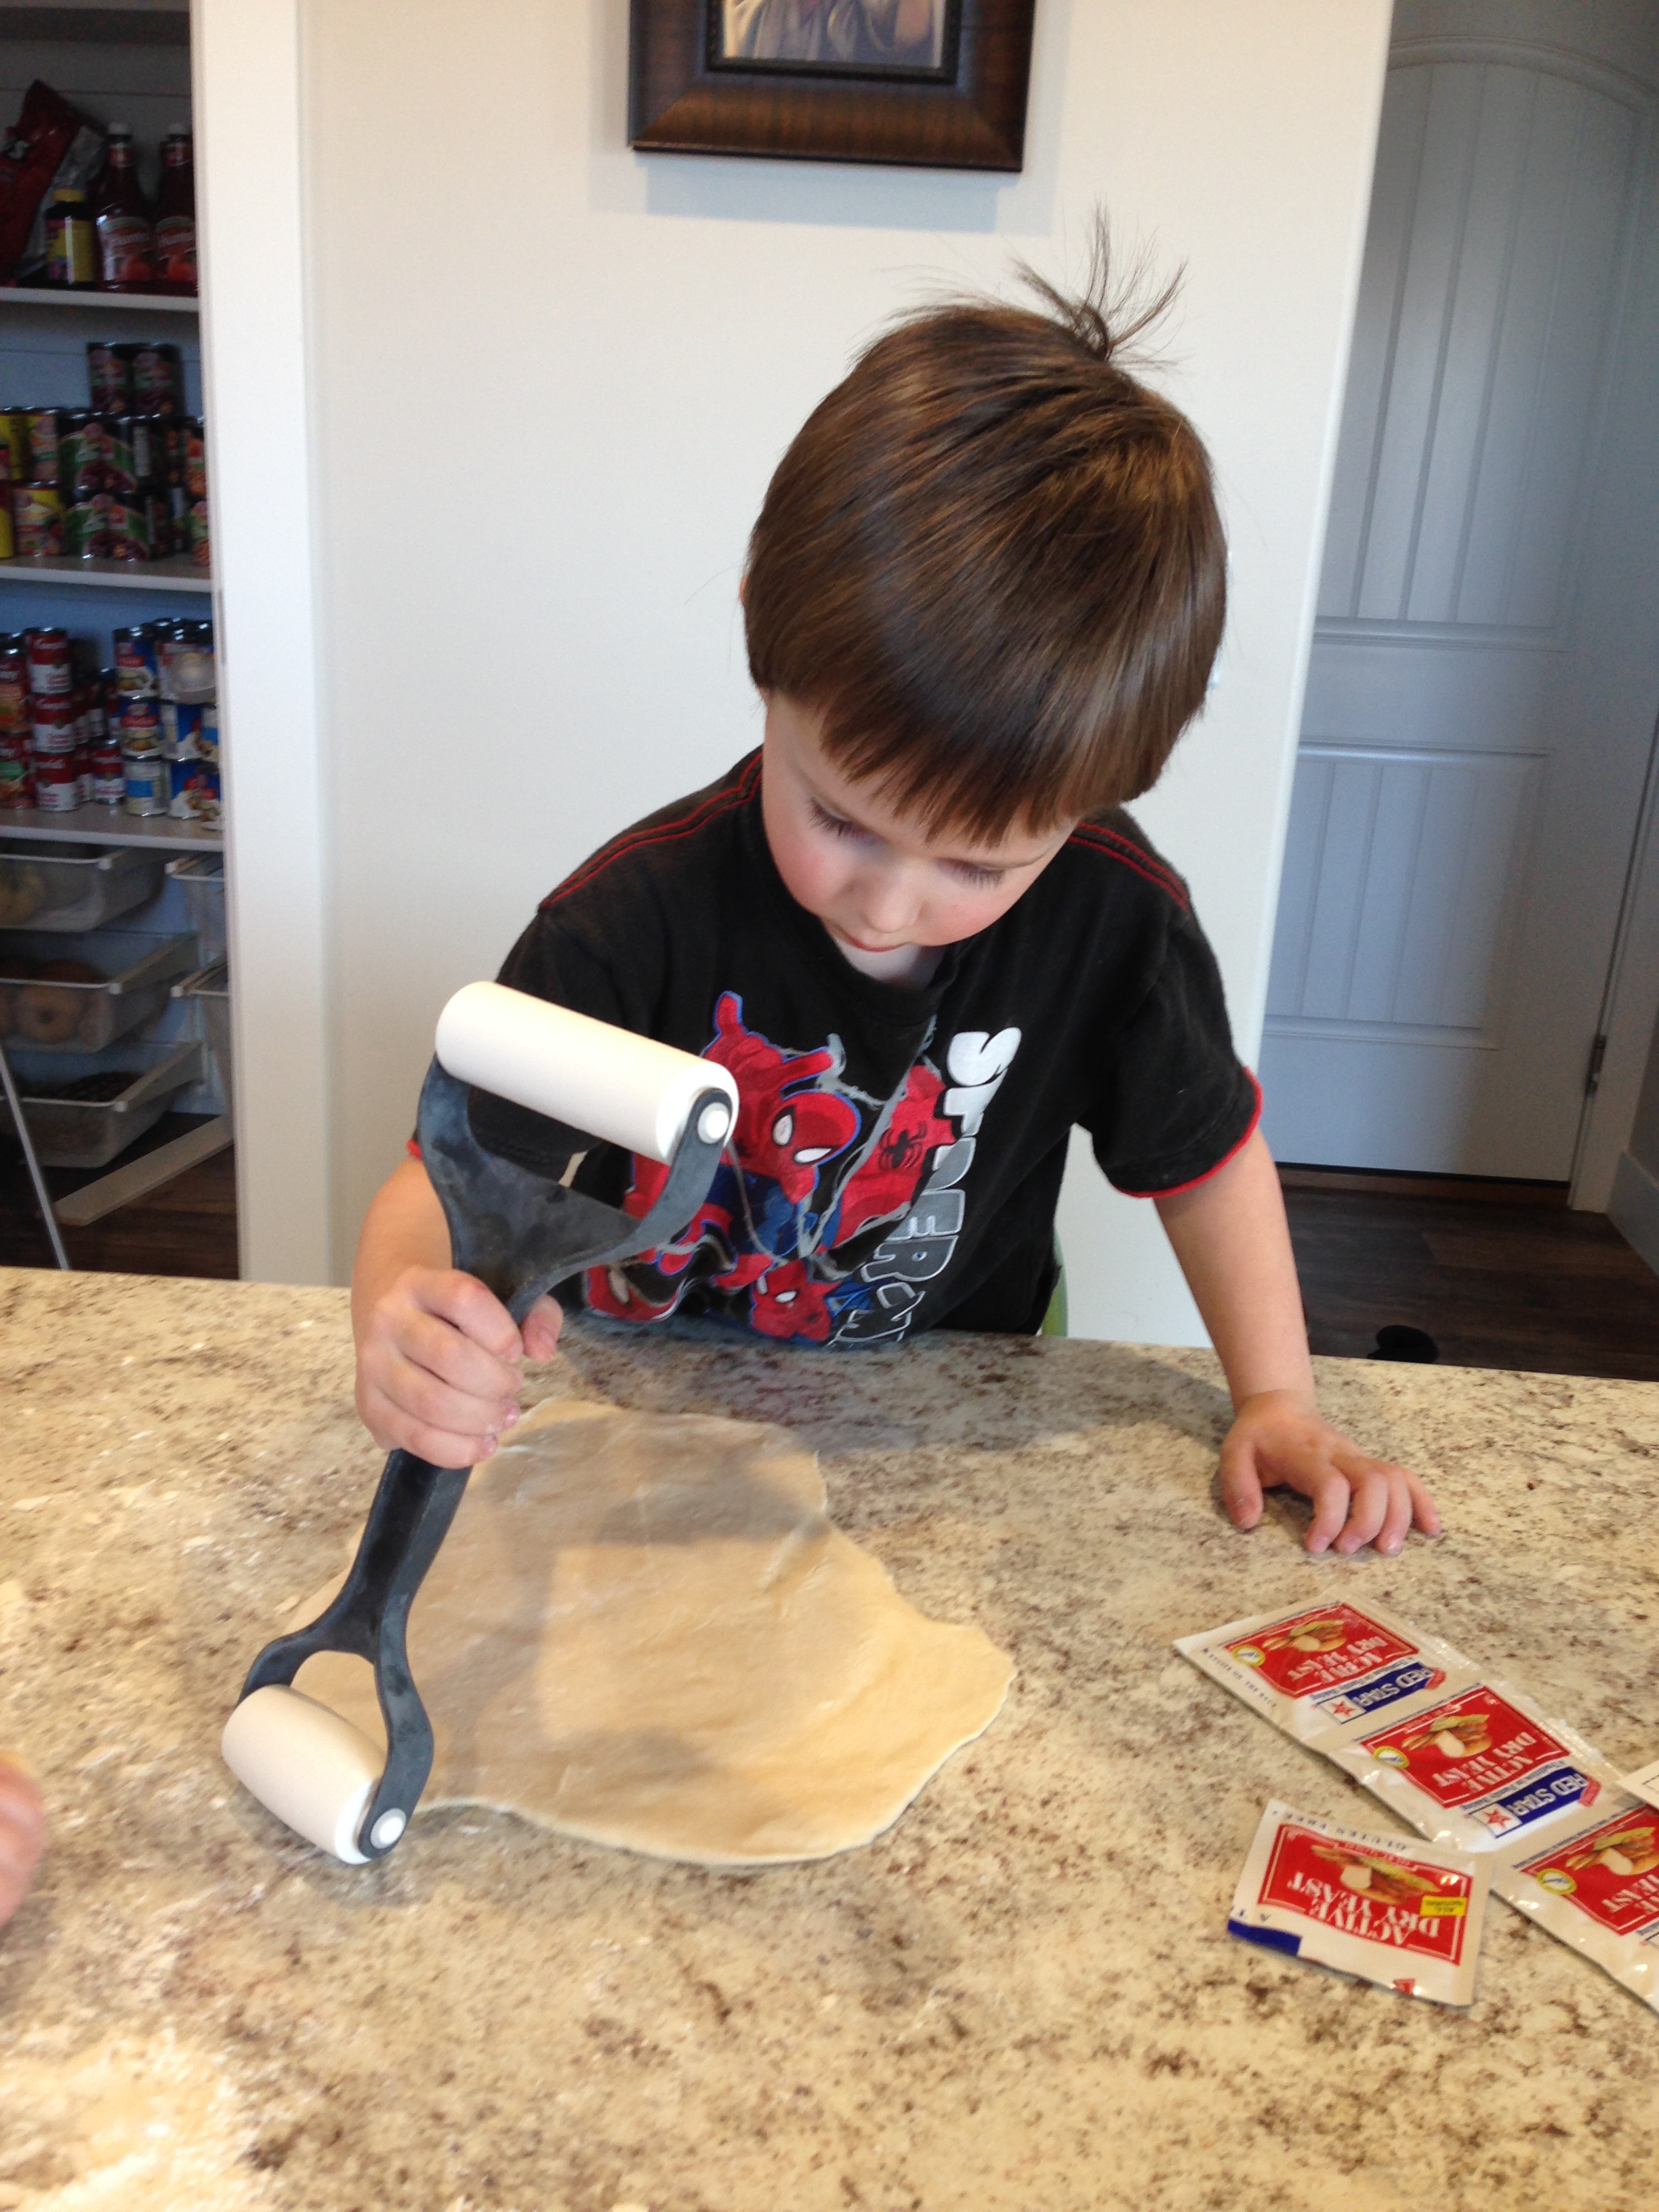
So, when freezing your pizza, make up your pizza dough. I was able to make 5 from mine, but they were a very thin crust (I tried to pull out that 5th one because I knew my hubby would be disappointed if he came home and I was making pizza that he couldn’t eat;). It’s his favorite food after all;) ). And I had a lot of help;).
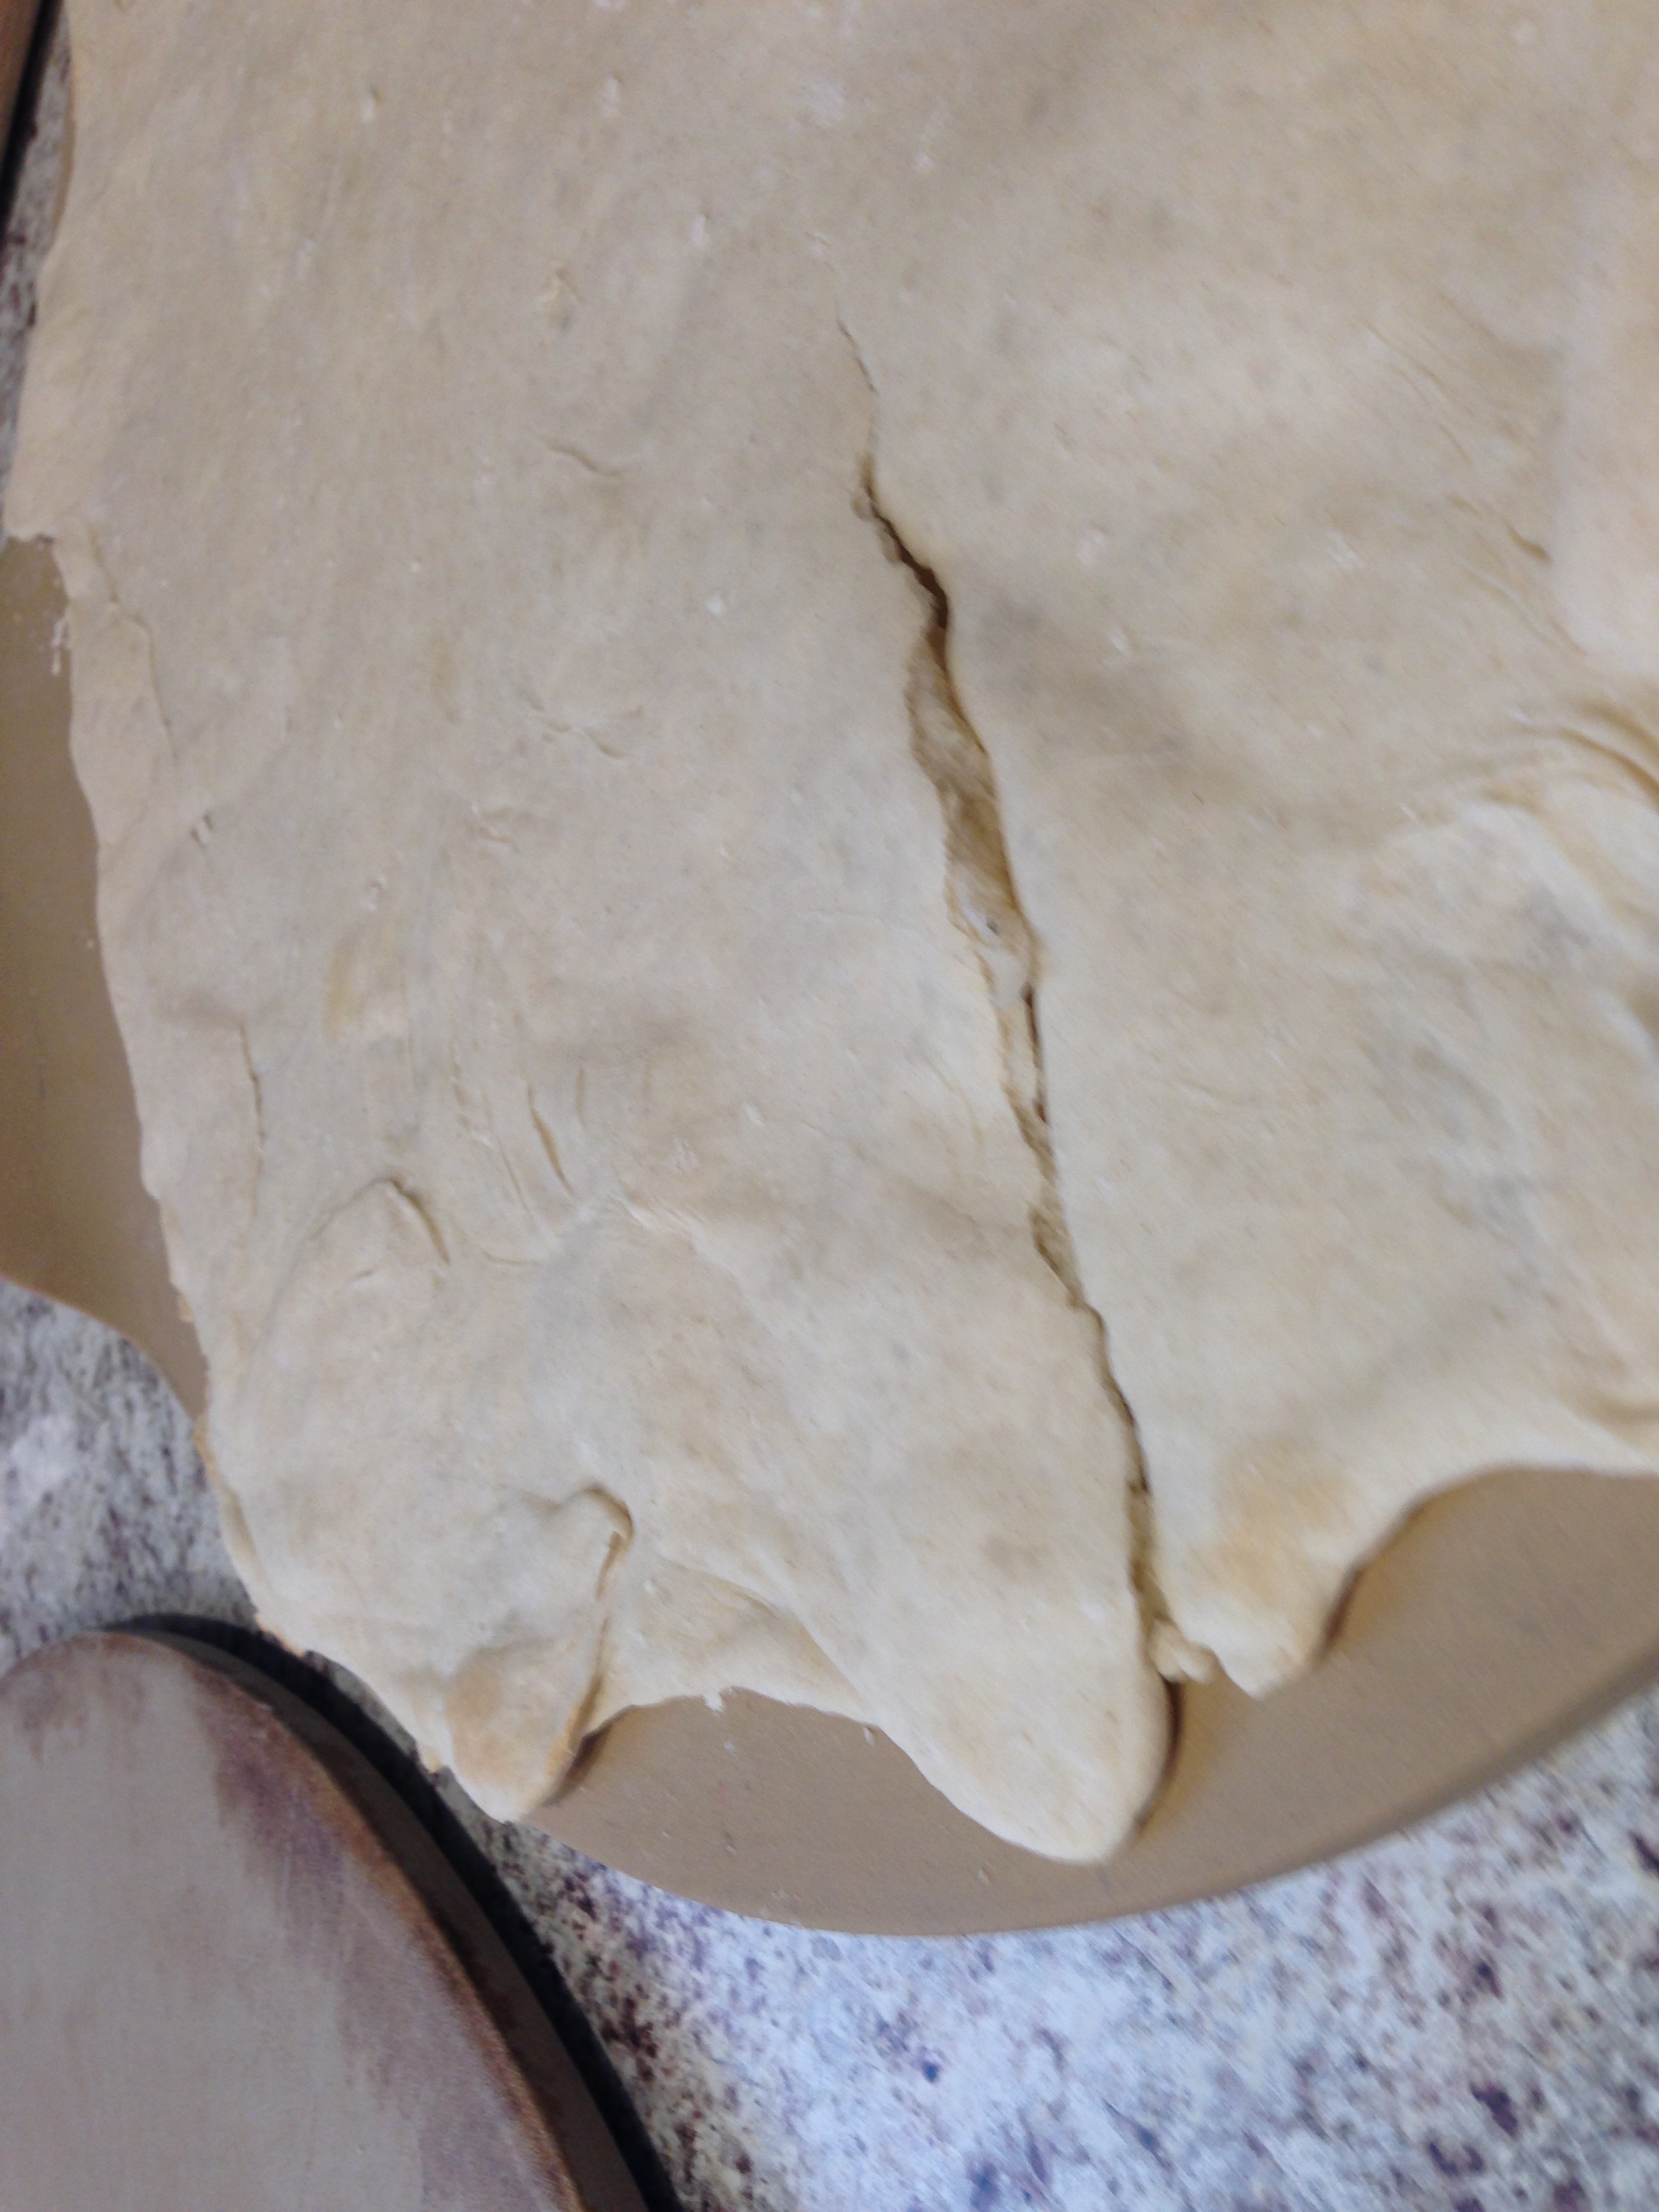
Bake each crust for 5-7 minutes. With my particular crust, 6 minutes was perfect. You want it firm enough that it is no longer sticking to the pizza stone/pan, but not crispy, because you’ll be baking it again when you unfreeze it;). Here is a picture of the texture you’re kind of looking for- firm on the outside, still chewy on the inside;).
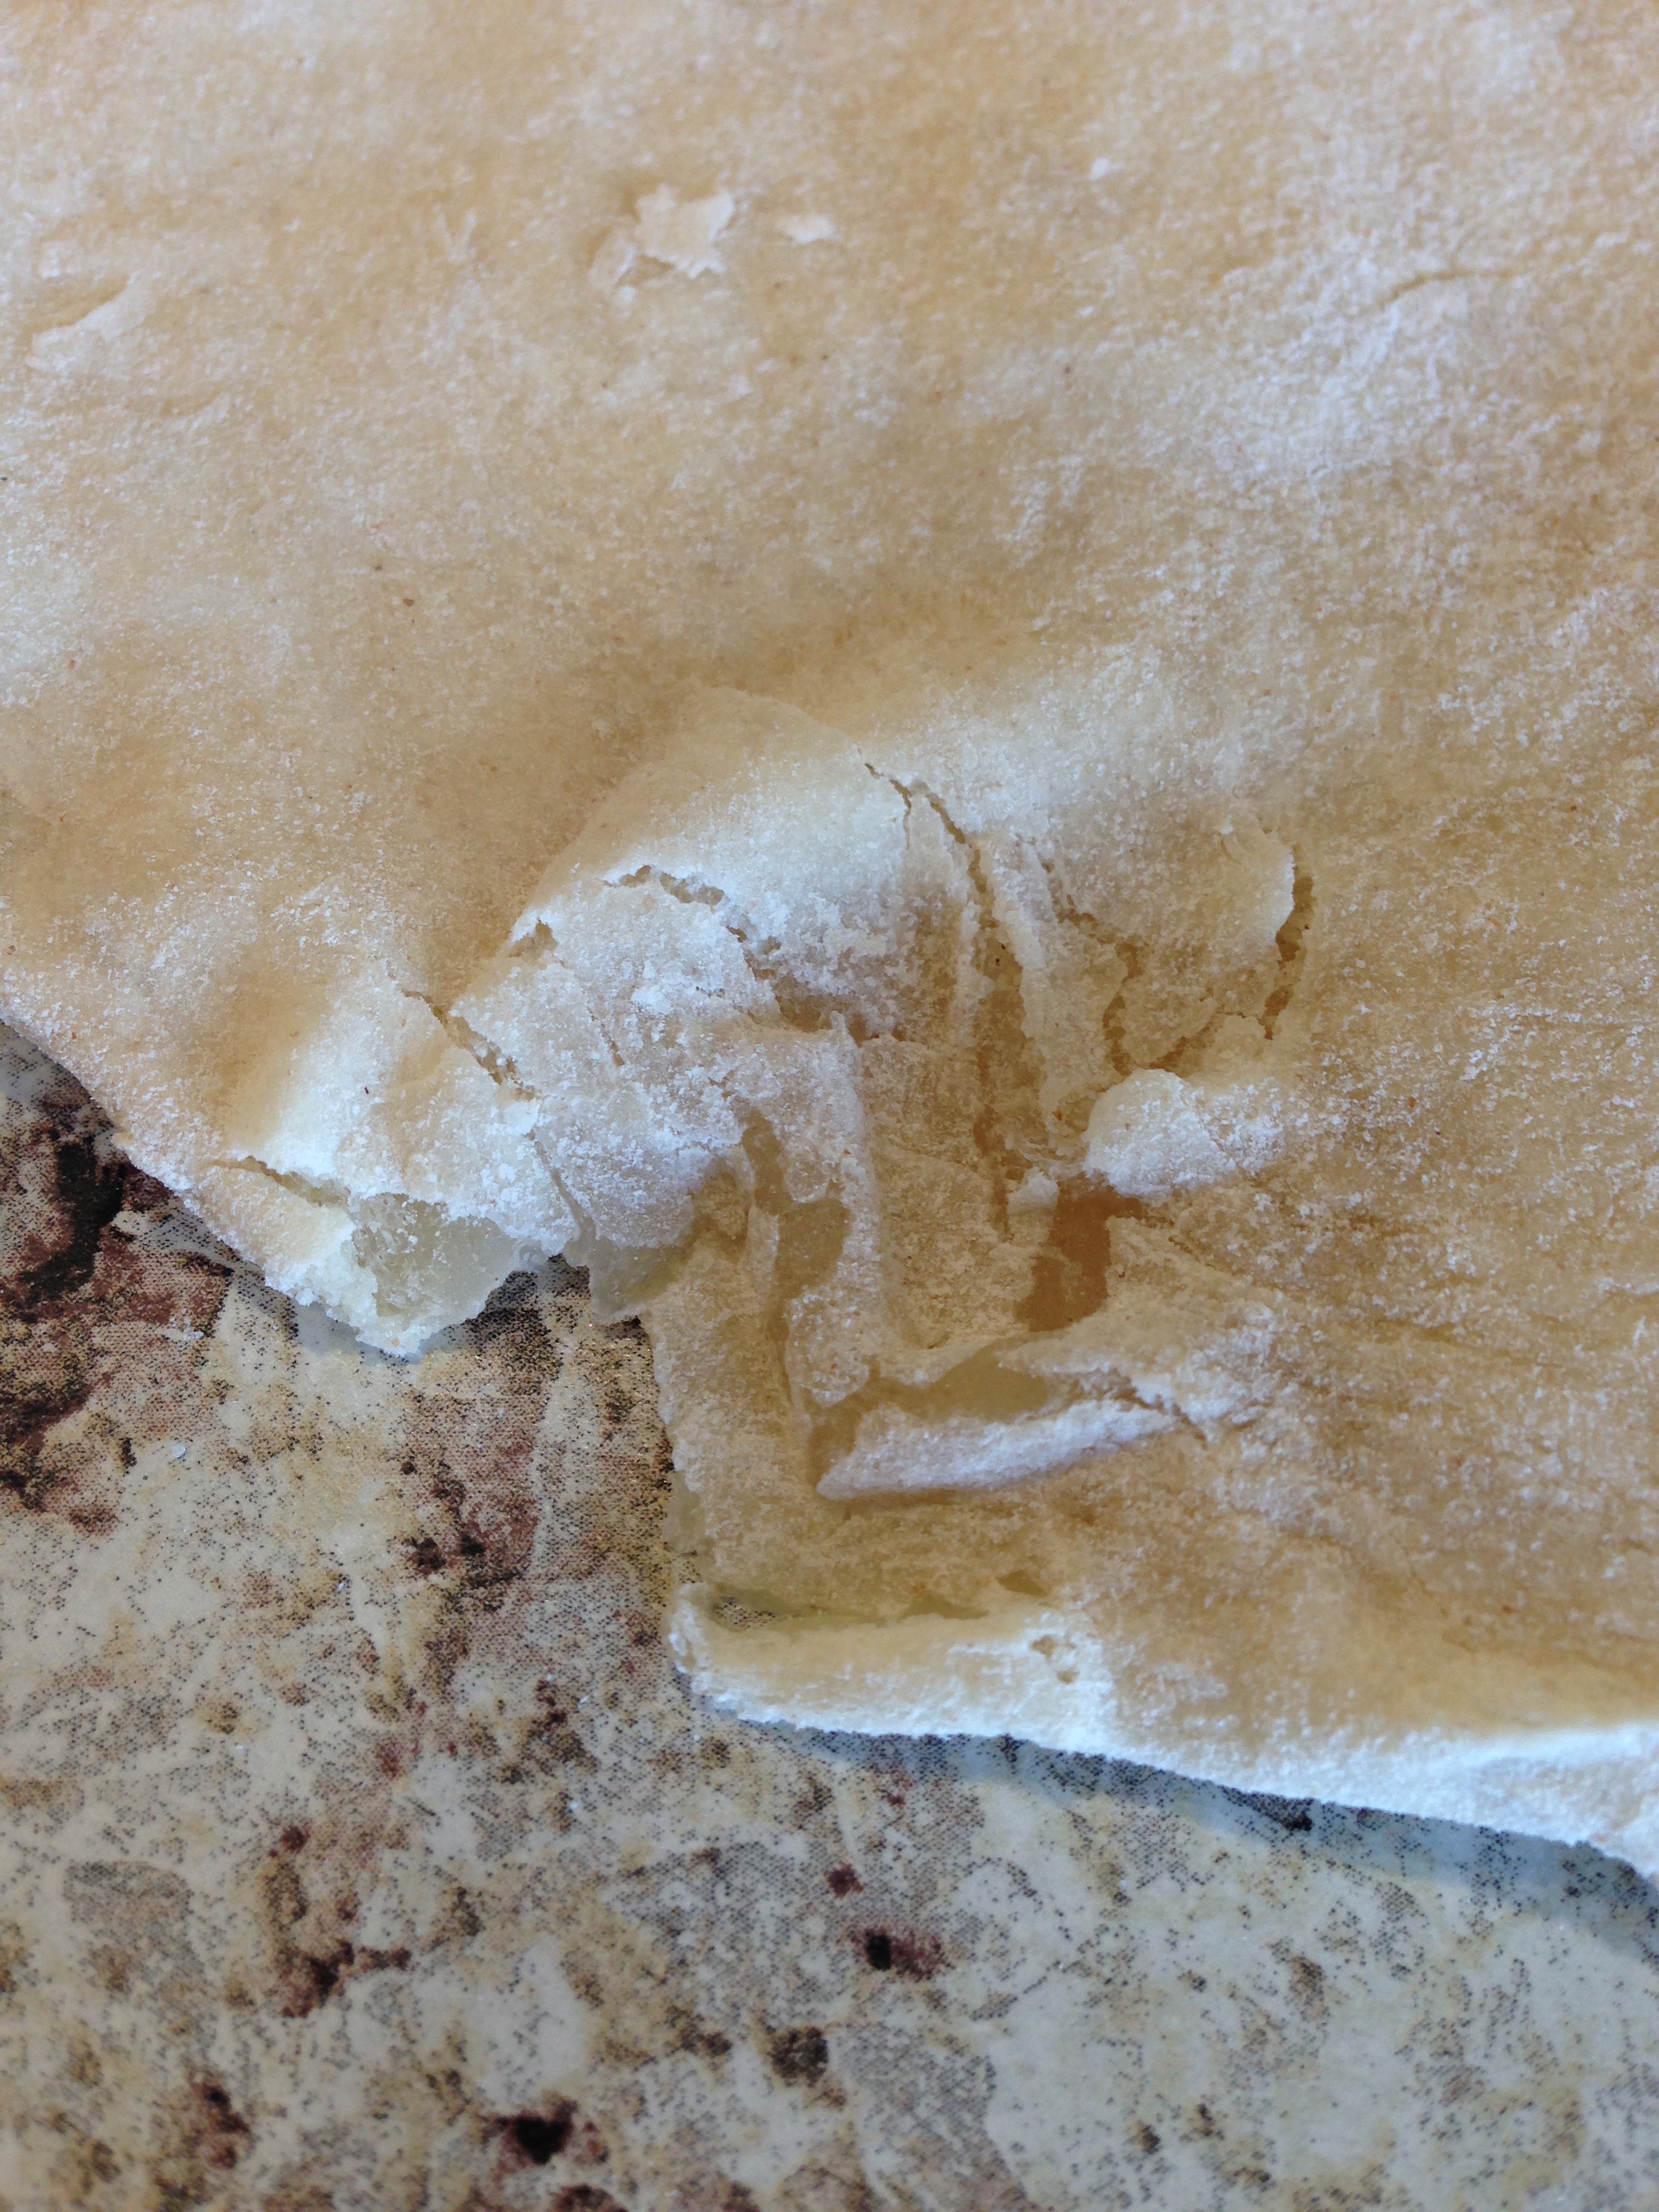
As a side note, one of pizza crusts cracked, but I still used it and it worked great:).
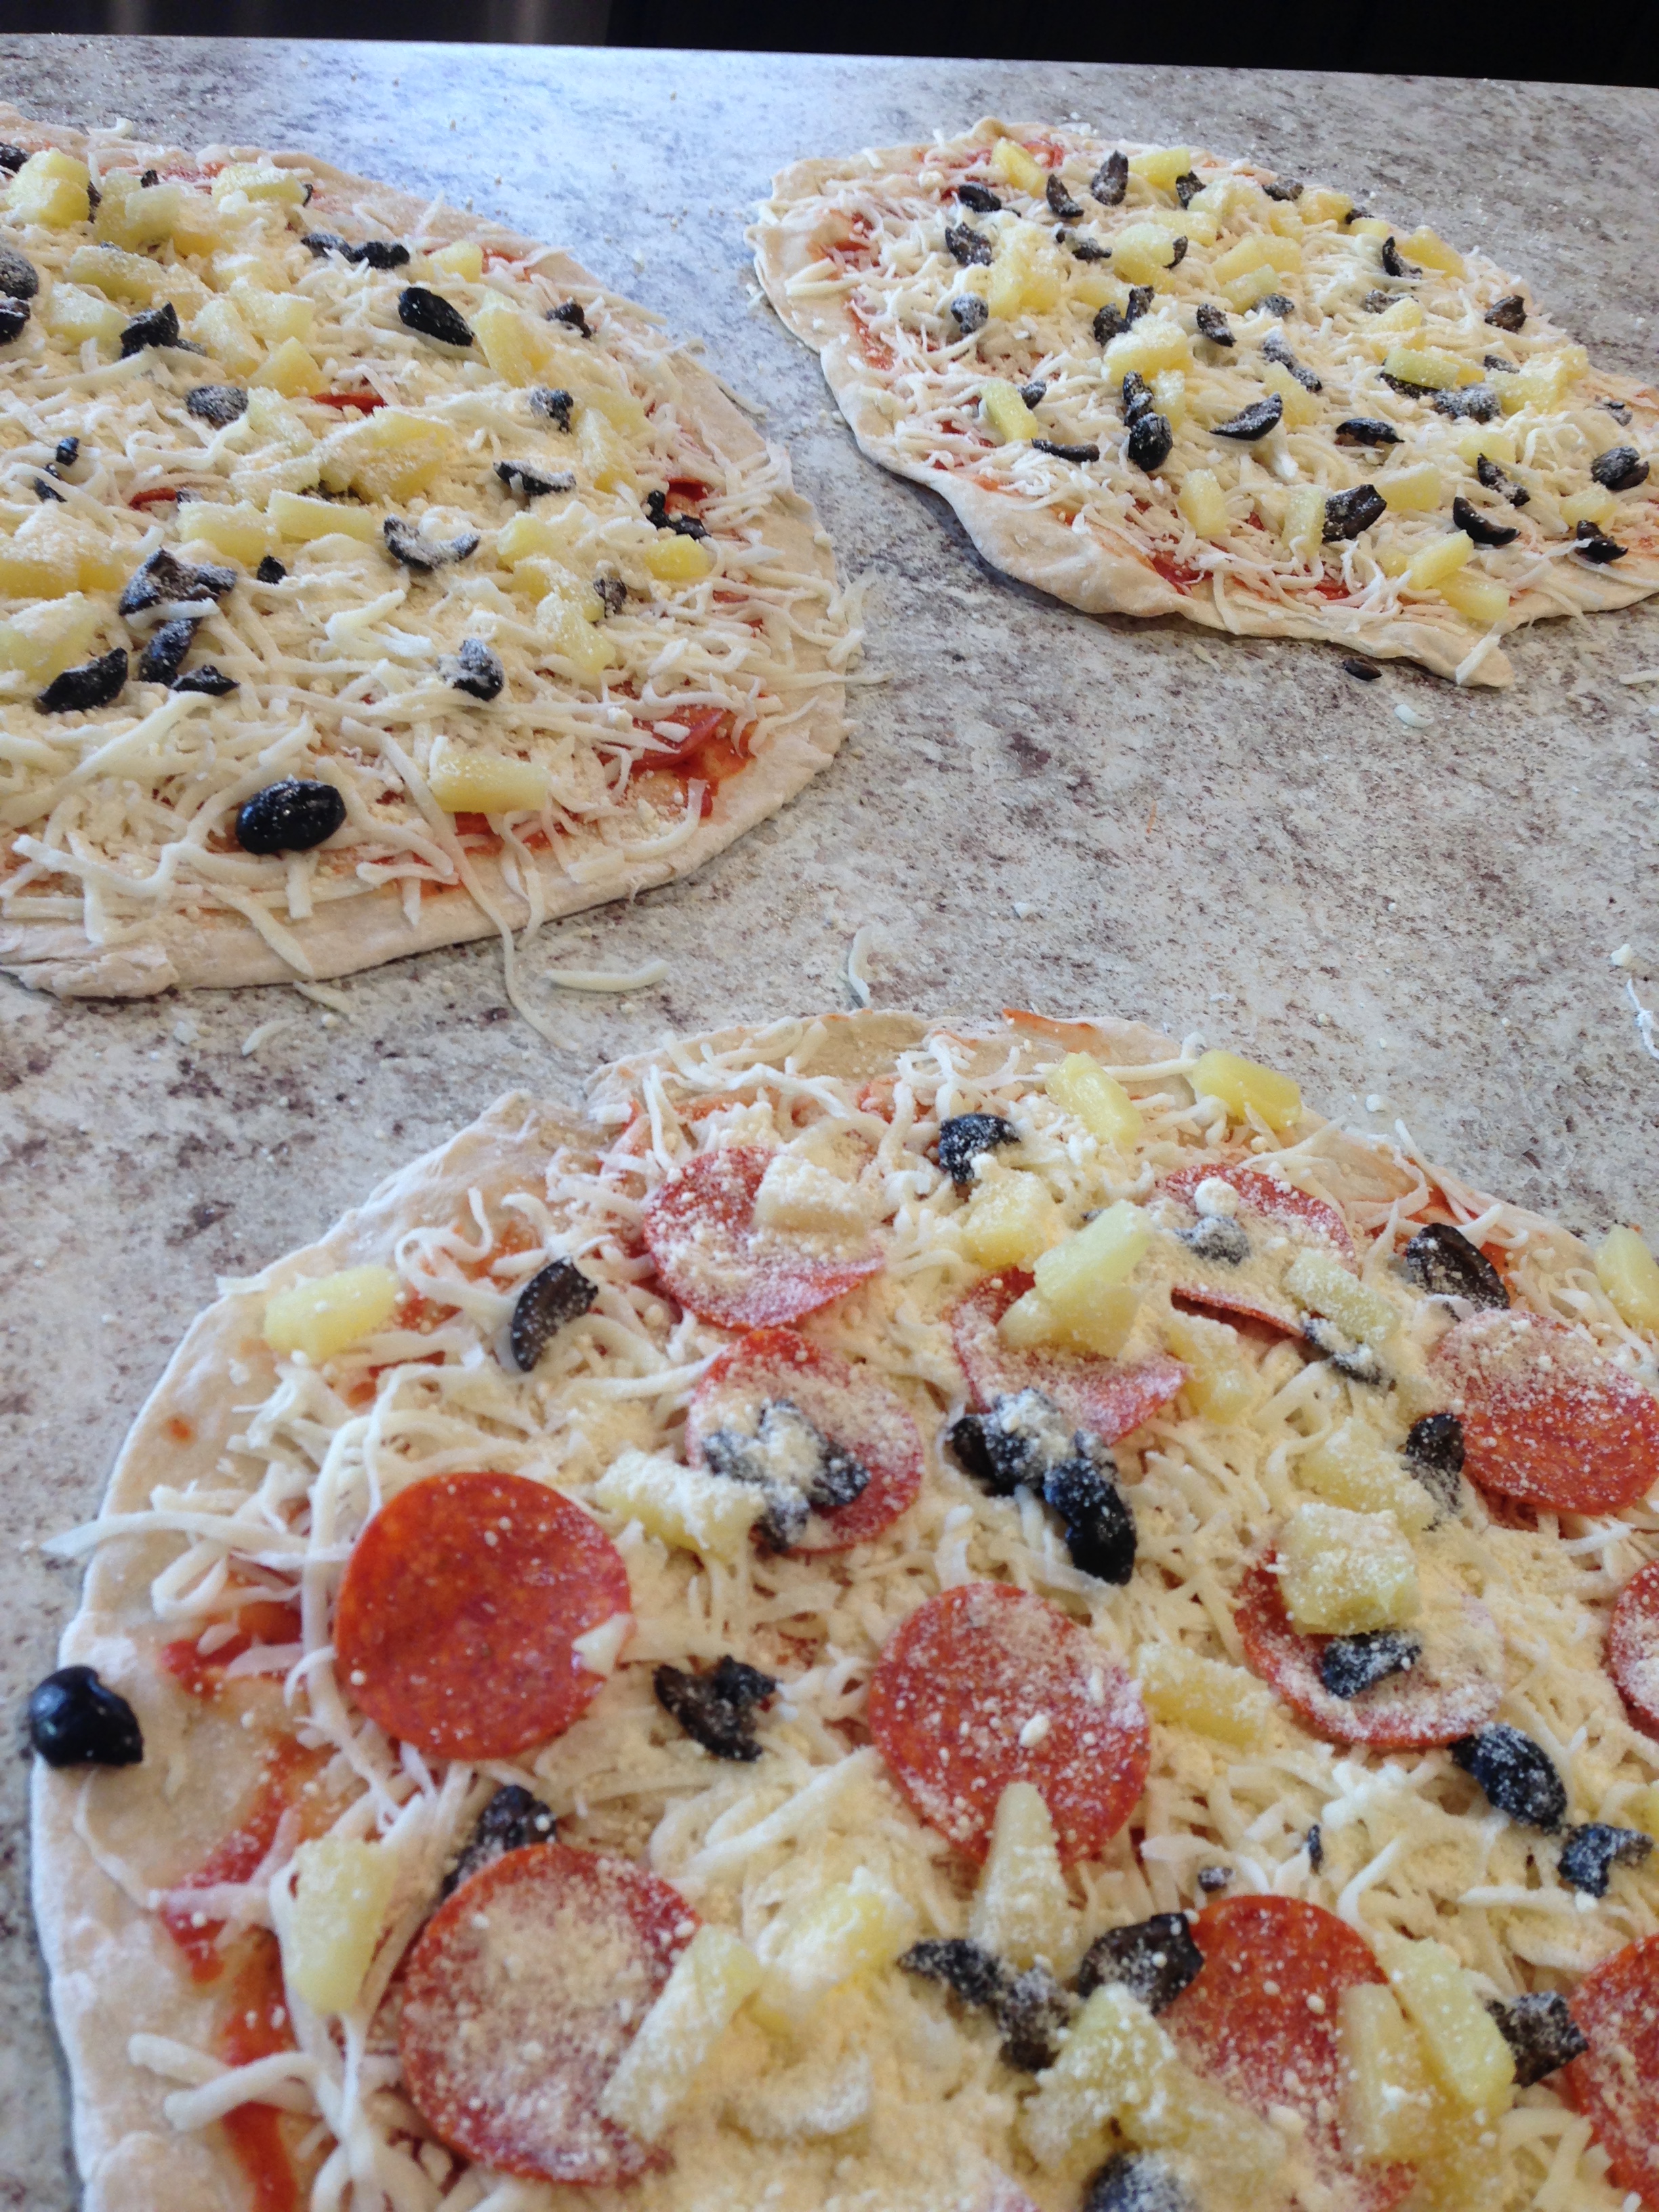
After your crust has cooled, put on all the toppings you want. I used cheese, pepperoni, pineapple, and olives- because that’s how we do it at our house;) ). I can’t wait to try some other variations- barbecue chicken, chicken Alfredo, veggie combo, meat lover’s, maybe even a breakfast pizza!
I experimented putting toppings under the cheese and over the cheese. Normally when I make pizza, I like to put the toppings under the cheese because it holds the toppings better and the cheese gets nicely done, but when doing these freezer pizzas, I felt it worked better when the toppings were placed on top of the cheese. They just cooked a little better, though the pizza really was great both ways;).
Once your pizzas are compiled, place them on a cookie sheet and put them in the freezer til they are frozen. (Just a couple hours max). Once they are completely frozen, carefully take them out and wrap them in plastic wrap (or cling wrap- whatever you have on hand ;) ). Then wrap them in foil. Use a permanent marker to label the pizza and write the directions so it’s all super easy when it comes time to bake them;). With this crust recipe, bake at 425 degrees for anywhere between 12-18 minutes, depending on the thickness of your crust. I felt like the first time I baked my pizzas, 16 minutes was still a little underdone (it had thicker crust), whereas the second time I baked them (with a thinner crust), 15 minutes was a little too long. Just keep a good eye on it;).
When you are ready to eat, simply preheat your oven, pull the pizza out of the freezer, unwrap, and stick it in! (I put mine on a pizza stone;) ). This has been such a great little tool in this mama’s toolbox;). It’s such a great way to make a fun meal for my family on a weekend night when I’m not really in the mood to cook, or just to keep us from eating out, because we know we have delicious frozen pizza in the freezer at home. And because I am controlling what is going on my pizza, I feel like it’s a much healthier option than picking up a frozen pizza from the grocery store or going to little Caesar’s ;).
Have any of you tried this? I would love to hear how it turned out! Share in the comments below!
 Camille Hoffmann
Weekly Newsletter Contributor since 2014
Email the author! camille@dvo.com