Why Bread Dough Doesn't Rise and What to Do With that "Dead" Dough!
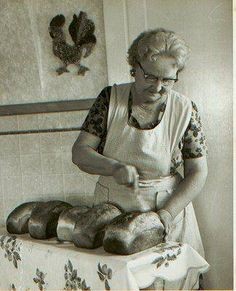
I've been grinding my own wheat and making my own bread for over 30 years now. And I absolutely LOVE this domestic chore. In fact, I don't see it as a chore-it's therapy. I know there are lots of Cook'n readers that understand what I'm saying and feel the same way.
Avid bread-makers tend to gravitate to one another. We talk bread, trade secrets, and share recipes. Lately I've been hearing about struggles with rising. You know how frustrating that is. After all, making a loaf of bread is a commitment-a time-, energy-, and resource-commitment. Shoot, who wants to waste time, energy, and resources in the possibility of failure?
So it's with this question in mind that I thought we'd discuss a couple things:
· the 5 typical reasons bread fails to rise (and what to do about them)
· clever ways to use any dough that does fail to rise (it has a future!)
REASON 1: Old Dead Yeast
. It's true that dry, inactive yeast can live for years if kept at the right temperature. But every now and then you'll buy some that's been stored in a
hot warehouse or submitted to fluctuating temperatures. So don't get discouraged and automatically assume you did something wrong; it could be as simple as
dead yeast. And going forward, always store freshly purchased yeast in an airtight container in the freezer.
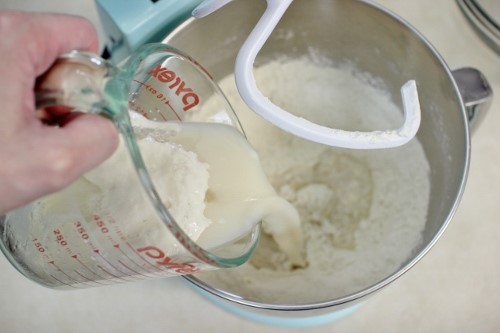
REASON 2: Recipe Liquid Is Too Hot . Recipes calling for active dry yeast say to dissolve that yeast in warm water. Sometimes the recipe calls for the liquid to be heated with fat and then added to the yeast. Either way, if the liquid is too hot it will kill off yeast cells. Yeast is pretty picky. It doesn't like it too cold and it doesn't like it too hot. A kitchen thermometer is an accurate way to test water temperature and is worth the expense.

REASON 3: The Kitchen Is Too Cold . As mentioned above, yeast prefers a narrow temperature band, usually between 75°F and 90°F. There is a little wiggle room on either side, but not a lot. If dough sits too long in a cold room, yeast will eventually die. Some of you likely know what I mean-it's been tough this winter to keep the kitchen at 75°F. I've been turning my oven on for a few minutes, then shutting it off and placing my bowl of dough in it to rise. The trick here, though, is to not forget to turn the oven off before adding the dough! (Ask me how I know this.) Another effective technique for dough-rising that some of my neighbors use is to place it on top of the refrigerator.

REASON 4: Not Enough Time To Rise . We live in an instant-results world-we want what we want NOW. This doesn't work with rising dough, though. It simply takes time. Maybe even longer than you or the recipe-writer expect. A longer rise time could be due to what we just talked about-a room that's not warm enough or that most of your yeast was dead. It could even be the kind of flour you're using. Even sweet bread dough takes a long time to rise. If the dough hasn't risen as much as you expect, just give it more time. Besides, a slower rise results in a more flavorful bread.

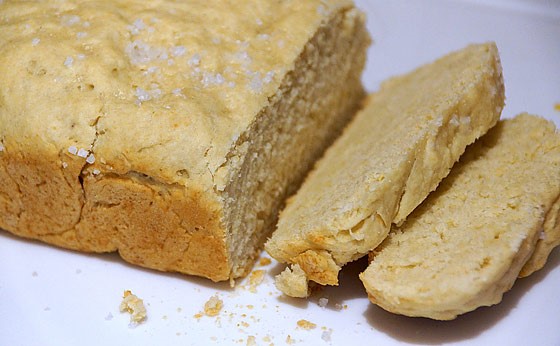
REASON 5: The Wrong Size Pan . Sometimes it isn't that the dough didn't rise, but that it doesn't look like it rose. Usually this is because the pan is too large for the amount of dough. Here's the rule of thumb for best pan sizes:
ü A recipe with approx. 3 cups of flour is perfect for an 8-1/2 x 4-1/2 inch pan.
ü A recipe with approx. 4 cups of flour is perfect for a 9 x 5 inch pan.
ü A recipe with approx. 4-1/2 cups of flour is perfect for a 10 x 5 inch pan.
Now the best part: Uses for that lump of dough that didn't rise. Never throw it out! Instead:
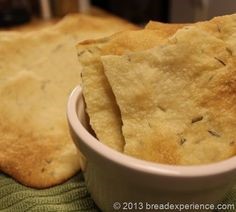
Roll some of it very thin, sprinkle with herbs and/or coarse salt and bake homemade crackers.
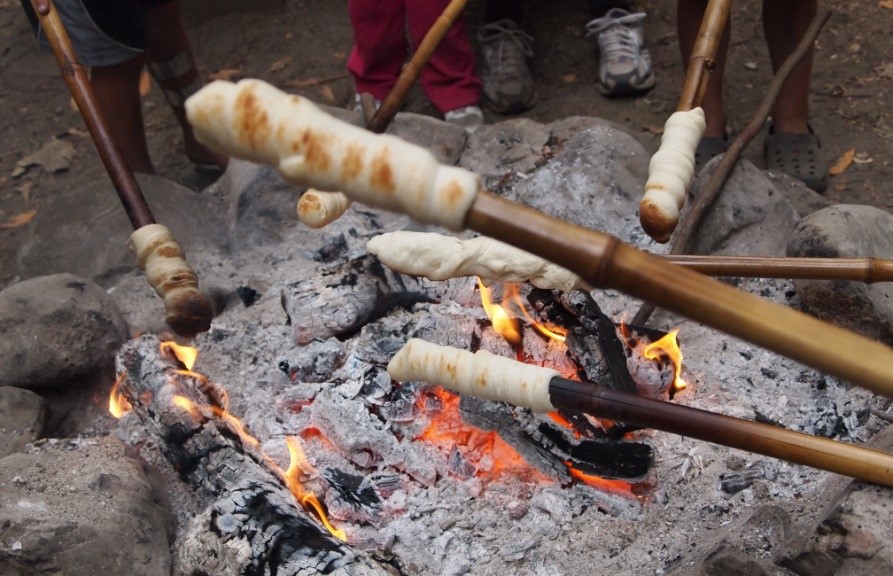
Wrap strips around washed and buttered sticks and cook it over an open fire (still one of my favorite memories from childhood camping trips).
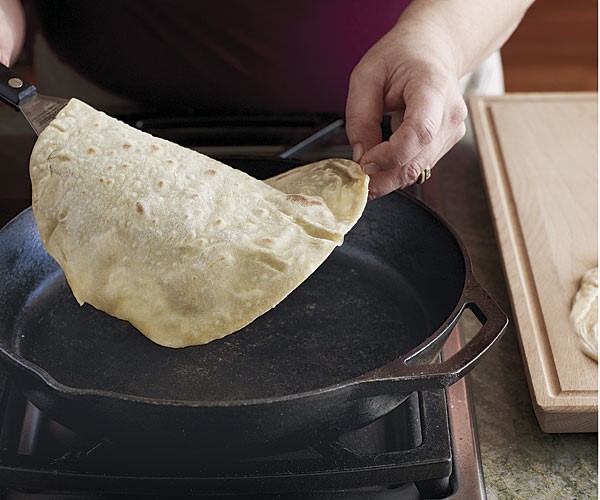
Stretch it thin and bake into flatbreads.
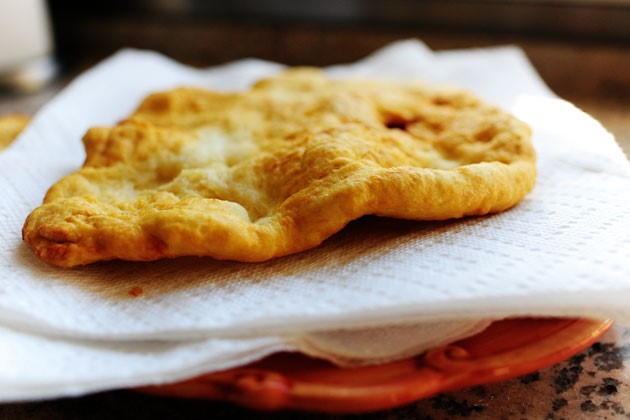
Stretch it thin, fry in a skillet, and spread with butter and honey, and sprinkle with cinnamon.
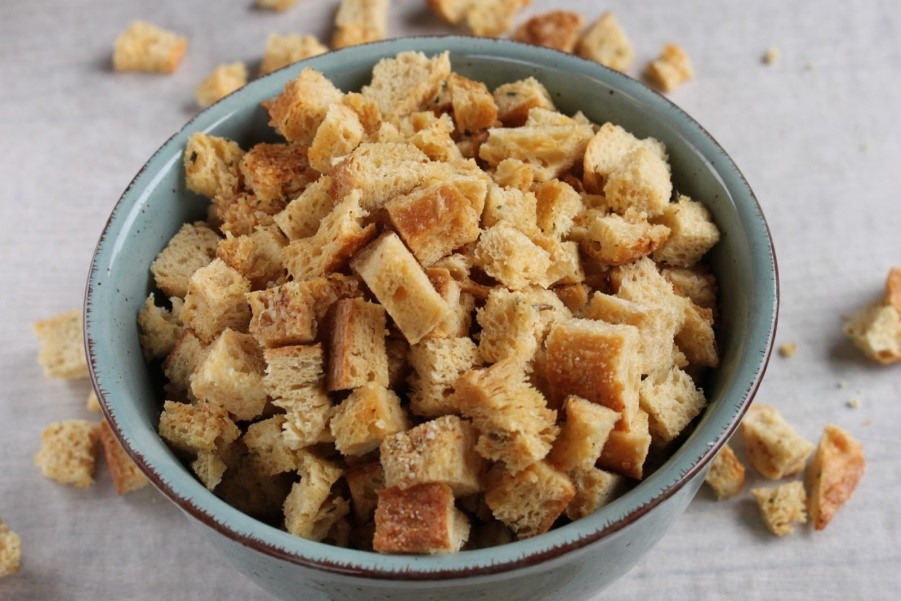
Bake it into loaves anyway, and when cooled, cube the bread, sprinkle the cubes with melted butter and herbs, and toast them. Voila, homemade salad croutons!
Bake it into loaves anyway, and when cooled, process the loaves into crumbs, toast the crumbs, bag them, and freeze them. You now have your own Panko bread crumbs for casseroles, etc.

OR, if you're feeling generous, bake it into loaves anyway, and when cooled, crumble the loaves, bag the crumbs and freeze them. Then use those crumbs to feed the birds through the rest of the winter.
Finally, take heart. Your dough may not have risen, but that doesn't mean you can't make bread. It just means you made a bread alternative and plan to try again. And keep trying-it's worth the commitment!
Download Cook’n to get more amazing, kitchen-tested recipes and tips like this!
See What Cook'n Can Do


- www.pinterest.com
- www.modernsurvivalblog.com
- www.preparedenesspro.com
- www.chicagonow.com
- www.msjennylin.com
- www.glampedout.com
- www.finecooking.com
- www.pioneerwoman.com
- www.inerikaskitchen.com
- www.whatscookingamerica.net
- www.news.bbc.co.uk
 Alice Osborne
Weekly Newsletter Contributor since 2006
Email the author! alice@dvo.com