WHY Cast Iron is So Popular, Care Tips, and a Killer Recipe!
I was flipping through an old issue of Real Simple magazine and found the best article on cast iron cookware. I come from a family of cast iron believers and cookers, so I was delighted with the validation. Here’s what the article said in a nutshell:
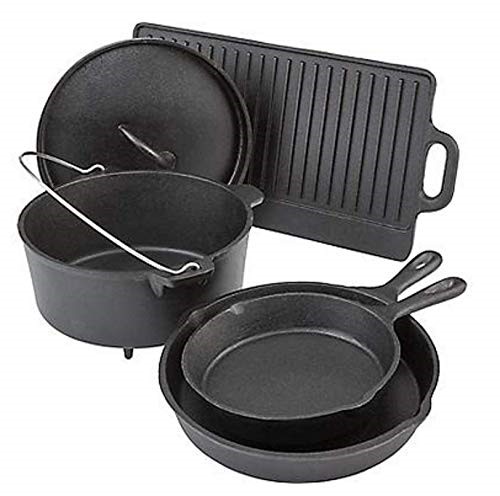
“Mom was right: Looks aren’t everything. A homely cast-iron skillet may lack the sleek allure of more expensive cookware, but if you give it a chance, it will win you over with both its outward appeal (a durable nonstick surface) and its deeper qualities (remarkable heat retention, as well as the ability to impart a perfect crust to everything from a pork tenderloin to a raspberry tart).”
All that and how, if it’s properly cared for, it will last a lifetime are reasons why cast iron is so popular!
The article went on to share what proper care of cast iron really is. For instance, there’s only one thing you shouldn’t attempt in cast-iron cookware: boiling water, which will cause the pan to rust every time.
Also, you need to give it time to come up to temperature. Because cast iron takes longer to warm than other surfaces, patience is the watch cry when using cast iron.
And since cast iron remains hot long after you remove it from the stove, be sure to remind yourself of this by draping a thick towel or a mitt over the handle. (To avoid getting smudges on all your kitchen towels, designate one to use exclusively for drying your cast iron.)
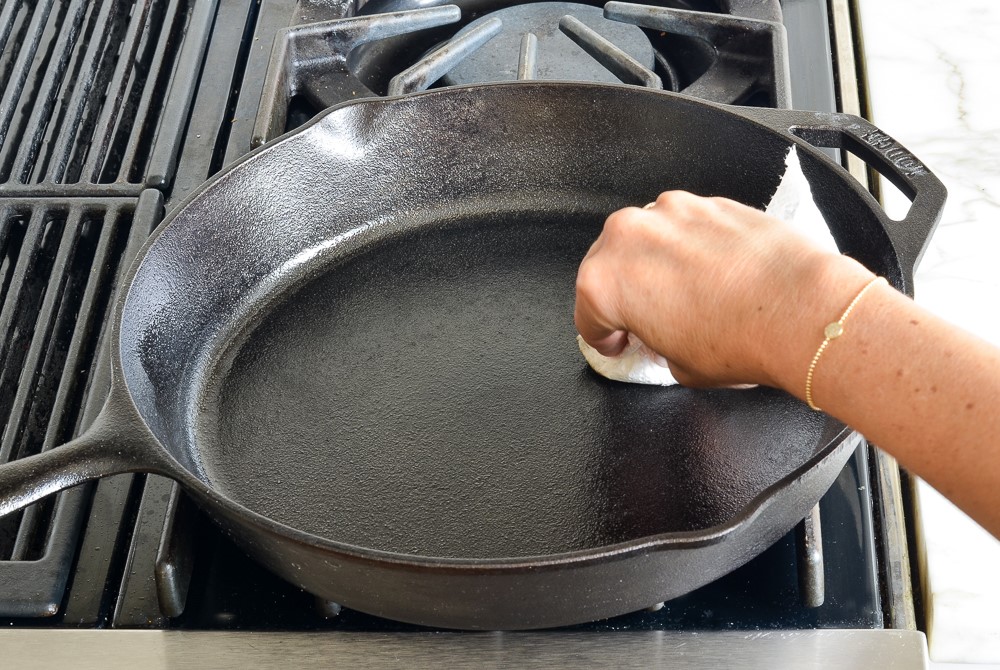
Because traditional cast-iron skillets don't emerge from the box with a nonstick surface, they need “seasoning.” This is simply coating the skillet with cooking oil and baking it in a 350° F oven for an hour. It won't take on that shiny black patina just yet, but once you dry it with paper towels, it will be ready to use.
You'll reinforce the nonstick coating every time you heat oil in the skillet, and you can hasten the process by seasoning as often as you like. Or you can forget seasoning and go with Lodge Logic (available at hardware and cookware stores), a line of pre-seasoned skillets from Lodge Manufacturing, one of the oldest U.S. makers of cast-iron cookware.
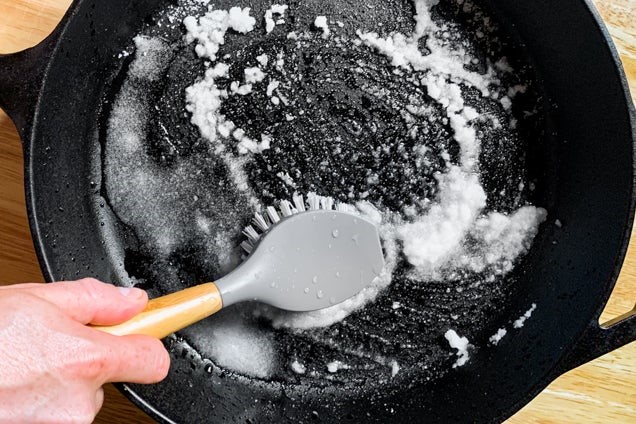
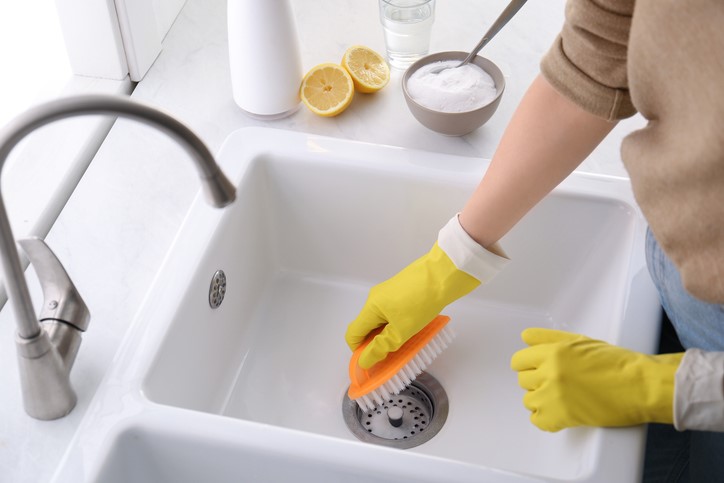
A cast-iron skillet isn't ideal for a set-aside-to-soak sort of person. For best results, rinse the pan with hot water immediately after cooking. If you need to remove burned-on food, scrub with a mild abrasive, like coarse salt, and a nonmetal brush to preserve the nonstick surface. Most die-hard cast iron users will caution against using dish soap. The scrubbing with coarse salt is hands down, the preferred cleaning method.
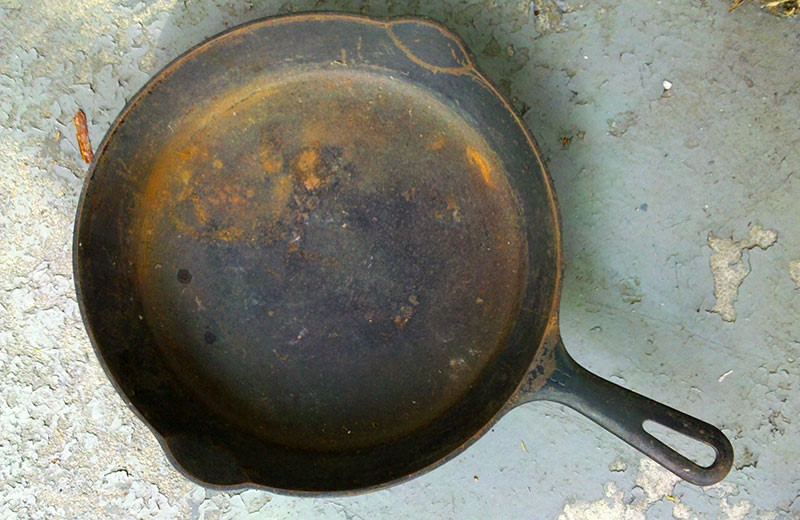
If the pan gets a sticky coating or develops rust over time, scrub it with steel wool and re-season it. To prevent rust, dry the skillet thoroughly and lightly coat the cooking surface with cooking oil. Cover with a paper towel to protect it from dust.
And now my own cleaning tip: I lay my dishrag out in the sink and set my cast iron on it before cleaning the pan. This prevents those annoying black marks the pan will leave after the scrubby-scrubby routine. This way there’s no need to clean the pan AND the sink!
Finally, an interesting fact: Cooking in cast iron increases the iron content of food. The longer the food is in contact with the skillet, the more it will absorb. Thus, this is one reason folks who struggle with anemia really like cooking in cast iron.
I’ll close with a favorite family recipe we always make in our cast iron skillet. If you haven’t had hasselback potatoes, you’re missing out. And if you haven’t had them baked in a cast iron skillet, it’s a double loss. This fantastic recipe comes from Country Living Magazine.
5 tablespoons unsalted butter melted and divided, plus more for pan
6 medium Yukon Gold or russet potatoes (about 2 pounds)
2 teaspoons spices such as M5 Spice Rub, divided
2 tablespoons chopped, fresh, flat-leaf parsley
sour cream for serving
Directions:
Add Recipe to Cook'n
“Mom was right: Looks aren’t everything. A homely cast-iron skillet may lack the sleek allure of more expensive cookware, but if you give it a chance, it will win you over with both its outward appeal (a durable nonstick surface) and its deeper qualities (remarkable heat retention, as well as the ability to impart a perfect crust to everything from a pork tenderloin to a raspberry tart).”
All that and how, if it’s properly cared for, it will last a lifetime are reasons why cast iron is so popular!
The article went on to share what proper care of cast iron really is. For instance, there’s only one thing you shouldn’t attempt in cast-iron cookware: boiling water, which will cause the pan to rust every time.
Also, you need to give it time to come up to temperature. Because cast iron takes longer to warm than other surfaces, patience is the watch cry when using cast iron.
And since cast iron remains hot long after you remove it from the stove, be sure to remind yourself of this by draping a thick towel or a mitt over the handle. (To avoid getting smudges on all your kitchen towels, designate one to use exclusively for drying your cast iron.)
Because traditional cast-iron skillets don't emerge from the box with a nonstick surface, they need “seasoning.” This is simply coating the skillet with cooking oil and baking it in a 350° F oven for an hour. It won't take on that shiny black patina just yet, but once you dry it with paper towels, it will be ready to use.
You'll reinforce the nonstick coating every time you heat oil in the skillet, and you can hasten the process by seasoning as often as you like. Or you can forget seasoning and go with Lodge Logic (available at hardware and cookware stores), a line of pre-seasoned skillets from Lodge Manufacturing, one of the oldest U.S. makers of cast-iron cookware.
A cast-iron skillet isn't ideal for a set-aside-to-soak sort of person. For best results, rinse the pan with hot water immediately after cooking. If you need to remove burned-on food, scrub with a mild abrasive, like coarse salt, and a nonmetal brush to preserve the nonstick surface. Most die-hard cast iron users will caution against using dish soap. The scrubbing with coarse salt is hands down, the preferred cleaning method.
If the pan gets a sticky coating or develops rust over time, scrub it with steel wool and re-season it. To prevent rust, dry the skillet thoroughly and lightly coat the cooking surface with cooking oil. Cover with a paper towel to protect it from dust.
And now my own cleaning tip: I lay my dishrag out in the sink and set my cast iron on it before cleaning the pan. This prevents those annoying black marks the pan will leave after the scrubby-scrubby routine. This way there’s no need to clean the pan AND the sink!
Finally, an interesting fact: Cooking in cast iron increases the iron content of food. The longer the food is in contact with the skillet, the more it will absorb. Thus, this is one reason folks who struggle with anemia really like cooking in cast iron.
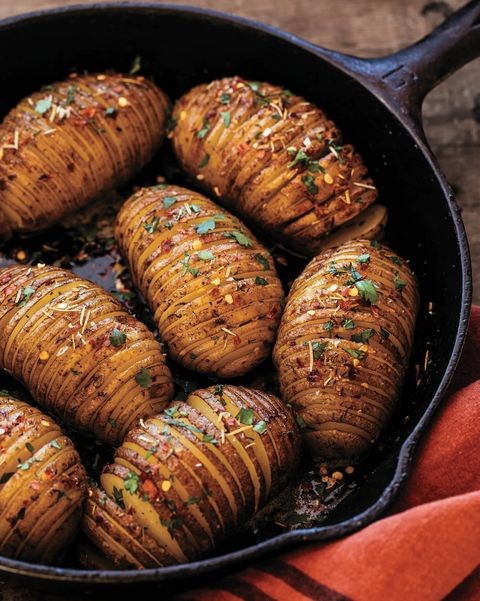
I’ll close with a favorite family recipe we always make in our cast iron skillet. If you haven’t had hasselback potatoes, you’re missing out. And if you haven’t had them baked in a cast iron skillet, it’s a double loss. This fantastic recipe comes from Country Living Magazine.
The BEST Hasselback Potatoes
Ingredients:
5 tablespoons unsalted butter melted and divided, plus more for pan
6 medium Yukon Gold or russet potatoes (about 2 pounds)
2 teaspoons spices such as M5 Spice Rub, divided
2 tablespoons chopped, fresh, flat-leaf parsley
sour cream for serving
Directions:
Preheat oven to 425°F. Grease a 12-inch cast-iron pan with butter. Cut each potato crosswise into 1/8-inch-thick slices without cutting all the way through to bottom and leaving about 1/4 inch of potato intact (this will help them hold together). Arrange potatoes in pan 1 inch apart. Brush with 2 1/2 tablespoons butter. Sprinkle with 1 teaspoon spices.
Cover pan with aluminum foil and bake 30 minutes. Remove foil and drizzle potatoes (which should have opened up slightly) with remaining 2 1/2 tablespoons butter and 1 teaspoon spice rub. Bake, uncovered, until potatoes are crispy on edges and soft in the middle, 15 to 20 minutes. Garnish with parsley. Serve with sour cream alongside.
Cover pan with aluminum foil and bake 30 minutes. Remove foil and drizzle potatoes (which should have opened up slightly) with remaining 2 1/2 tablespoons butter and 1 teaspoon spice rub. Bake, uncovered, until potatoes are crispy on edges and soft in the middle, 15 to 20 minutes. Garnish with parsley. Serve with sour cream alongside.
Recipe formatted with the Cook'n Recipe Software from DVO Enterprises.
 Alice Osborne
Weekly Newsletter Contributor since 2006
Email the author! alice@dvo.com