The Freezer: How to Go From Food Graveyard to Gourmet Assistant
This is not an article about food storage. It’s an article about making amazing food.
Most people use their freezer as their primary means of food storage. While freezing is valuable for saving money and preserving some foods, I prefer to look at the freezer as my little cooking assistant. With just a little bit of planning and strategic thinking, the freezer will no longer be your Graveyard of Good Food, but instead will become another tool for cooking even better than you could have otherwise, even if every ingredient was fresh.
Let’s talk about common mistakes we make with our freezer, and after I’ll provide some tips for using your freezer to upgrade your cooking throughout the week.
Freezer Fallacies (Mistakes to Avoid)
The Freezer is Not a Long-term Storage Solution. When I was in grade school, I learned about the discovery of the wooly mammoth when expeditioners found the remains of one frozen under the ice. Even after hundreds of years, the creature was still whole. In fact, it was edible! This led me to hold the erroneous belief that the freezer is a magic box that immortalizes whatever you put in it.This is false.
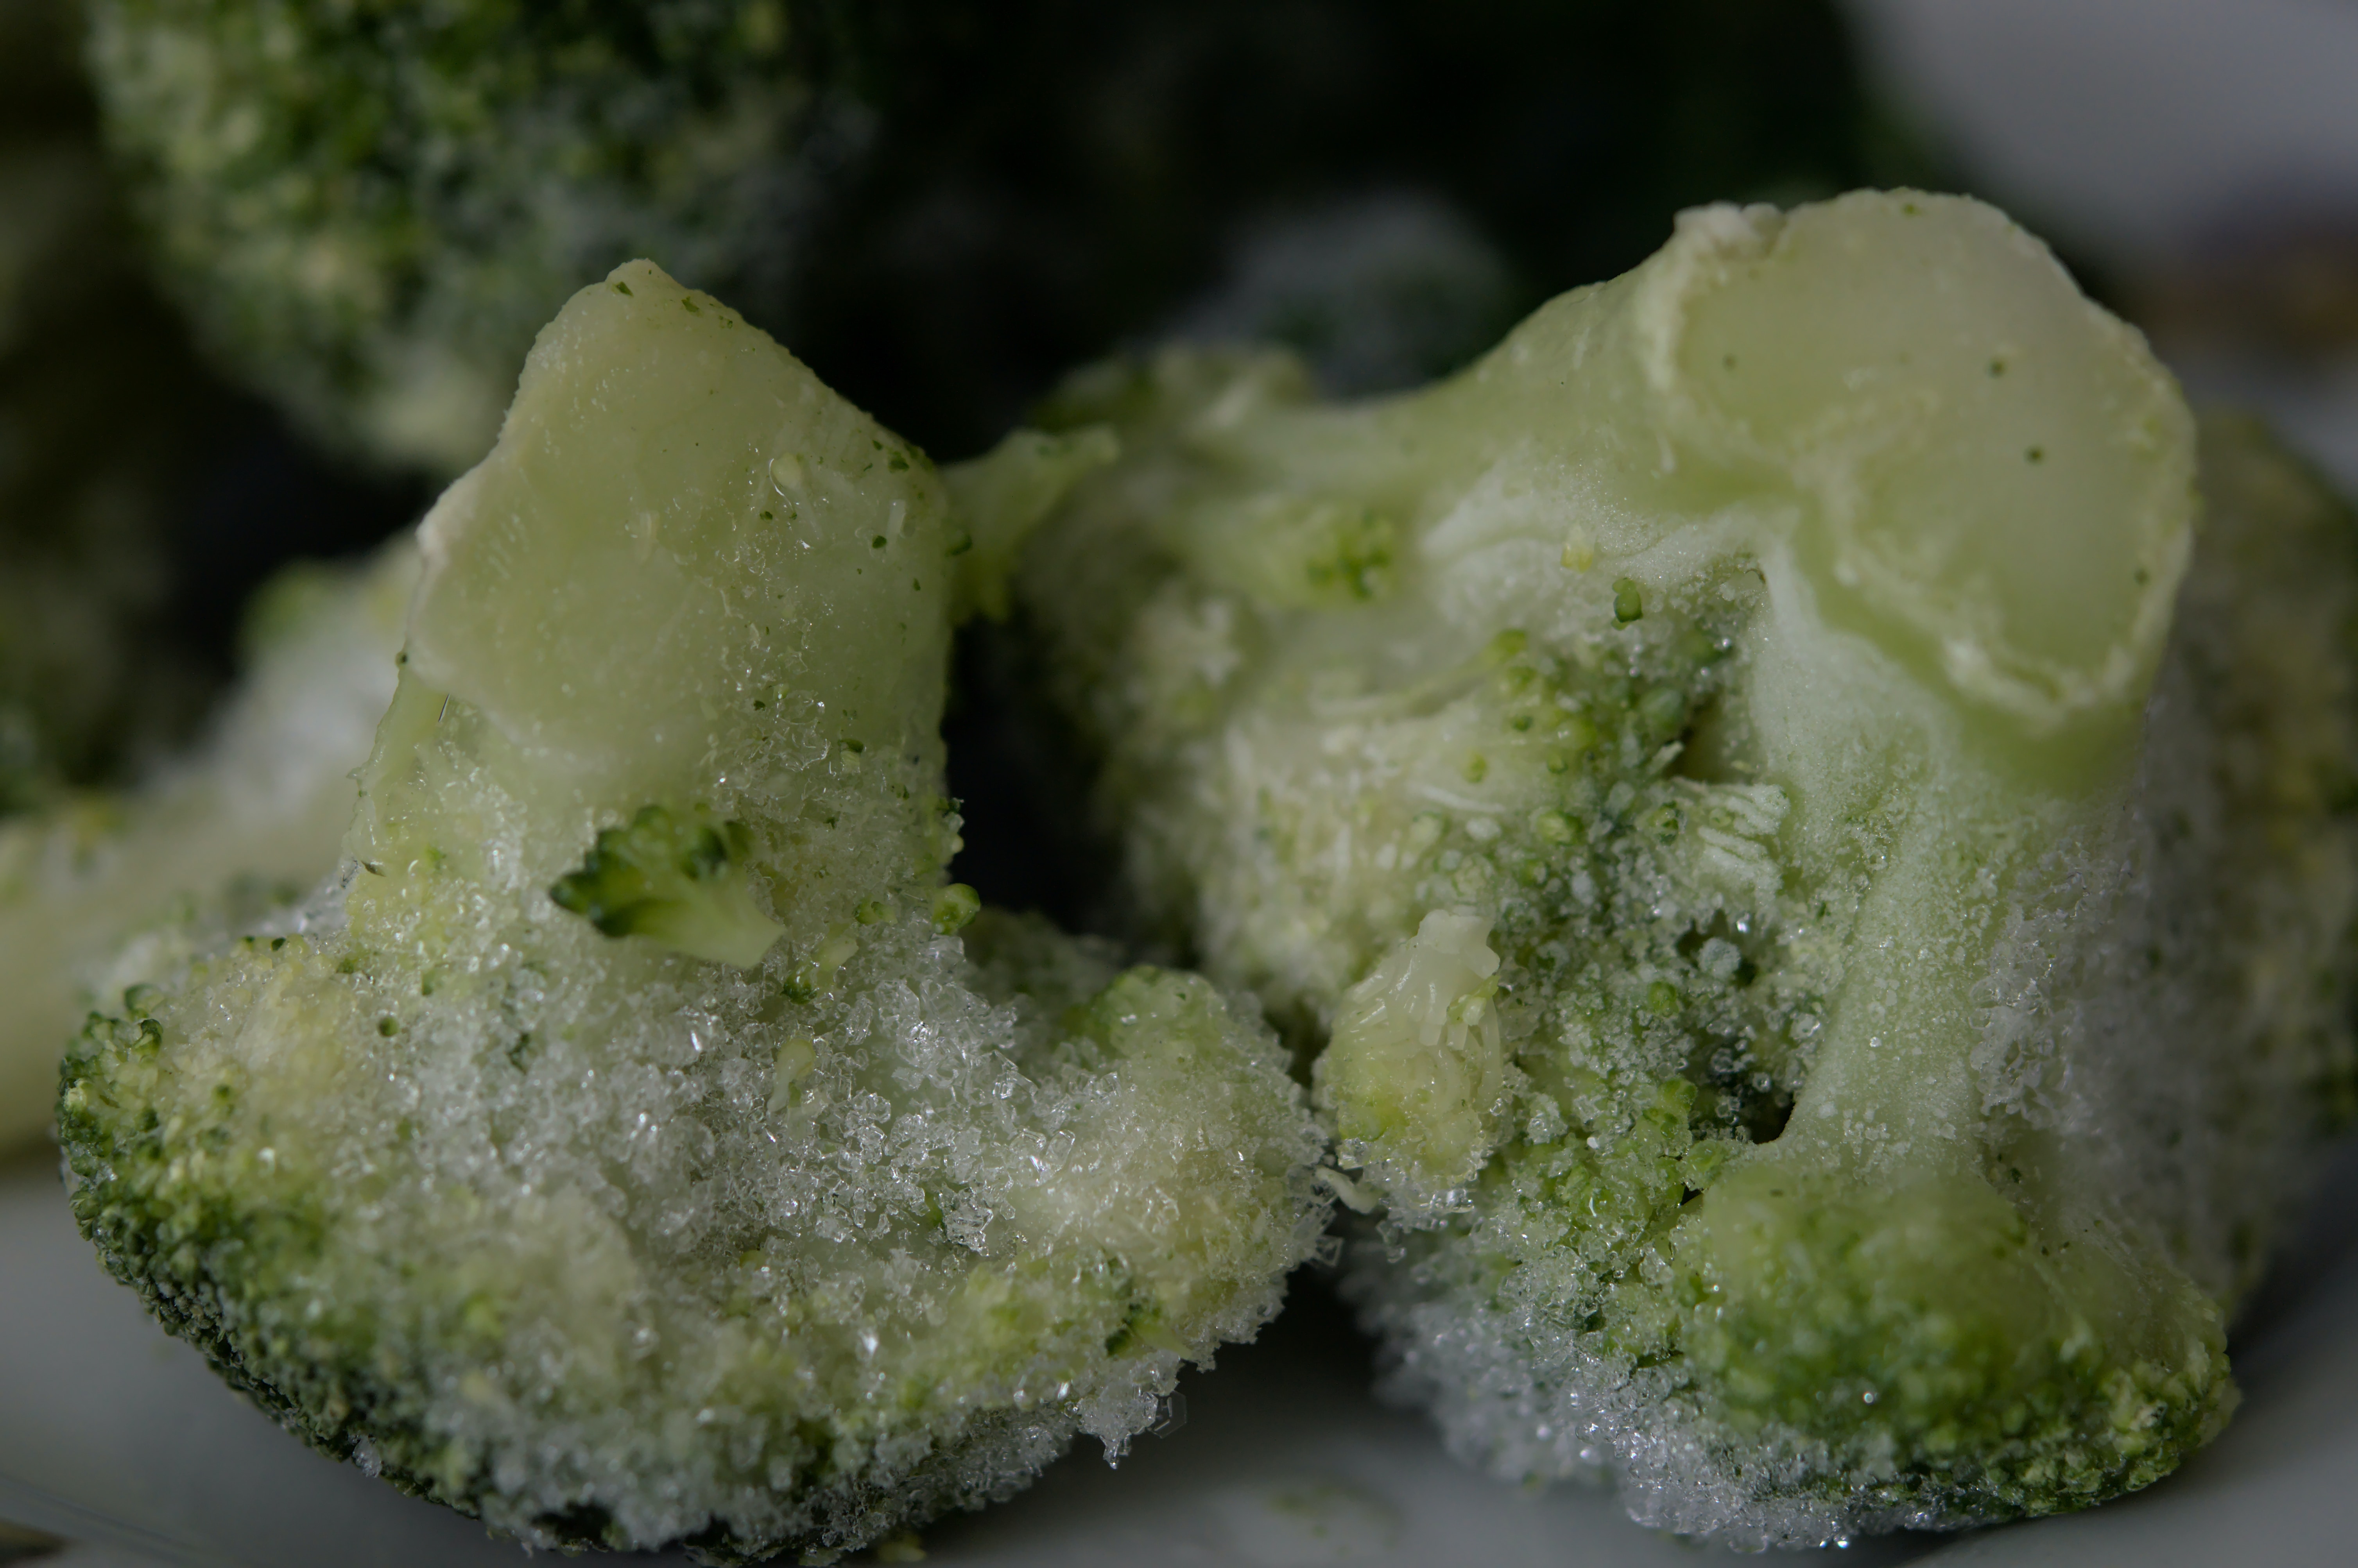
As far as food preservation goes, the freezer is your most short-term solution. Most foods will have gone bad after a few months, but more importantly (for you foodies), most flavor and texture will have been significantly degraded after just a couple of weeks.
This means that to get the most out of your freezer, you’re cycling through it constantly. Thus, it shouldn’t have too much in it, everything should be neatly organized and easily accessible, and you should only freeze things that you know for certain you will use.
No more buying frozen salmon, convincing yourself that you’ll finally start cooking fish. You’re not going to cook with it more than once before it goes bad, and by the time you remember the bag and cook with it again, it’ll be disgusting, and you’ll have once again convinced yourself that you just don’t like fish. Stop that!
Sorry to get preachy.
Anyway, if you want to store something long term, you should try pickled, canned, fermented, freeze dried, or other dry goods like rice or noodles. They all make for more effective food storage, and they’re all delicious in their own way.
Don’t Store in Bulk. This is more of a tag-on to the first note, but it’s worth emphasizing. You tend to cycle slowly through foods in the freezer, and if you store in bulk (say, by buying a twenty-pound bag of chicken breast and shoving it all into the bottom compartment of your freezer), you are much less likely to reach that food before it goes bad.
Another issue with bulk storage is it is space inefficient. I want you to enjoy incorporating the freezer into daily and weekly cooking, but most of us dread it. That’s because we keep buying enormous bags of food that are cumbersome and tedious. There’s a time and place to use these bulk-storage options, but in my personal experience, they usually just get in the way and make your freezer a frustrating place.
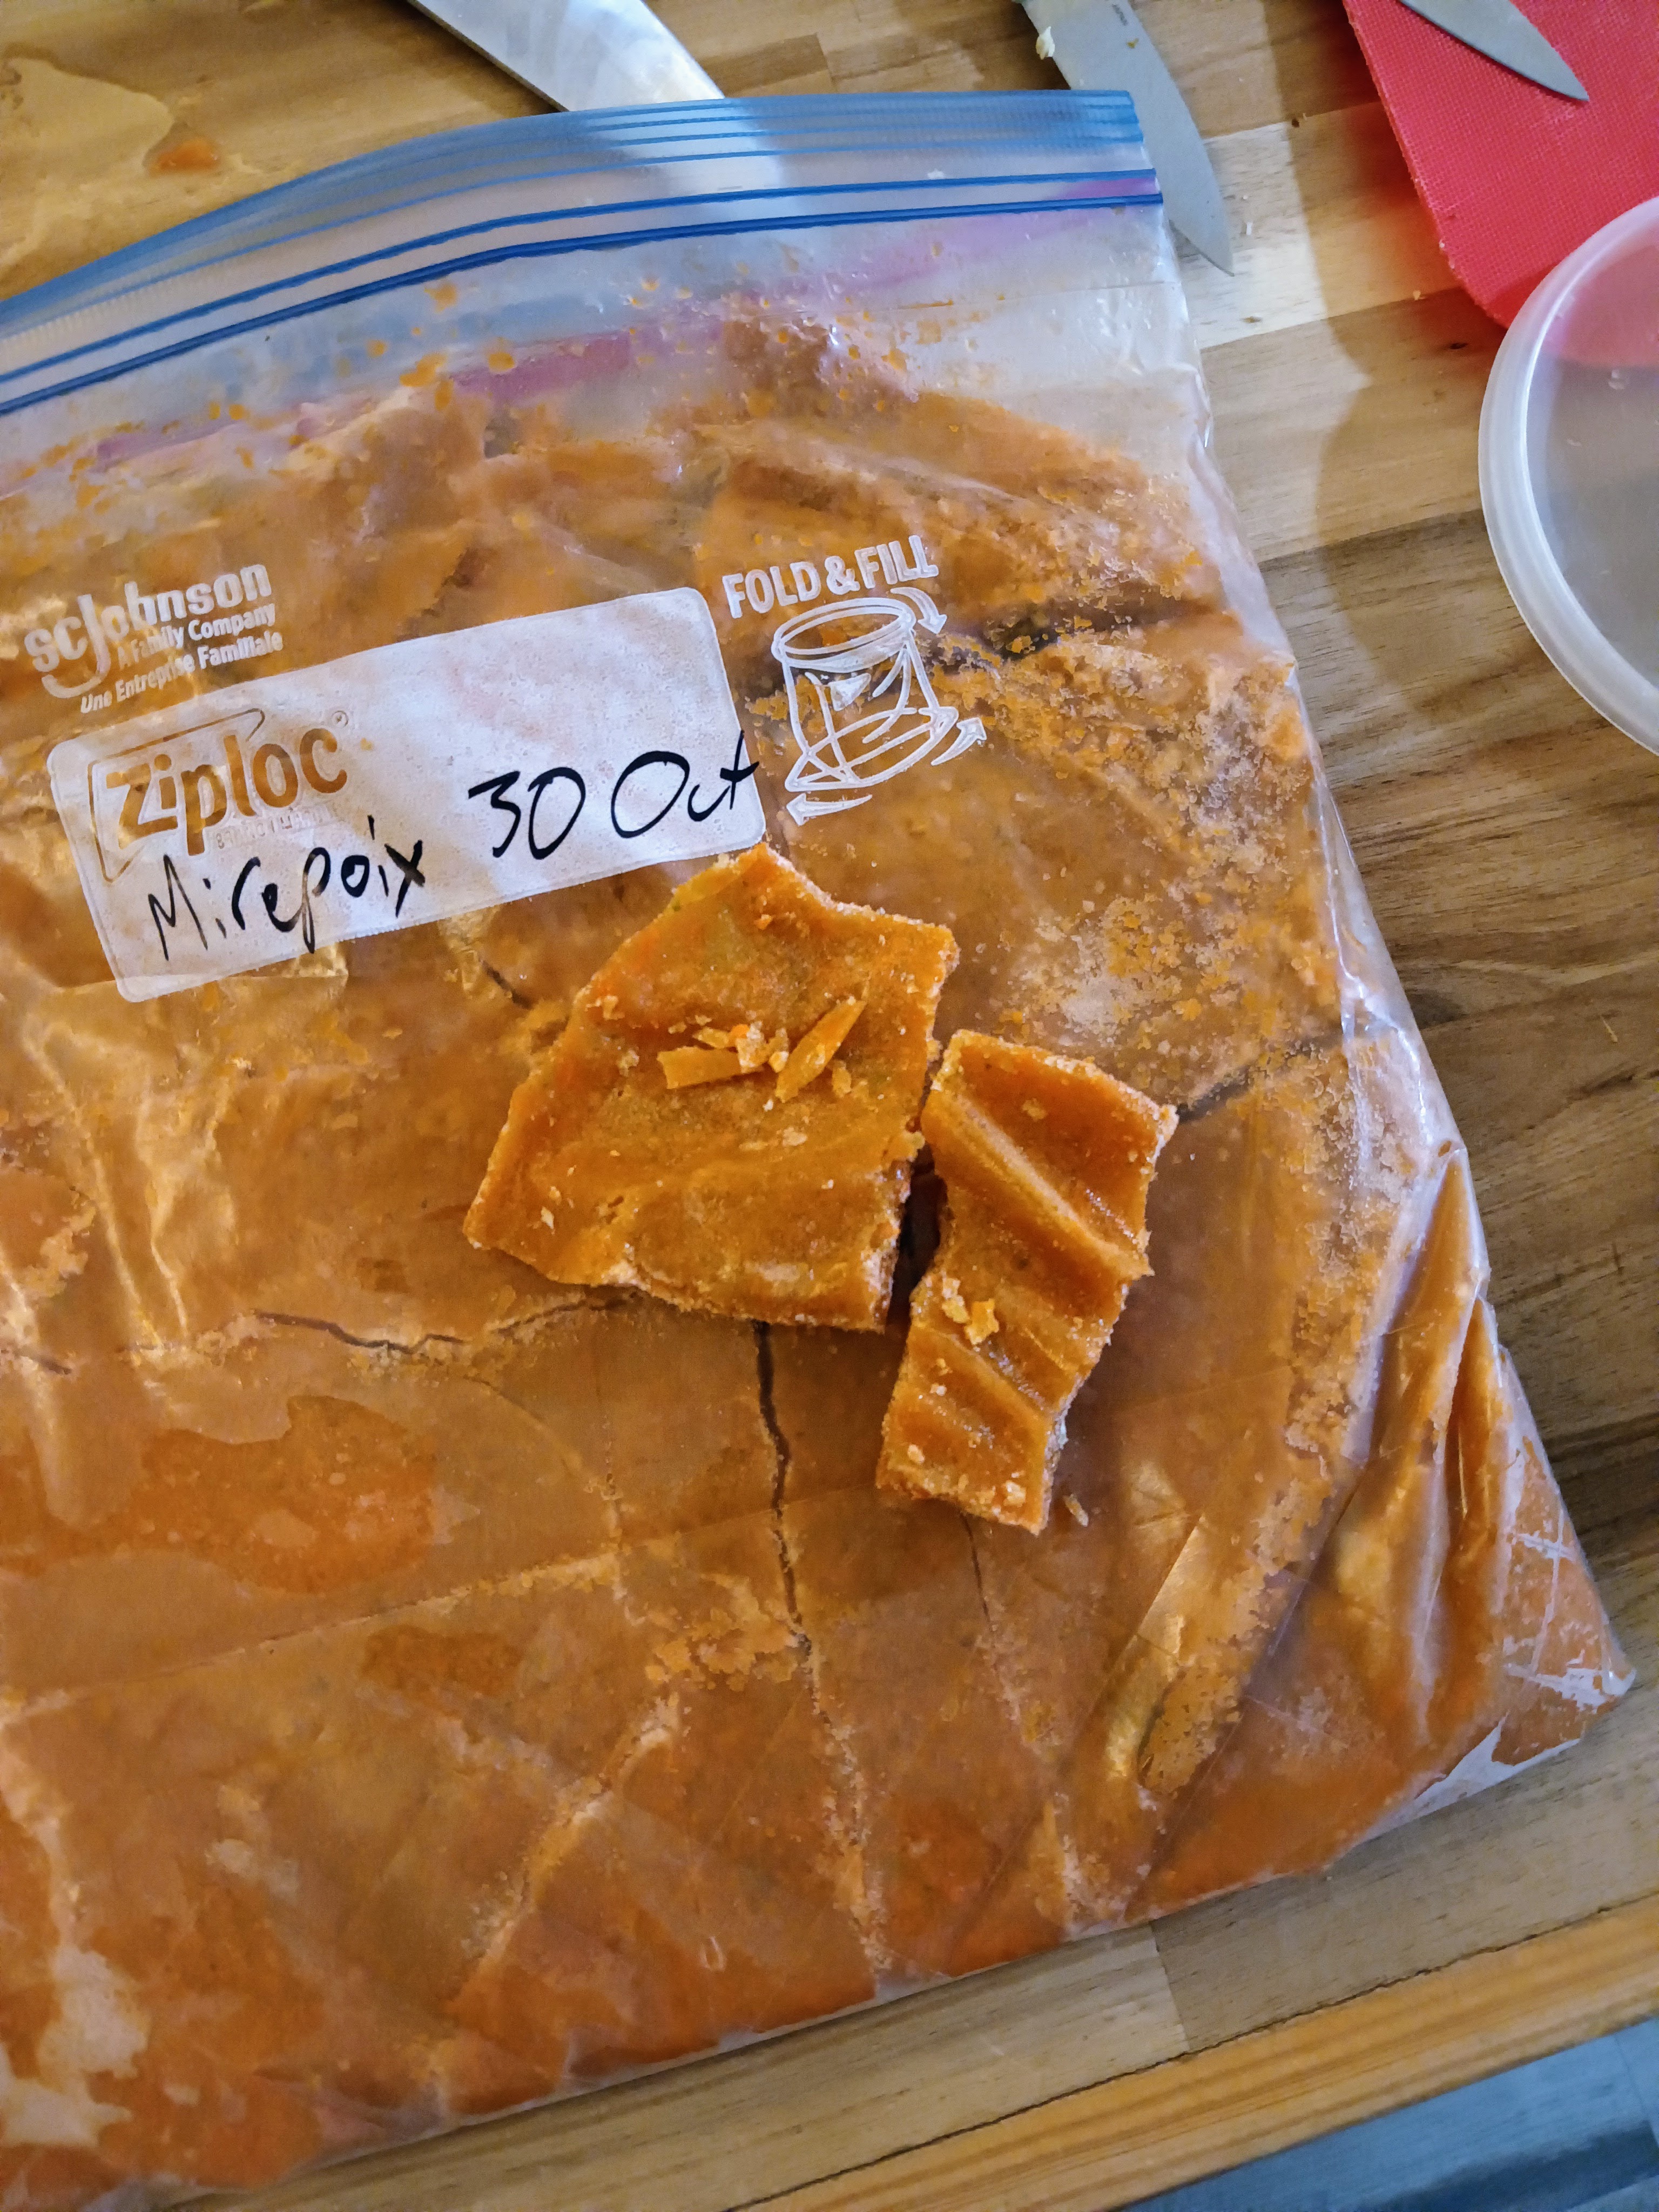
Instead of buying an enormous bag of mixed veggies, I would rather have a collection of foods I prepared myself specifically for freezing, and perhaps with a small bag or three of industrial-frozen mixed veggies.
Avoid Air. Freezing your foods with too much air in their packaging is an easy way to ruin food quickly. Air in your storage container can lead to the formation of ice crystals on the surface of your food, thus resulting in nasty freezer burn. Here are some tips to avoid that mistake:
- Squeeze the air out of bags before storing things in baggies. You don’t even need to buy a vacuum sealer; I don’t use one.
- Use airtight containers. Don’t store your pasta sauce in a glass bowl with plastic wrap over the top. Seal it in a baggy or put a real lid on that thing.
- Double-wrap. If you have to use plastic wrap, double-wrap your food with it. This will keep air from circulating through.
Don’t Put Hot Foods in the Freezer. This is a big no-no for three reasons. First, it’s not safe. Hot foods will raise the ambient temperature of your freezer, which puts the rest of your food at risk. Second, they will freeze at a very uneven rate, which could ruin their texture. Third, if you’re storing in a glass or plastic container, you might cause it to shatter.
That’s it for the freezer faux pas. Now let’s get into my favorite part of the article! Here are several ways to get the most out of your freezer so that it’s exciting to use in the kitchen.
Tenderize or Butterfly Your Meats
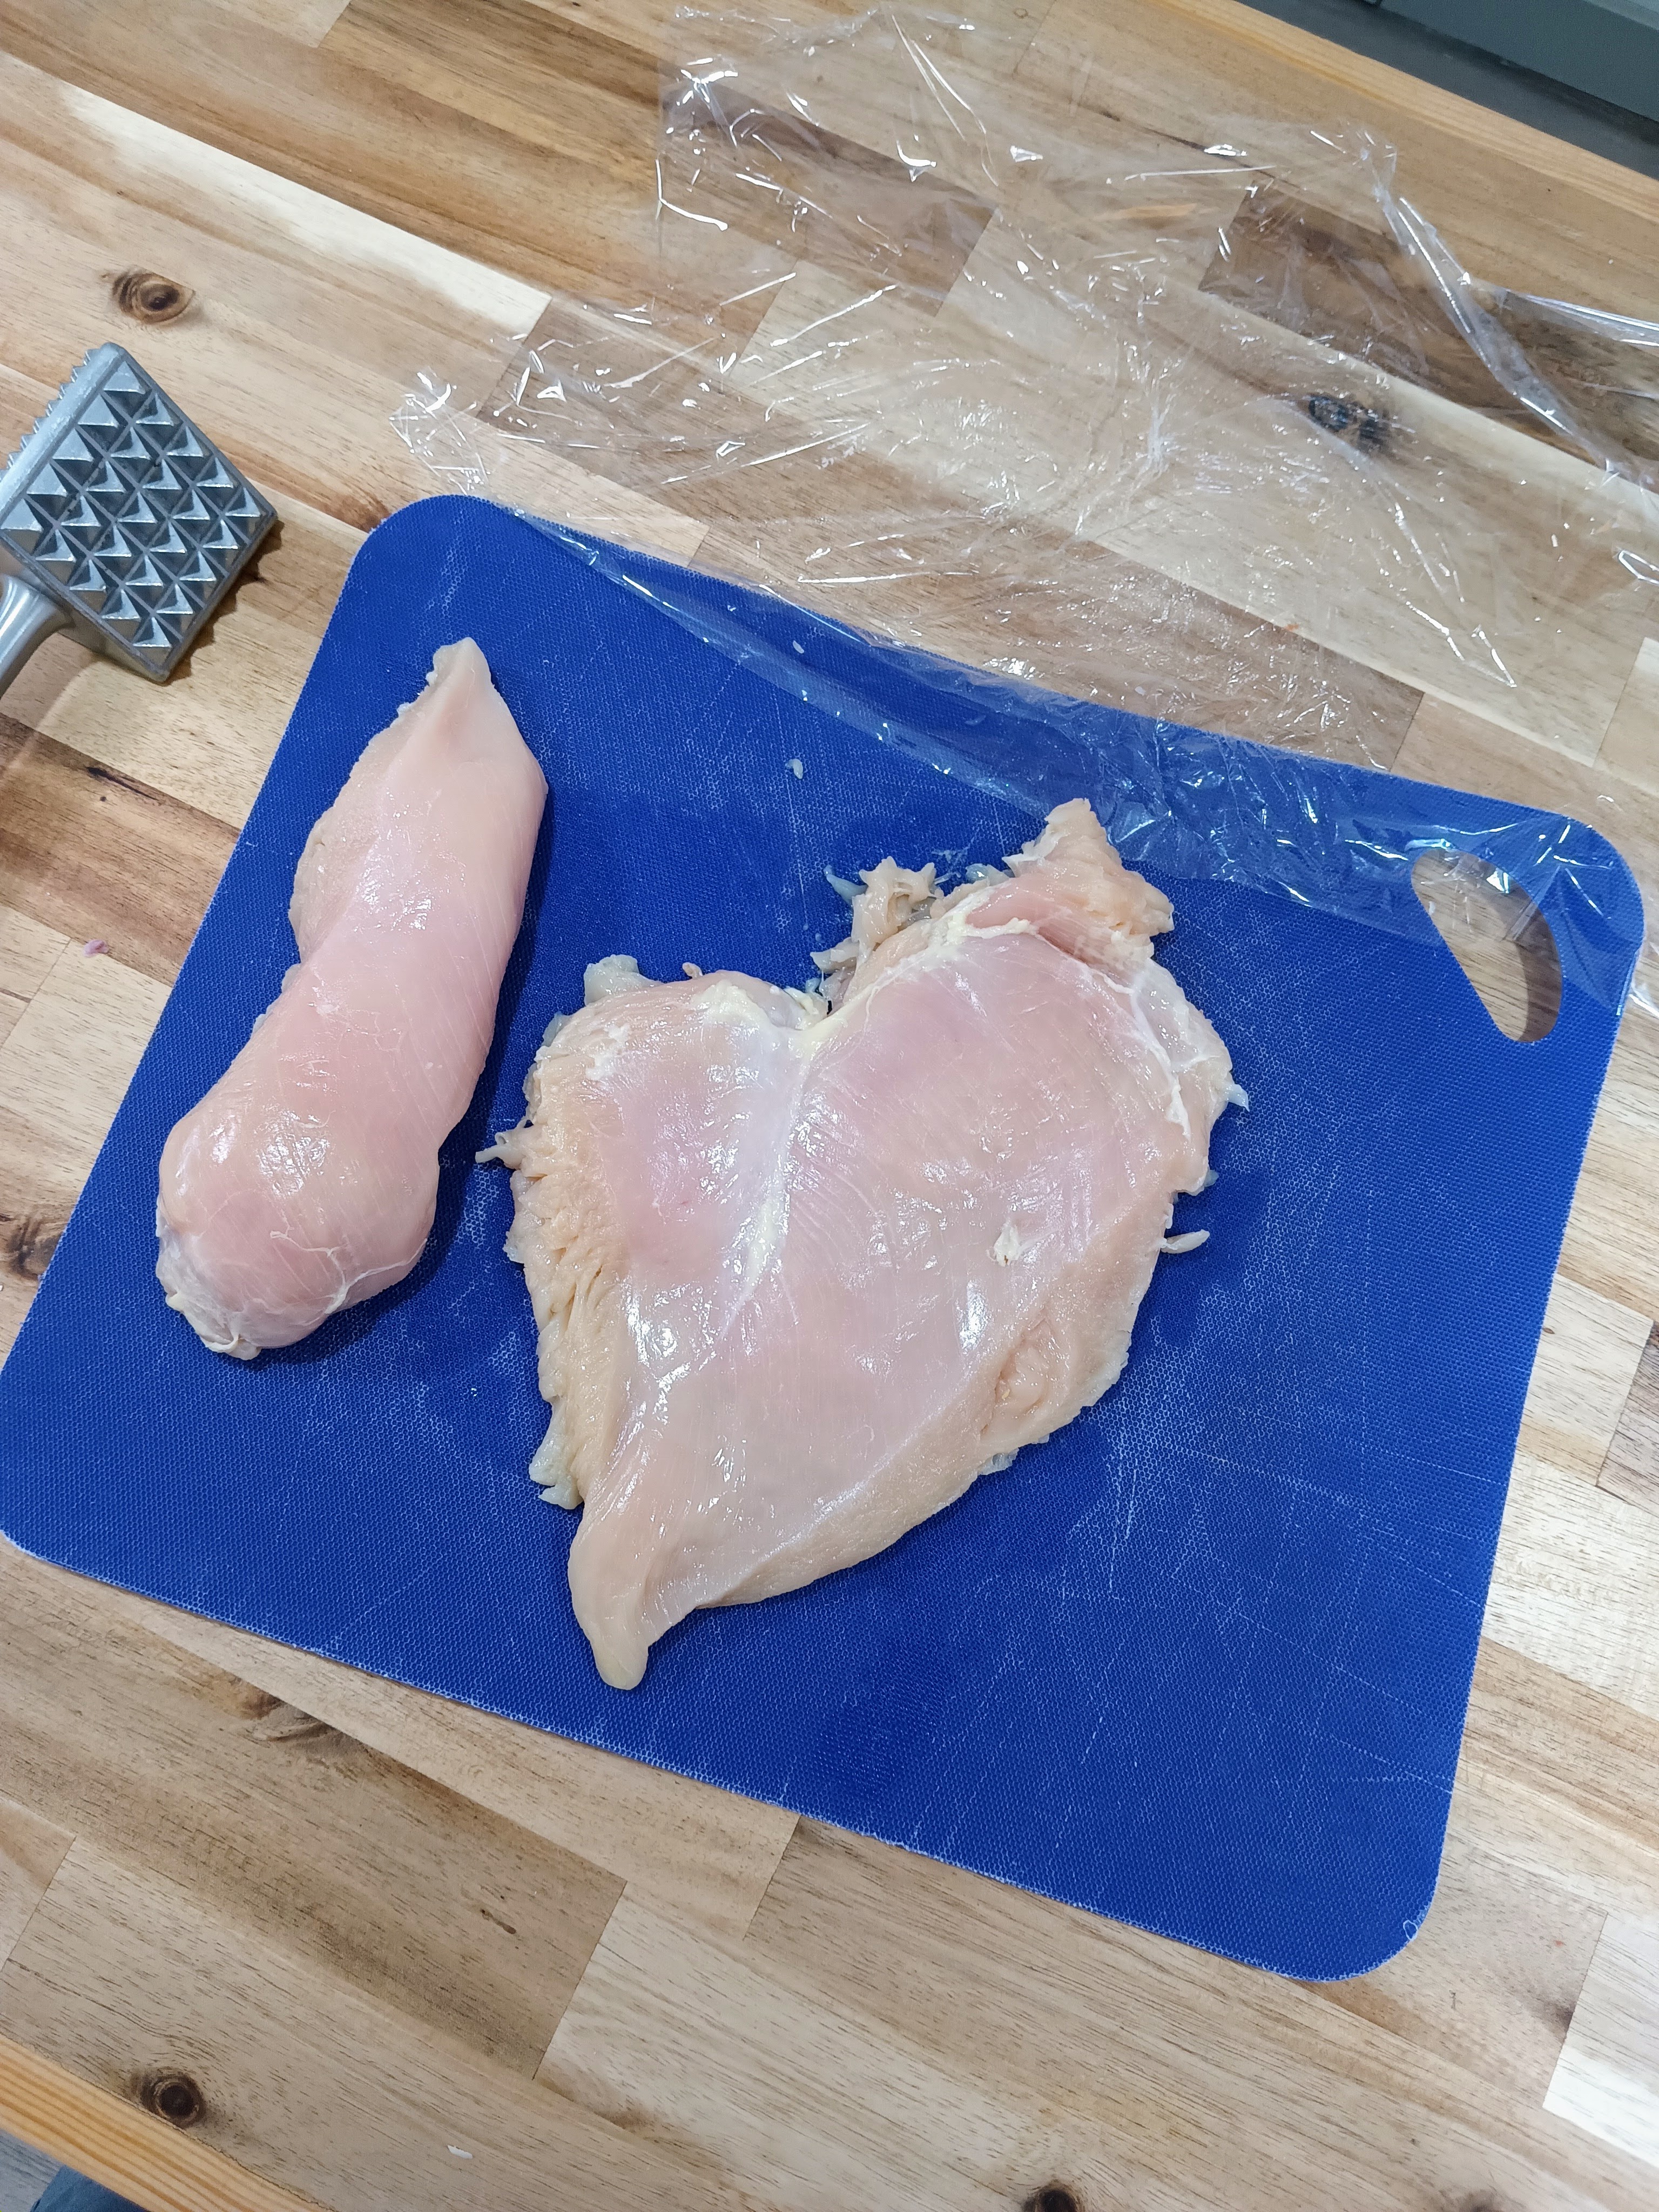
Tenderizing meat is nothing more than using a mallet or saucepan to carefully smash your meat into a uniform thickness. I was taught to do this for my annual Christmas breakfast where my mom had me pound out our pork cutlets to a half-inch thick throughout. I’ve since learned to do this with any meat that I’m cooking with direct heat. Chicken breasts and pork chops all get the hammer treatment, which leads to more even cooking, better searing, and juicier meat.
With all that being said, tenderizing meat should be done before you freeze it. Here are four reasons:
- Cooks Faster: If your chicken breast is only ¼ or ½ inch thick, then it will thaw in no time once you take it from the freezer. In fact, you don’t even need to thaw it! I’ll take my tenderized chicken breast from the freezer and throw it straight into a ripping-hot pan. By the time the inside is thawed and properly cooked, the outside will have gotten a gorgeous sear, and the whole thing will be juicy and delicious.
- More Space Efficient: If you’ve read the whole article up to now, you’ll notice I’ve commented on space efficiency multiple times. This is super important if you want a pleasant time using the freezer in daily cooking.
- It’s Best Practice Even if You’re Not Freezing: Like I said above, tenderizing meat is a staple of good cooking. It will cause the whole cut to cook evenly (instead of the thin bits being overcooked or the thick bits being undercooked).
- Free Therapy: That’s right—with nothing but a few chicken breasts and a kitchen hammer, you can whack away your worries and become a new person!
Get Your Mise en Place
Mise en place (pronounced mees-en-plass) is a French term that means “everything in its place.” You’re not a snob for using this term—it’s common kitchen lingo, especially in culinary school where they teach you to always have your mise en place before cooking.
How does this apply to the freezer?
Let’s just say it’s a weeknight. It’s late, you’re tired, and you’re trying to eat healthier. You have a choice between ordering pizza, making packaged ramen, or whipping up something that’s actually good for you. Of course you’re going with the quick, expensive, and unhealthy option. You don’t have the time to make healthy food. Life is unfair.
But wait! You read Matthew’s article, and now you have a gourmet freezer!
Batabing! You pull a tenderized chicken breast from the freezer and throw it straight onto the frying pan. You pull out some frozen mirepoix and fry it in olive oil in a large pan. When the mirepoix smells good, you drop in a frozen puck of vegetable stock to make a delicious sauce. Once the stock is boiling, you add some of your favorite pasta. Your chicken finishes cooking, and you let it cool while the pasta boils, then you slice it thin, serve your delicious pasta into a bowl, and add your chopped chicken breast to it. Holy crud, you just made an amazingly delicious, cheap, and healthy meal, and almost every part of it was frozen. You love the freezer!
Make Your Own Stock
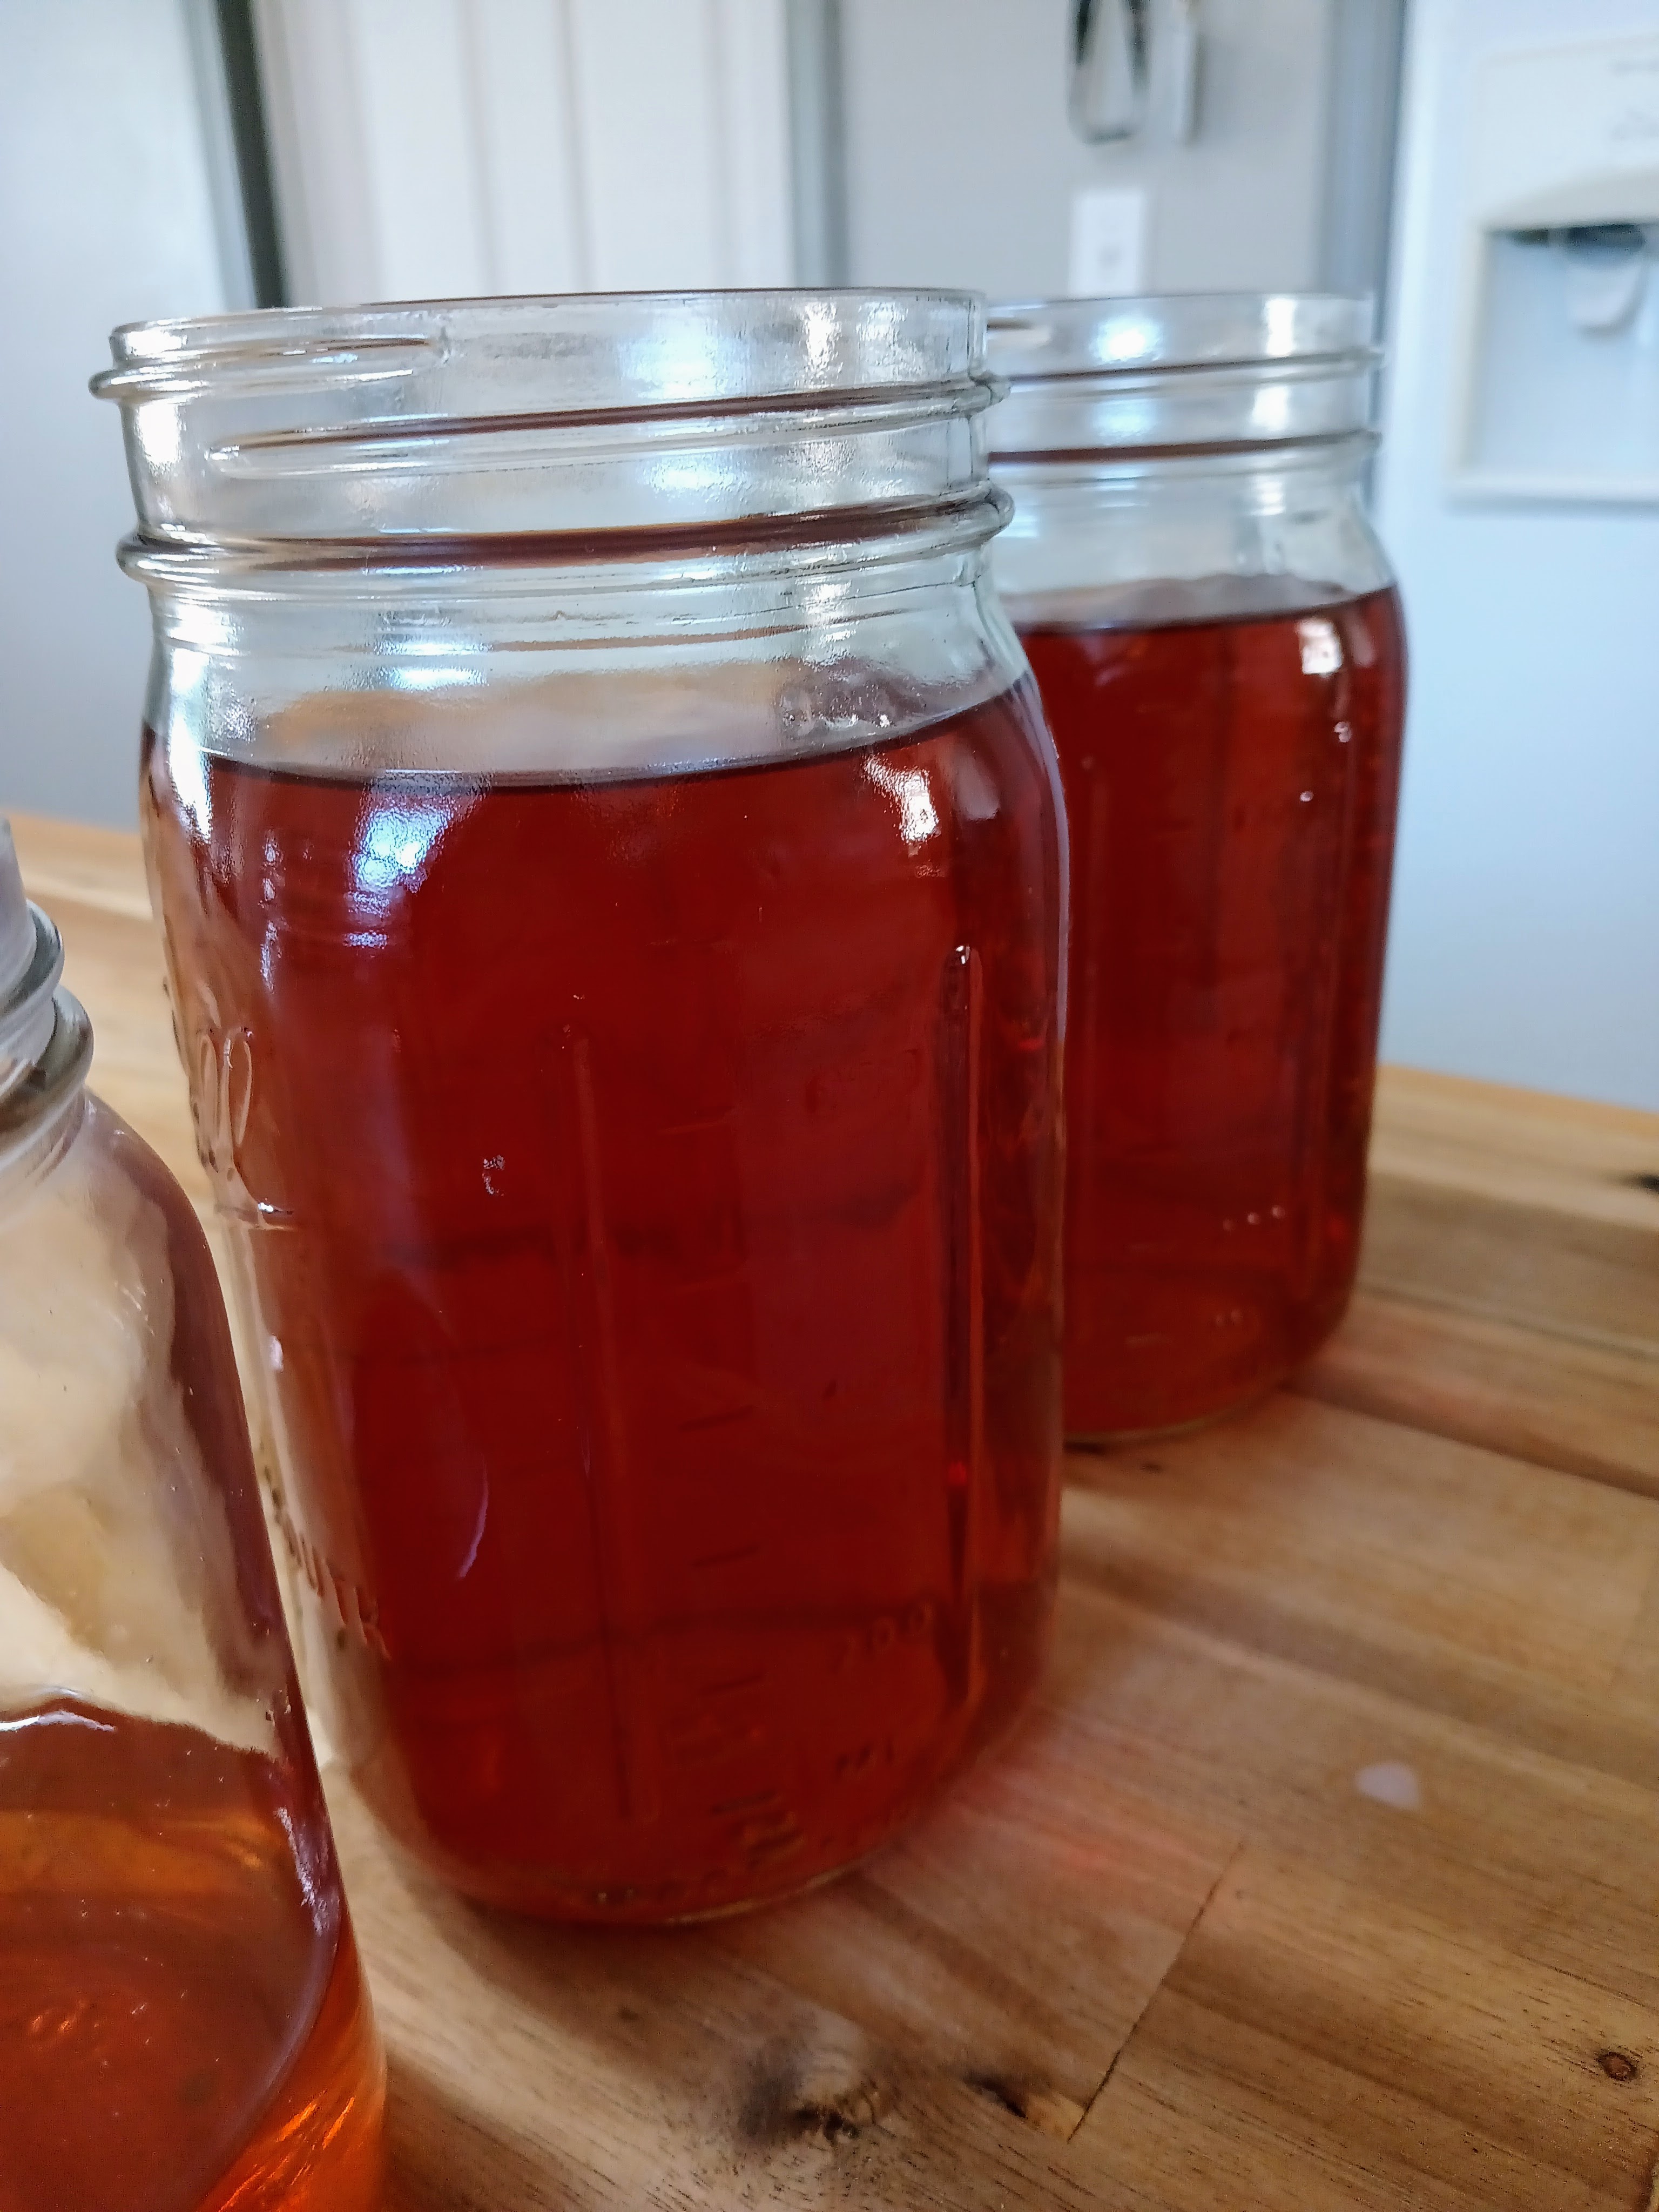
If you buy stock or broth from the store, you’re missing out. I’m serious, it makes that much of a difference. And making your own stock is super easy! Just save your veggies scraps in a freezer bag.
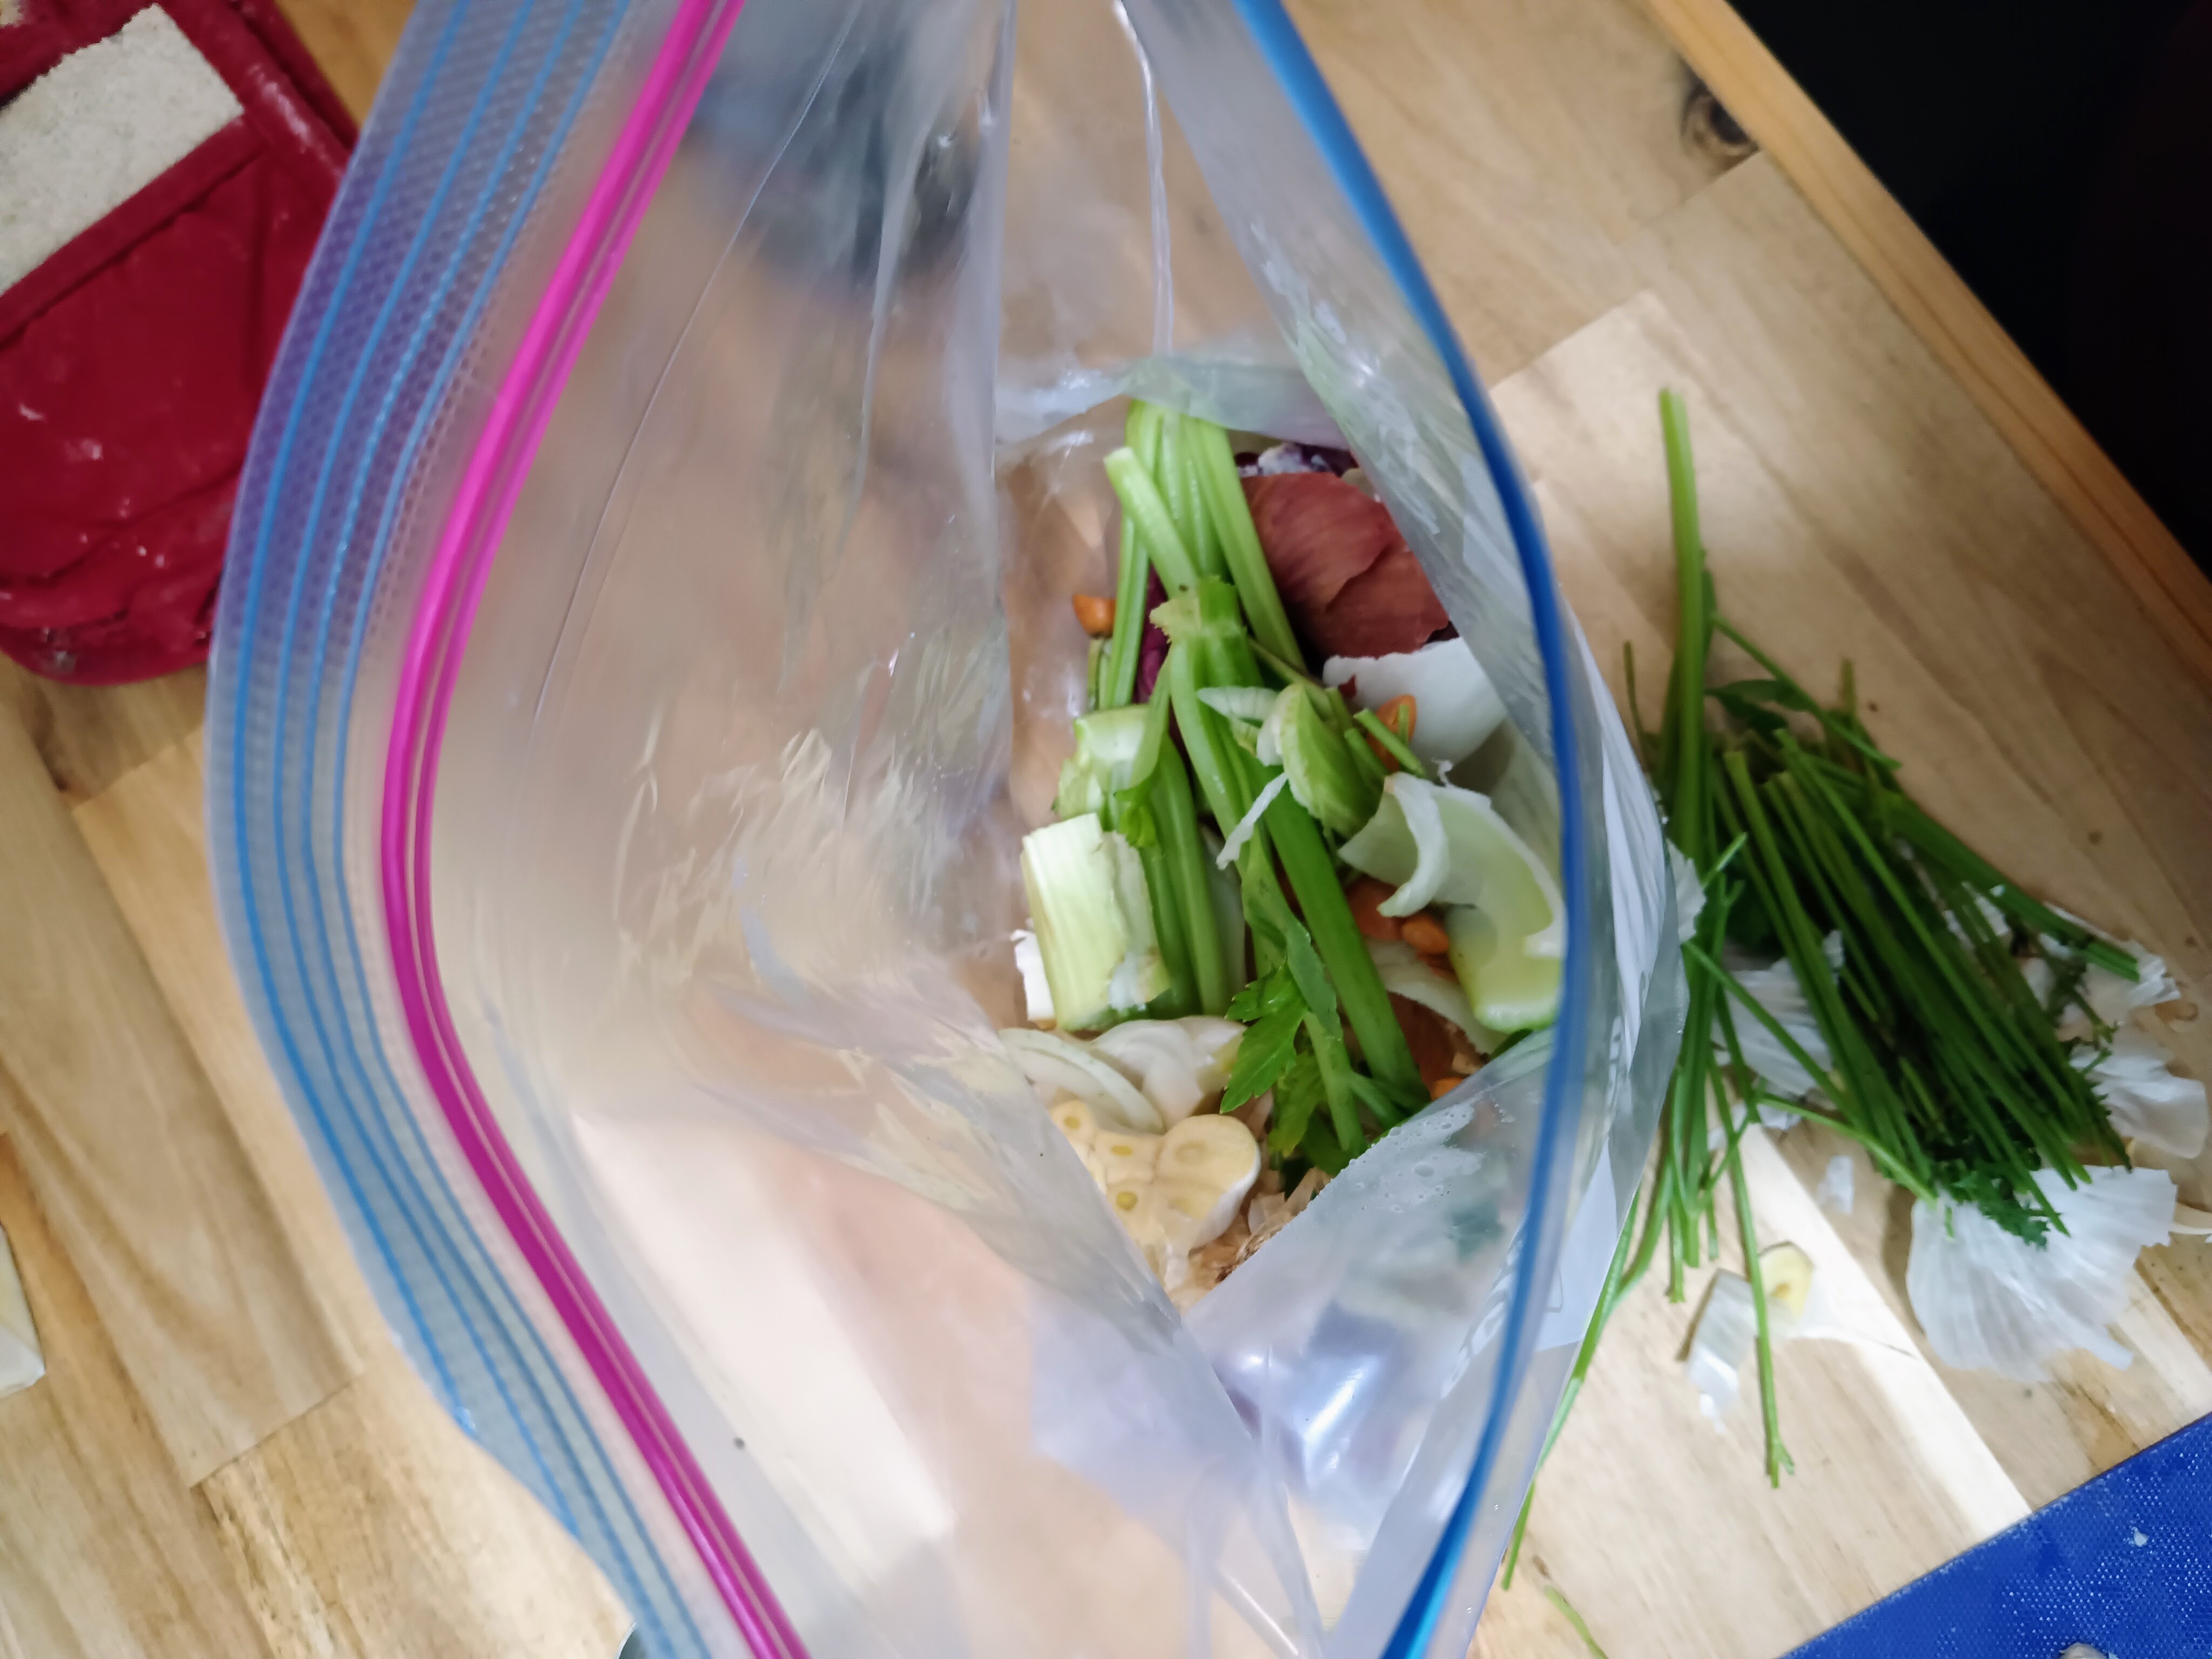
Seriously, all those food bits you don’t want to add to your meal should go in here—the hairy ends of an onion or shallot, the papery skins of both your onions and garlic, the weird-looking brown bits of carrots and other vegetables, the stocks of your celery and leeks, it all goes in the bag. Usually this bag will fill up by the end of the week.
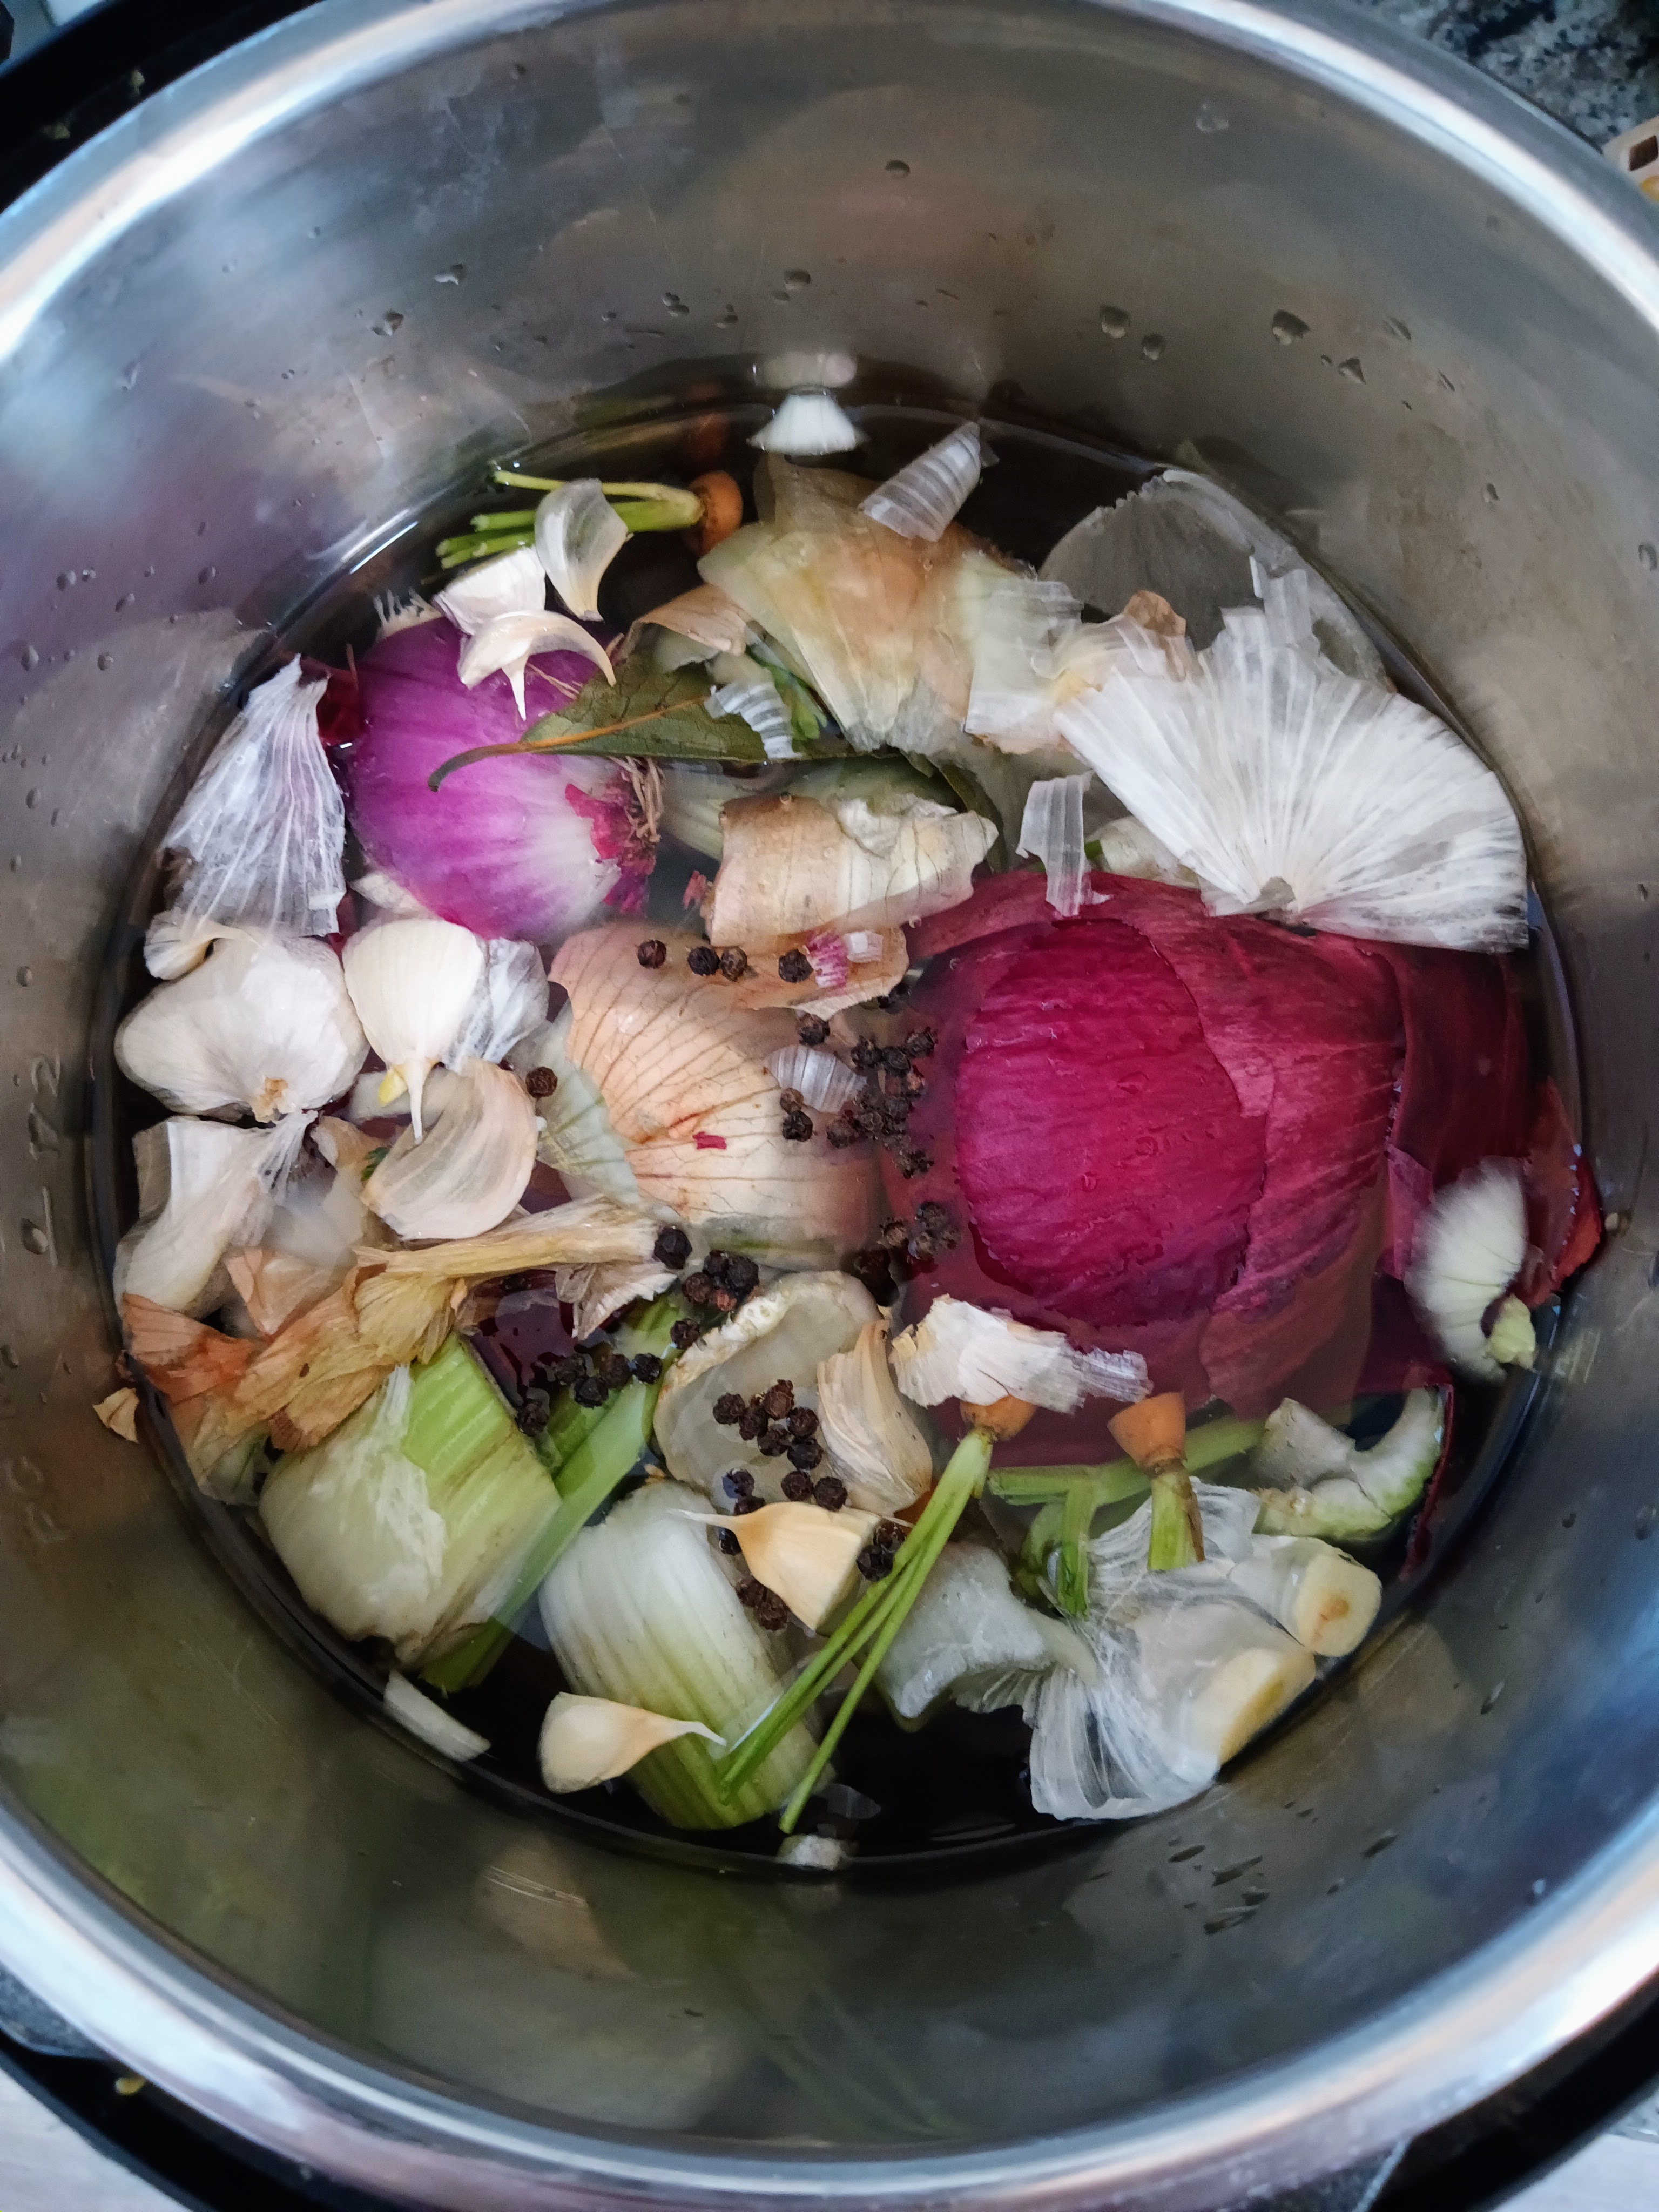
When the bag is full, throw it all in a pot, add a handful of whole peppercorns and a bay leaf or two. Fill it with water. Add salt if you want (I prefer to add my salt later when I’m making a meal with the stock). Simmer it on low heat for an hour.
That’s it. I usually make vegetable stock when I’m spending a good amount of time in the kitchen anyway, but I also make stock all the time when I’m having a lazy Saturday or at-home Sunday. It takes me five minutes to get it cooking, and there is zero babysitting while it simmers in my Instant Pot.
Stop Talking! Give Me a Recipe!
With pleasure. Since we’ve been talking about it so much, here’s a quick and easy vegetable stock that will knock your socks off. If you make this yourself, leave a comment and tell me why you’re never buying vegetable stock again.Matthew's Basic Vegetable Stock

This is a recipe that doesn't need a recipe. The true way I prepare stock is by freezing my vegetable scraps throughout the week (onion skins, carrot tops, etc) and making a stock when I have a free hour. However, while the amounts vary, the following ingredients are the general staples in my stock.
Prep time:
Cook time:
Yield: 2 quarts
Serving size: 1
Calories per serving: 687.633
Ingredients:
Cook time:
Yield: 2 quarts
Serving size: 1
Calories per serving: 687.633
6 carrots tops
4 stalks celery
4 onions skins, ends, etc
1 bulb garlic, chopped in half
1 bay leaf
7 whole peppercorns
2 quarts water
Optional:
1 bunch fresh parsley
other fresh herbs
2 tablespoons lemon juice (or 1 medium to large lemon)
salt, to taste
Directions:
Combine all of your ingredients (except for the optional ingredients) in a stock pot (aka large cooking pot), Instant Pot, or slow cooker.
Add the water.
Set on low heat / slow cook for one hour.
After one hour, add any fresh herbs. Wait for fifteen minutes.
Place a large bowl in the sink, and set a fine mesh strainer within the large bowl.
Pour your stock into the bowl through the strainer. Toss the vegetable scraps.
Once you have a clear stock in the bowl, add your other ingredients like salt and lemon juice. I usually forego this step because I prefer to add salt at a later stage once I'm actually cooking.
Store your stock in whatever way you see fit.
One note: homemade vegetable stock (or storebought stock, once opened) will go bad in the fridge after just three days. To remedy this, the freezer is your best friend.
Once the stock has cooled to room temperature, I like to pour my stock into a muffin pan and place it in the freezer just until frozen (a couple of hours). Once I have a bunch of frozen pucks of delicious stock, I store them in a freezer bag. Use these liberally in soups, stews, sauces, or even just as pasta water.
Recipe formatted with the Cook'n Recipe Software from DVO Enterprises.
 Matthew Christensen
Weekly Newsletter Contributor since 2023
Email the author! matthew@dvo.com