Food Can Taste BETTER! Here’s How!
There’s some consensus that food made in restaurants tastes better than the same foods made at home. The easy assumption here is that it’s all about the recipe. But there’s actually more to it, and that “more” isn’t rocket science.

This “more” is found in a few simple habits every cook can form. Jillee Nystull, of www.onegoodthingbyjillee.com, recently talked about these habits and why they can help our food taste better:
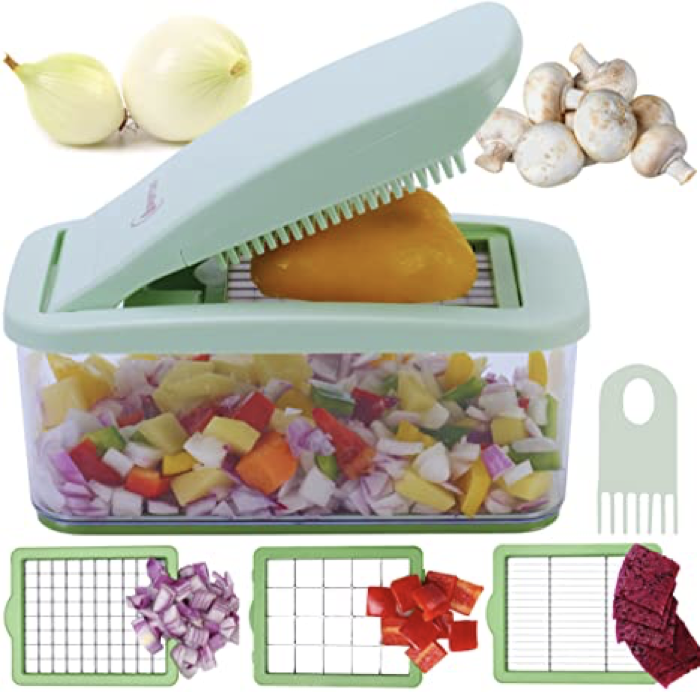
PRACTICE CUTTING VEGGIES EVENLY. This isn’t that big a deal when making salad, but for cooking, it is a big deal. When unevenly cut, the smaller pieces end up overcooked or the larger pieces end up undercooked. The extra time it takes to turn out precisely cut veggies is worth the effort and is the first step to food tasting better. (Vegetable slicer/dicer tools make the task easily doable.)
ALWAYS SEASON COOKING WATER. Whether it’s pasta or potatoes, boiling in unseasoned water doesn’t do these foods any favor. Start with simply salting the water after it begins to boil; one to two teaspoons of coarse or kosher salt per quart of water should do the trick (less if you’re using table salt).
Besides salt, I also a tablespoon of Italian seasoning to my pasta water, and some smoked paprika or garlic powder to my potato water. This habit started out as an experiment and has made all the difference in end-product flavor success!
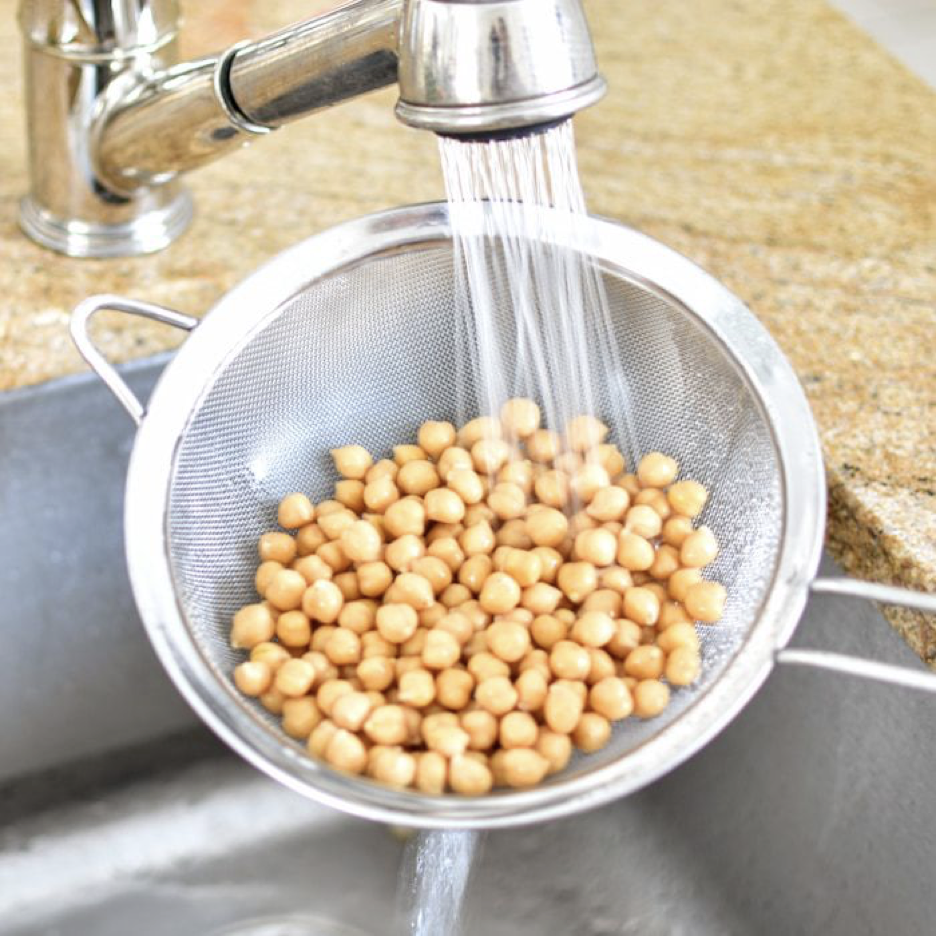
AND ALWAYS RINSE CANNED BEANS. Their cloudy liquid (aka aquafaba) is loaded with sodium and extra starches. Just drain them into a sieve and give them a good rinse under cool water. This little step is a way to remove them from a flavor-restricting straitjacket. (Even if the label says Low-Sodium, still rinse them.)
However, if your recipe specifically calls for undrained beans (which happens from time to time with chili and other soups), then skip the draining and rinsing regimen.
LET CHICKEN AND OTHER MEATS REST for at least 3-5 minutes after cooking. This rest period gives the moisture inside the meat enough time to be reabsorbed so that it doesn’t run out onto your cutting board when you cut into it.
And do try not to cut into your chicken after its cooking time is up to verify it’s done. The best way to determine doneness (an internal temperature of at least 165 degrees) is to use an “instant read” digital thermometer.
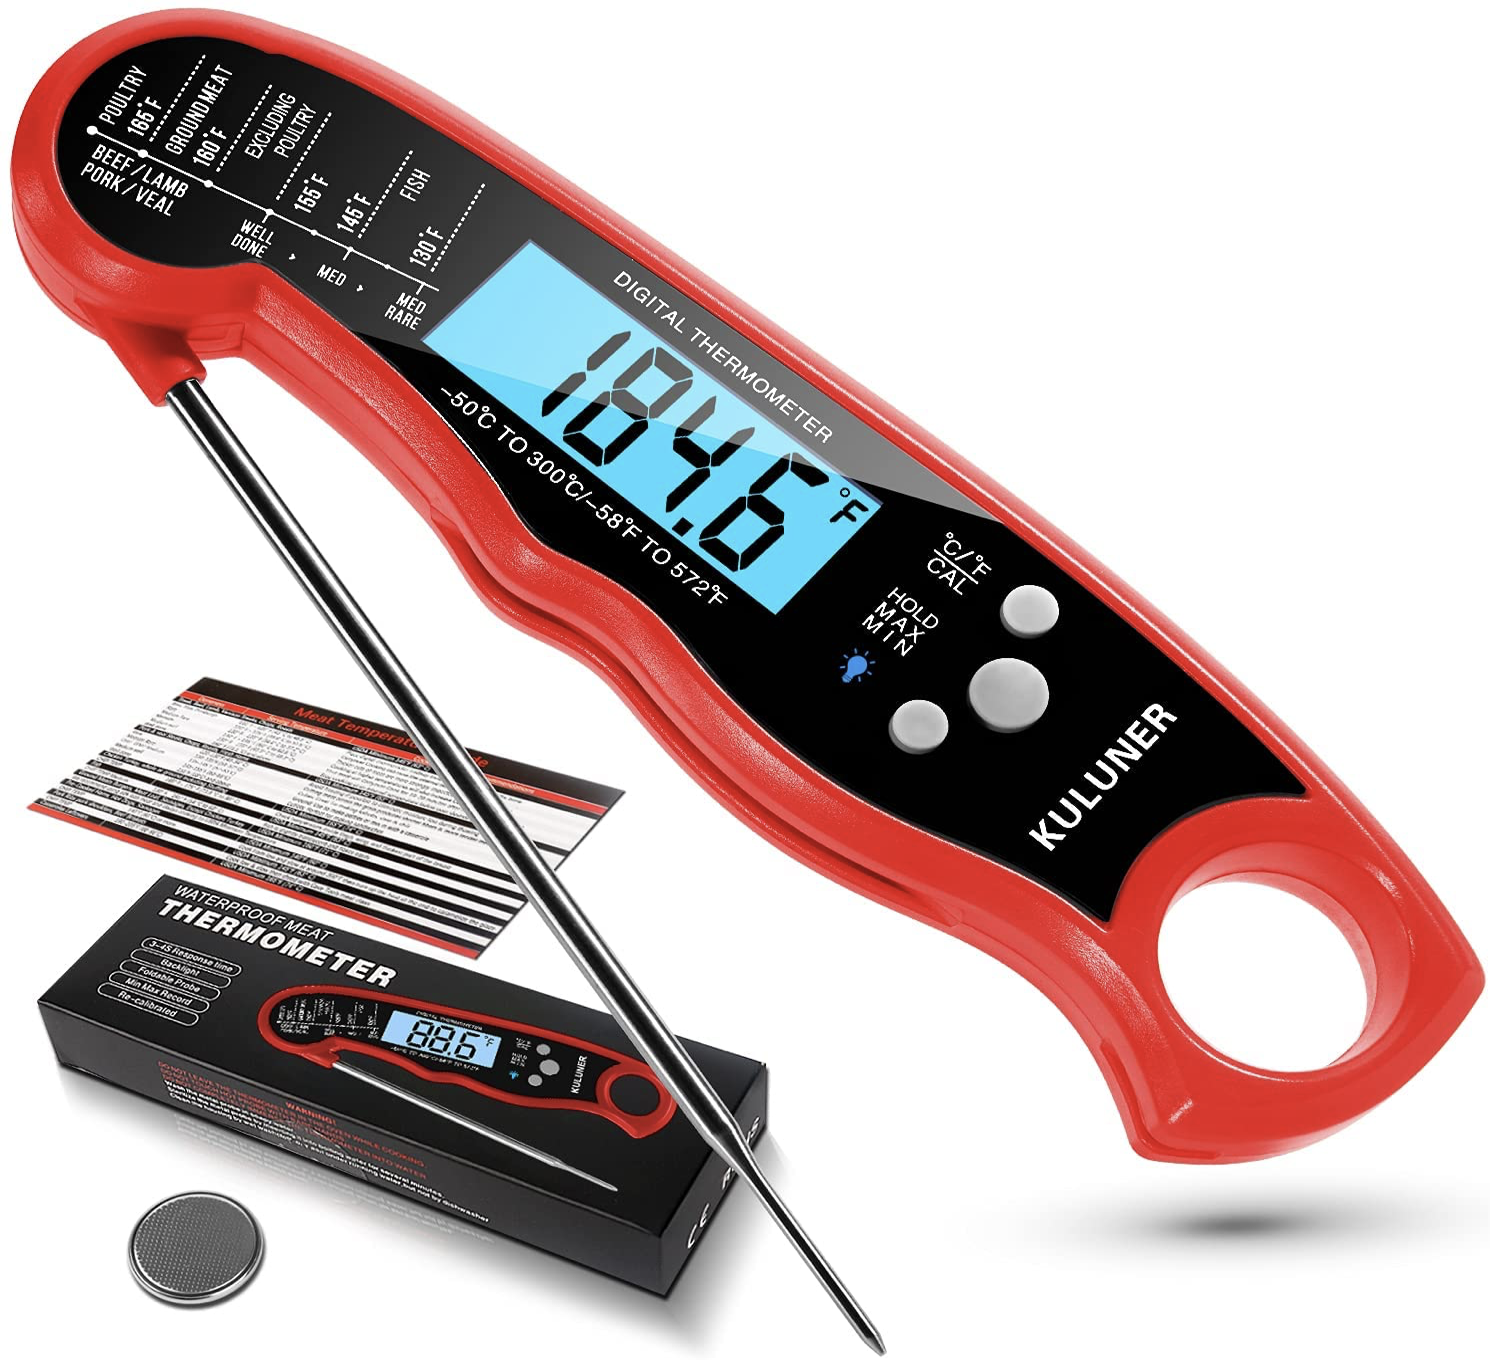
Speaking of internal temperatures, Jillee has created a printable cheat sheet for meat temperatures that makes the perfect companion to any digital thermometer! You can download it for free at www. https://www.onegoodthingbyjillee.com/meat-temperatures-printable-guide/. (Don’t we appreciate generous geniuses?!)
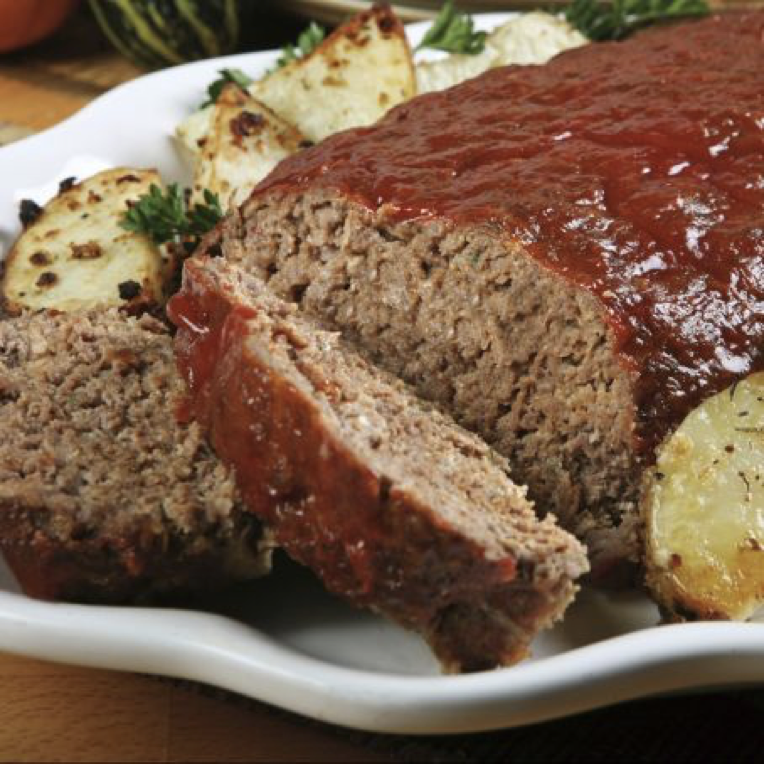
USE MORE THAN JUST LEAN GROUND BEEF. Jillee says, “While lean ground beef (around 90% lean and above) is just fine for tacos, meat sauces, and casseroles, it’s not always the best choice for other recipes! Not having enough fat in your ground beef can lead to dry meatloaf and flavorless burgers, which is definitely not what you want!”
Meatloaf and meatballs, for instance, taste better when made with 80-85% lean ground beef. The extra fat ensures they stick together and retain moisture. And for juicy, flavorful burgers, look for an even higher fat content such as 73-75% lean beef.
GIVE SEAFOOD SHORTER MARINADE TIME. It’s the acid, oil, and spices/seasonings that create flavorful and tender results. But timing is everything. While large cuts of meat (briskets, pot roasts, and steaks) need L O N G marinade times to get the desired results, delicate seafood is another matter entirely! Thus, if you’re using an acidic marinade with seafood you’re planning to cook on the grill or elsewhere, you should only leave it in for about 20 minutes or so.
Finally, KNOW YOUR OVEN’S QUIRKS. Research shows that “a setting is a setting is a setting” isn’t always true. You’d think that setting an oven to 350°F would actually result in it heating to 350°F, but it’s common for ovens to be inaccurate. In fact, like people, they may even change their behavior as they age. For these reasons, always stick to two rules when it comes to your oven:
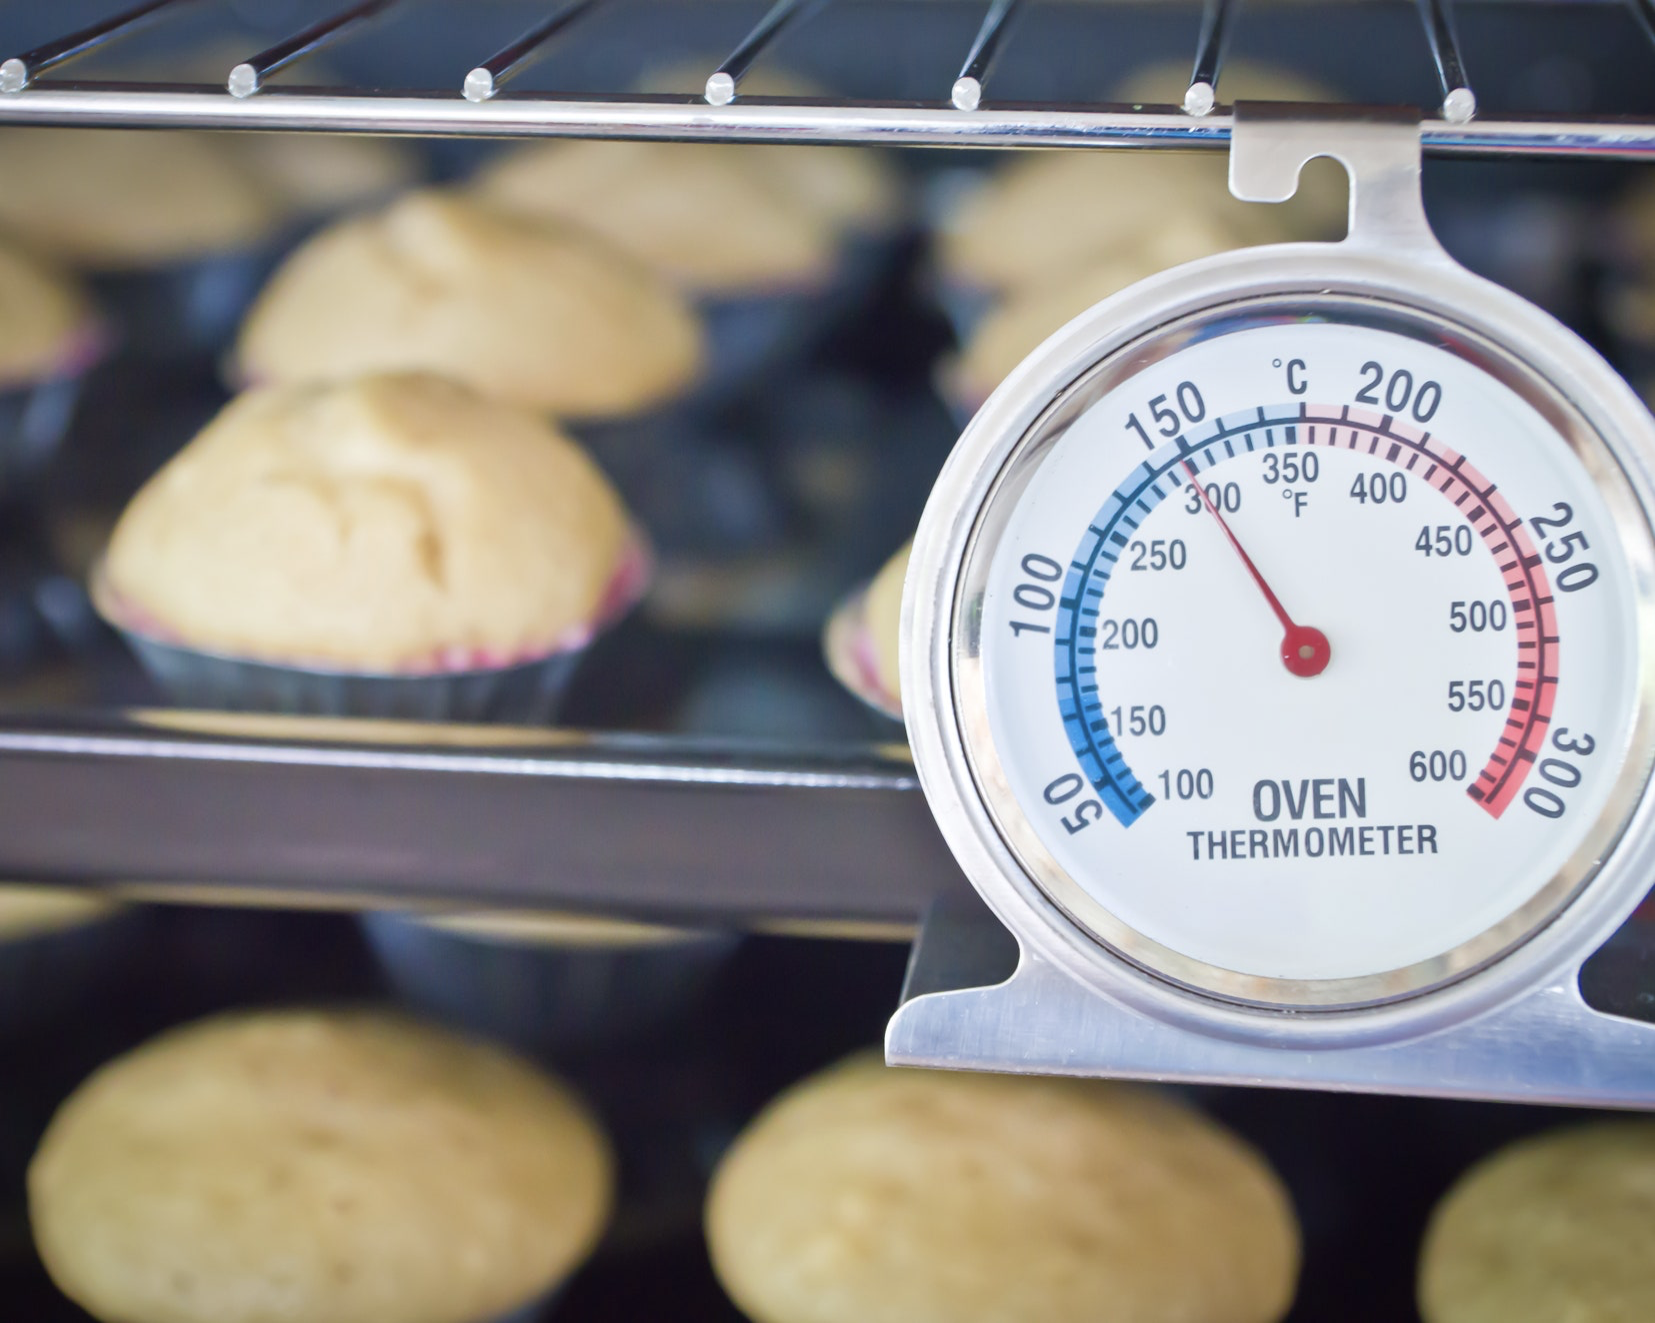
(1) Always use an oven thermometer. This can actually stay in your oven full-time. If you can, pick one you can read through the oven door so you don’t have to open it to check the temperature.
(2) Know your oven’s hot spots. Here’s how Jillee says to find out where these are: “To test for hot spots, perform the “bread test” by covering the middle rack with slices of bread and baking them at 350°F for a few minutes. The most toasted spots indicate that your oven got particularly hot in that area.” Knowing where your oven’s hot spots are means you can adjust the position of your food accordingly.
This “more” is found in a few simple habits every cook can form. Jillee Nystull, of www.onegoodthingbyjillee.com, recently talked about these habits and why they can help our food taste better:
PRACTICE CUTTING VEGGIES EVENLY. This isn’t that big a deal when making salad, but for cooking, it is a big deal. When unevenly cut, the smaller pieces end up overcooked or the larger pieces end up undercooked. The extra time it takes to turn out precisely cut veggies is worth the effort and is the first step to food tasting better. (Vegetable slicer/dicer tools make the task easily doable.)
ALWAYS SEASON COOKING WATER. Whether it’s pasta or potatoes, boiling in unseasoned water doesn’t do these foods any favor. Start with simply salting the water after it begins to boil; one to two teaspoons of coarse or kosher salt per quart of water should do the trick (less if you’re using table salt).
Besides salt, I also a tablespoon of Italian seasoning to my pasta water, and some smoked paprika or garlic powder to my potato water. This habit started out as an experiment and has made all the difference in end-product flavor success!
AND ALWAYS RINSE CANNED BEANS. Their cloudy liquid (aka aquafaba) is loaded with sodium and extra starches. Just drain them into a sieve and give them a good rinse under cool water. This little step is a way to remove them from a flavor-restricting straitjacket. (Even if the label says Low-Sodium, still rinse them.)
However, if your recipe specifically calls for undrained beans (which happens from time to time with chili and other soups), then skip the draining and rinsing regimen.
LET CHICKEN AND OTHER MEATS REST for at least 3-5 minutes after cooking. This rest period gives the moisture inside the meat enough time to be reabsorbed so that it doesn’t run out onto your cutting board when you cut into it.
And do try not to cut into your chicken after its cooking time is up to verify it’s done. The best way to determine doneness (an internal temperature of at least 165 degrees) is to use an “instant read” digital thermometer.
Speaking of internal temperatures, Jillee has created a printable cheat sheet for meat temperatures that makes the perfect companion to any digital thermometer! You can download it for free at www. https://www.onegoodthingbyjillee.com/meat-temperatures-printable-guide/. (Don’t we appreciate generous geniuses?!)
USE MORE THAN JUST LEAN GROUND BEEF. Jillee says, “While lean ground beef (around 90% lean and above) is just fine for tacos, meat sauces, and casseroles, it’s not always the best choice for other recipes! Not having enough fat in your ground beef can lead to dry meatloaf and flavorless burgers, which is definitely not what you want!”
Meatloaf and meatballs, for instance, taste better when made with 80-85% lean ground beef. The extra fat ensures they stick together and retain moisture. And for juicy, flavorful burgers, look for an even higher fat content such as 73-75% lean beef.
GIVE SEAFOOD SHORTER MARINADE TIME. It’s the acid, oil, and spices/seasonings that create flavorful and tender results. But timing is everything. While large cuts of meat (briskets, pot roasts, and steaks) need L O N G marinade times to get the desired results, delicate seafood is another matter entirely! Thus, if you’re using an acidic marinade with seafood you’re planning to cook on the grill or elsewhere, you should only leave it in for about 20 minutes or so.
Finally, KNOW YOUR OVEN’S QUIRKS. Research shows that “a setting is a setting is a setting” isn’t always true. You’d think that setting an oven to 350°F would actually result in it heating to 350°F, but it’s common for ovens to be inaccurate. In fact, like people, they may even change their behavior as they age. For these reasons, always stick to two rules when it comes to your oven:
(1) Always use an oven thermometer. This can actually stay in your oven full-time. If you can, pick one you can read through the oven door so you don’t have to open it to check the temperature.
(2) Know your oven’s hot spots. Here’s how Jillee says to find out where these are: “To test for hot spots, perform the “bread test” by covering the middle rack with slices of bread and baking them at 350°F for a few minutes. The most toasted spots indicate that your oven got particularly hot in that area.” Knowing where your oven’s hot spots are means you can adjust the position of your food accordingly.
Sources:
- www.guidingstars.com
- www.amazon.com
- www.twitter.com
- www.gourmandize.com
- www.epicurious.com
 Alice Osborne
Weekly Newsletter Contributor since 2006
Email the author! alice@dvo.com