Competition Killing Tips for Incredible Cookies
Contents:
IntroductionWeight is More Reliable than Size
Brown Your Butter
Whip Your Butter
Splurge on Chocolate
Hand Mix Your Dough
Age Your Cookie Dough
Big Cookies Are Not Just Big Cookies
Bake Them Cold
Use a Ring Mold
Did I Miss Anything?
Recipe, Please!
Introduction
This is the most comprehensive article on improving cookies that I’ve ever seen. If you know anyone that likes to bake, send them this article; they’ll thank you.Good cooking is more than just a collection of fancy recipes (though good recipes are important too, of course). Cooking is about intelligent and informed technique. Give me a raw chicken and some salt, and I’ll outchef my younger brother even if you give him a pantry that makes Gordon Ramsey cry. It’s nothing against him… I just know how to do it.
So let’s look at cookies. They’re simple, right? Pull up the recipe your great grandma handed down to you, throw a bunch of stuff in an electric mixer, and plop a bunch of sugary blobs of goodness on a sheet in the oven for 7-9 minutes.
Simple, right? Actually, yes! And no.
Here’s the thing: as with any recipe, there are little things you can do with your ingredients that will elevate your cooking beyond any other. If you’ll let me bash on my brother again, you could give him and me the same recipe, and I’d still beat the socks off of him in a cookoff. Again, nothing against him… I just know technique.
So, with all that being said, let’s take a deep dive into some hardcore techniques for improving your cookies. By the time we’re done, you can go straight into your Cook’n app, pull up your favorite cookie recipe, and just make a couple of tweaks. You’ll be amazed at the difference these tips can make. And here’s a fun tidbit: some of these techniques cannot realistically be reproduced in an industrial kitchen. So that cookie franchise that moved in down the block from your house can buzz right off and go back to Loserville. I’ll be enjoying my own cookies.
One warning before we jump in: these are not the laws of a good cookie. You can totally ignore some or all of these ideas. I don’t apply every tip every time I make a cookie. However, at this end of the article I’ll share a cookie recipe that incorporates every suggestion, and it just might be the greatest cookie you’ve ever had. I’m talking drool like a rabid dog, fighting with your family over the last morsel, staying up all night to prepare another batch, your friends haven’t heard from you in weeks, you may never see the sun again, delicious.
Let’s dive in.
Weight is More Reliable than Size
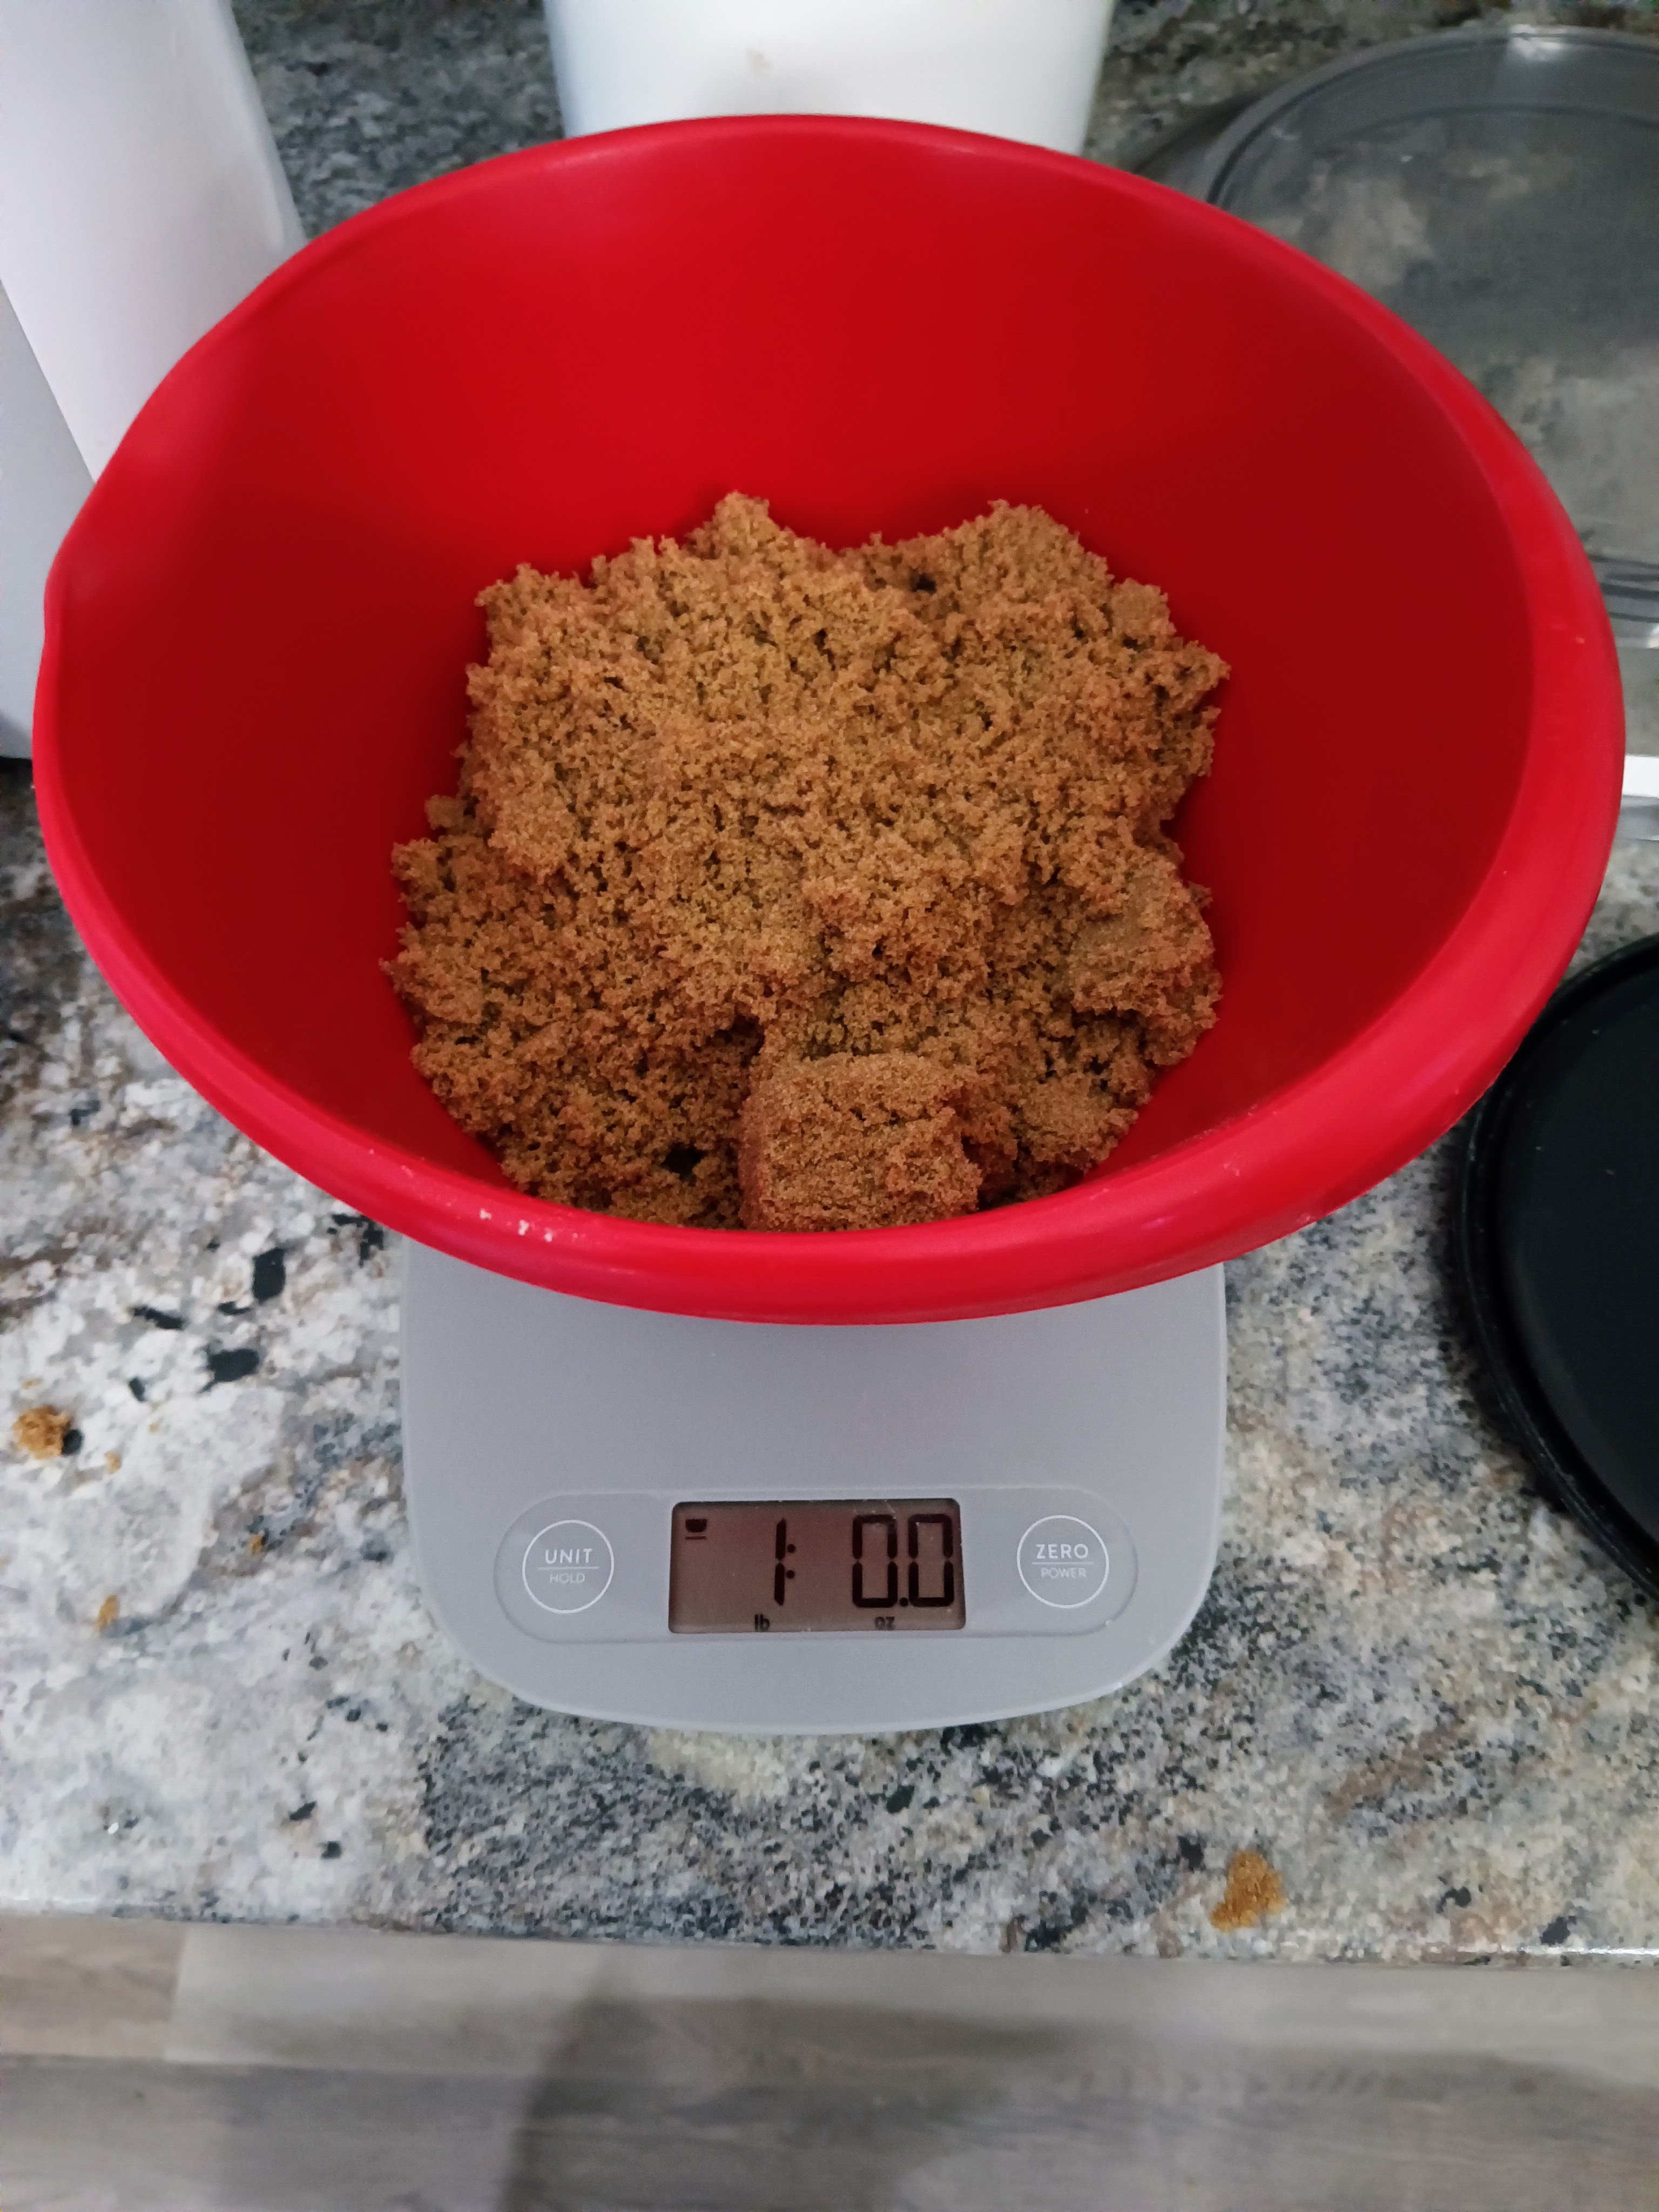
In a lot of cooking, your eyes can deceive you. This is especially the case in foods with water content (which, come to think of it, is most foods!). Fortunately, with cookies, most of the ingredients are totally dry. Even so, a kitchen scale is more reliable than a “tightly packed cup” when measuring brown sugar and flour.
Opinions might differ, but I prefer consistency in my baking, and it’s hard to recreate the same cookie every time when I just eyeball a measuring cup and hope that the brown sugar is the same as it was last time. I need exactly one pound of brown sugar. Every time.
If you don’t have one, I strongly suggest you invest in a digital kitchen scale. You can get one for less than $15. These are useful for more than just baking:
- Weigh your meat before brining to figure out exactly how much salt it needs to be “salted,” but not “salty” (hint, you need one teaspoon of salt per pound of meat).
- Weigh your fruits or vegetables to figure out exactly how much salt they need for fermenting them into an amazing hot sauce (hint, you need 2-3% of the vegetables’ total weight in salt).
- Or in the case of these cookies, you need exactly one pound of butter, exactly one pound of brown sugar, and roughly one pound and a few ounces of flour.
Brown Your Butter
Browned butter is what the Greeks were referring to when they wrote about ambrosia. If you know anything about caramelization and the way it affects flavor, you’re aware that the sugars in butter (lactose in the form of milk solids) go under chemical changes that develop a rich, nutty smell, a deep and nuanced flavor, and a gorgeous, amber color.
Browned butter isn’t always a necessity, but if you can find an excuse to use it in your cooking, it’s worth a shot. Browned butter takes your food from “yummy, I like that butter!” to “get your hand away from my plate before I bite you again.”
One warning: burned butter will ruin your whole meal. If you ever burn your butter, throw it out, mourn your losses, and try again. Keeping it is not worth it.
For best results, melt your butter over medium-low heat. Let it melt and keep going until it pops and crackles. Let it go for a while, keep an eye (and nose) on it, and it’ll be ready when it’s beautifully brown and smells deliciously nutty. I never pass the medium mark on my stovetop, so I haven’t burned butter in years.
Whip Your Butter
Did you know that ice cream is actually 30-50% air? That’s what makes it so creamy. Soft-serve ice cream (the kind they squirt into a cone at the local drive in) can get up to 60% air. Air is awesome. It provides a ton of mouthfeel to your food and increases the sensation of creaminess.
A lot of people say air increases the “lightness” of your food, but I disagree. Sure, there’s air in the food, and sure, air is light, but you’re not really eating the air, are you? Is the air making your food float or something? No, the air is emulsifying your food and helping lipids bind into an interlocked structure (yay, science!). This means that instead of separating into two separate pools of fat and water, incorporating air into your food causes fats to become locked into the food’s structure and create a beautiful, creamy bite. This way, sauces get richer, ice cream gets creamier, and cookies get gorgeously soft.
With all that being said, let’s add some air to our cookies! It takes a few steps:
- Use softened butter. NOT rock hard, and NOT melted. This means if you followed my previous suggestion and browned your butter, then congrats, you now have melted butter on your hands. You need to wait for that stuff to reconstitute into hard butter before using it. Ideally, you’ll stir it around several times to equally distribute the delicious, browned milk solids through it instead of letting them sit on the bottom of the bowl.
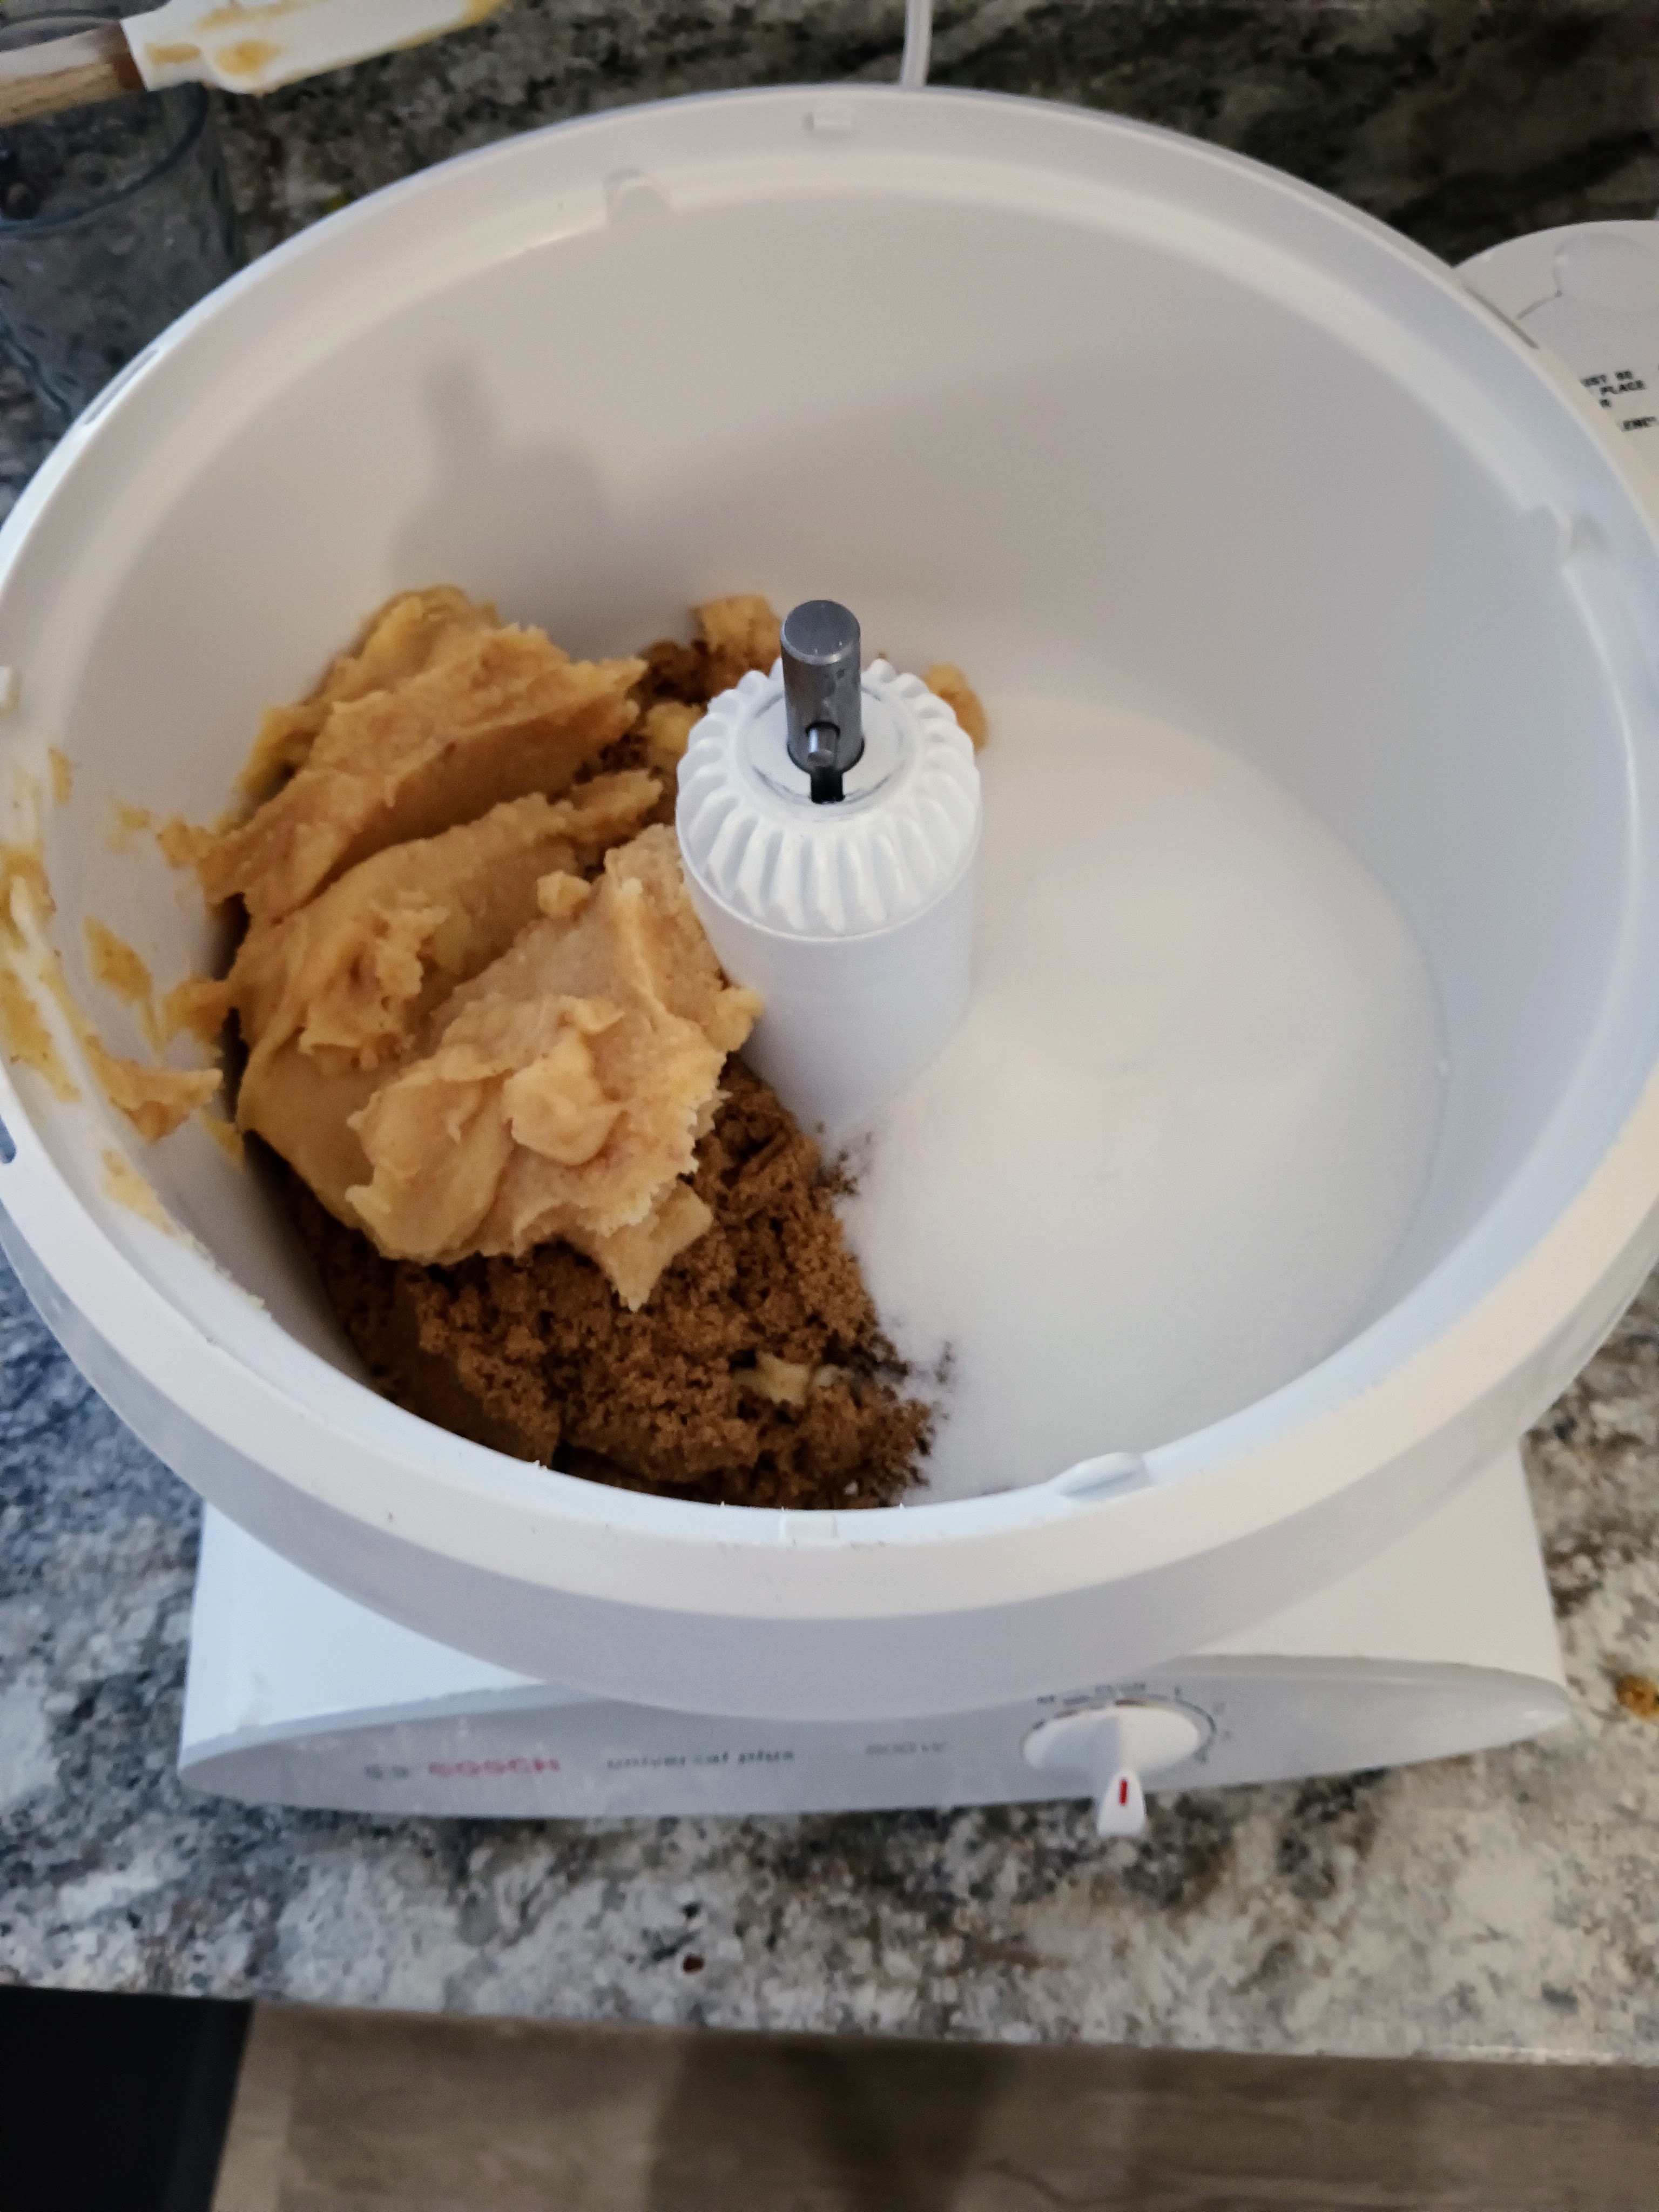
- Before anything else, add your butter and sugars (brown and white) to the bowl. NO vanilla, NO salt, NOTHING ELSE!
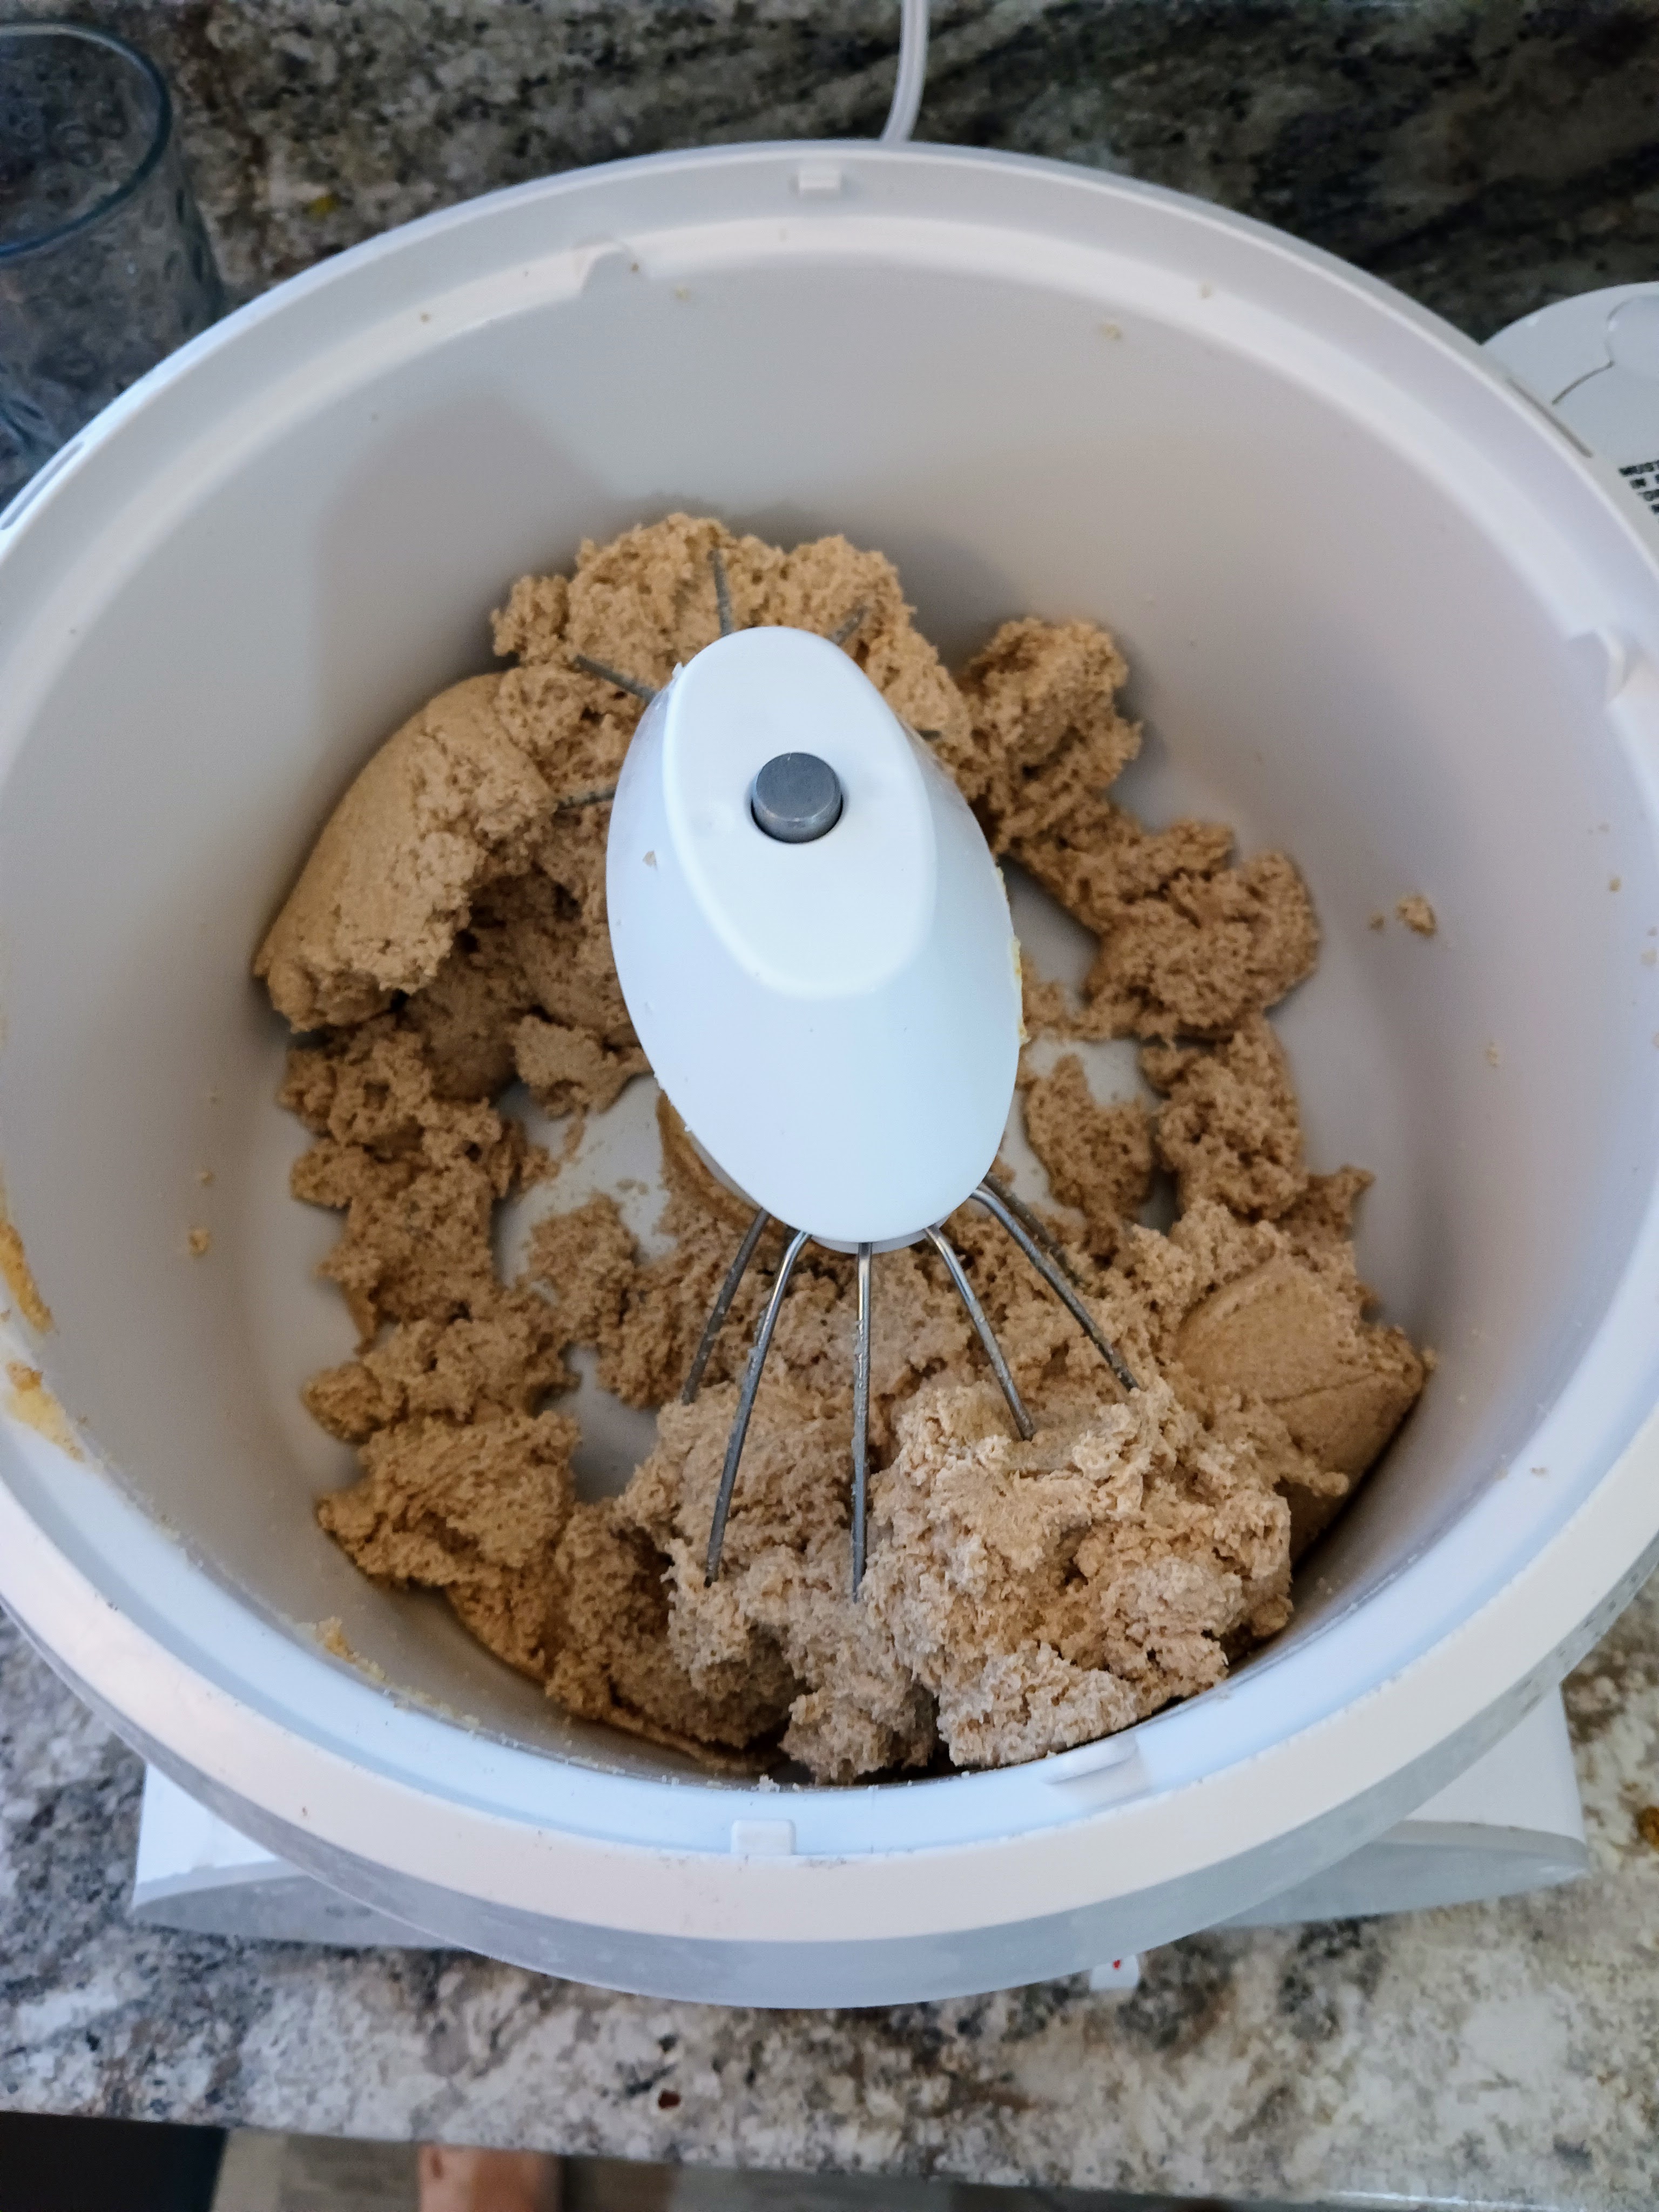
- Beat that stuff until it’s fluffy and beautiful. You’re looking for a creamy texture that holds its shape reasonably well and has a lightened color (you’ll notice the color gradually grow lighter as you mix). WARNING: you’re not trying to whip your butter. Whipping it is a step past creaming it, and incorporating this much air into such a soft structure like cookie dough is fragile and won’t stand up to much heat, so your cookies will flatten.
- Only after your butter and sugars are nice and creamed, you can add everything else except for the flour and chocolate and quickly incorporate them into the mixture.
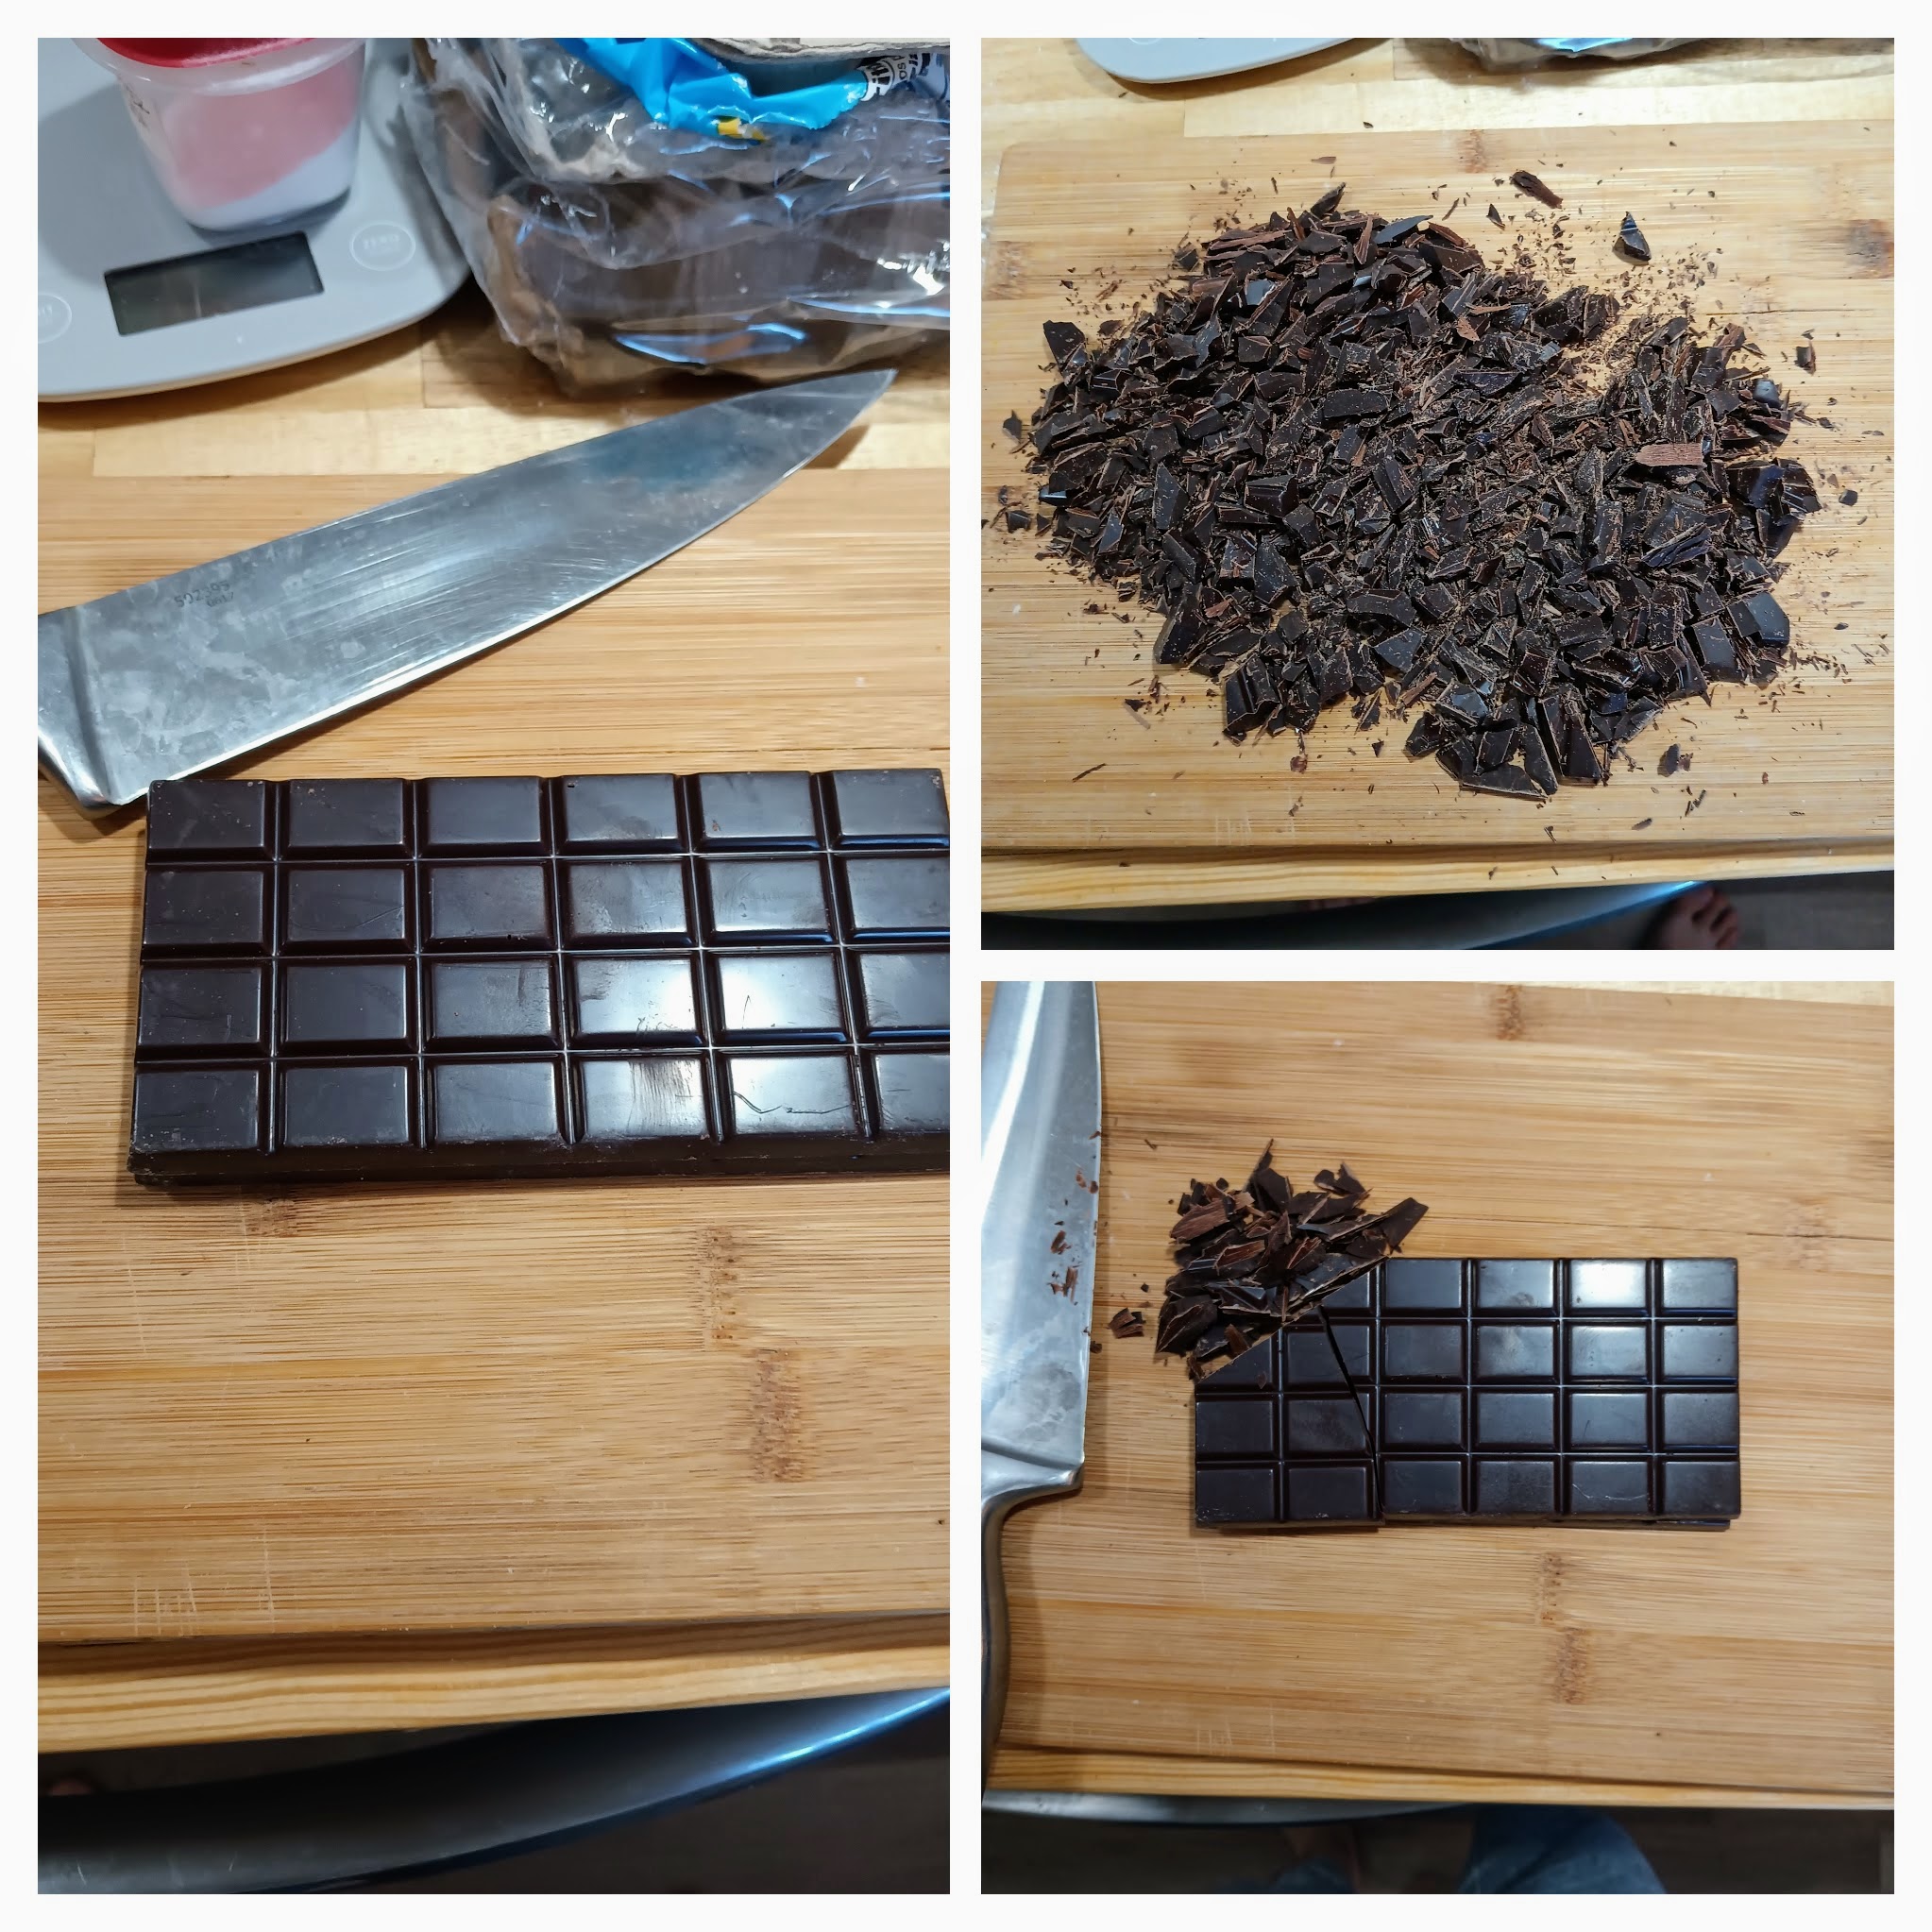
Splurge on Chocolate
I never buy cheap chocolate for two reasons. First, I don’t support slavery. If you know, you know. Second, cheap chocolate isn’t good. I could write an article alone on the art of tasting, smelling, and enjoying incredible chocolate (let me know if you’d like this article).
Let’s put it simply: chocolate is one of the few ingredients where it is 100% worth it to buy something really nice that will send the flavor of your cookies through the roof. Spend some time sampling good chocolates until you find one you’d really like to try in a cookie. Here are some tips to get you started:
Look for “single-source” chocolate: Cheap chocolate works a lot like the stock market—manufacturers buy cocoa beans from wherever is cheapest at the moment (a few from Mozambique, a few from Ecuador, some more from Madagascar, etc), and then just throw all these cocoa beans into the same giant vat. When they do this, they obfuscate and destroy everything that could have made these varieties of chocolate unique and delicious. There’s no earthiness, no fruitiness, no acidity or bite. Just a vague “chocolateness” that Westerners have become tragically accustomed to. In fact, this is the reason that most people don’t like dark chocolate. It doesn’t taste like real chocolate; it’s just bitter and sad!
On the other hand, single-source chocolate preserves all the local flavors from that particular chocolate farmer’s region. Especially if you’re sampling dark chocolates, this opens up a huge world of flavors and aromas.
Don’t Fear Dark Chocolate: If this idea scares you, go back and read my last point again. I’ll wait. I’ve got two great reasons to put dark chocolate in your cookies:
- Generally cookies are already very sugary and buttery. They don’t need more cream and sugar from the chocolate. Instead, good chocolate will provide contrast from the other flavors in your cookies and keep them from getting old after just a few bites. This is especially the case with chocolate chip cookies, but it’s still no matter how you use chocolate.
- Dark chocolate is itself quite the treat if you find the right seller. There are dark chocolates out there that taste fruity, acidic, bready, mushroomy, caramely, and everything in between.
In another life, I suspect there is a very content Matthew who works purely as a chocolatier. That Matthew (and this Matthew) beg you to stick with good chocolate in your cooking.
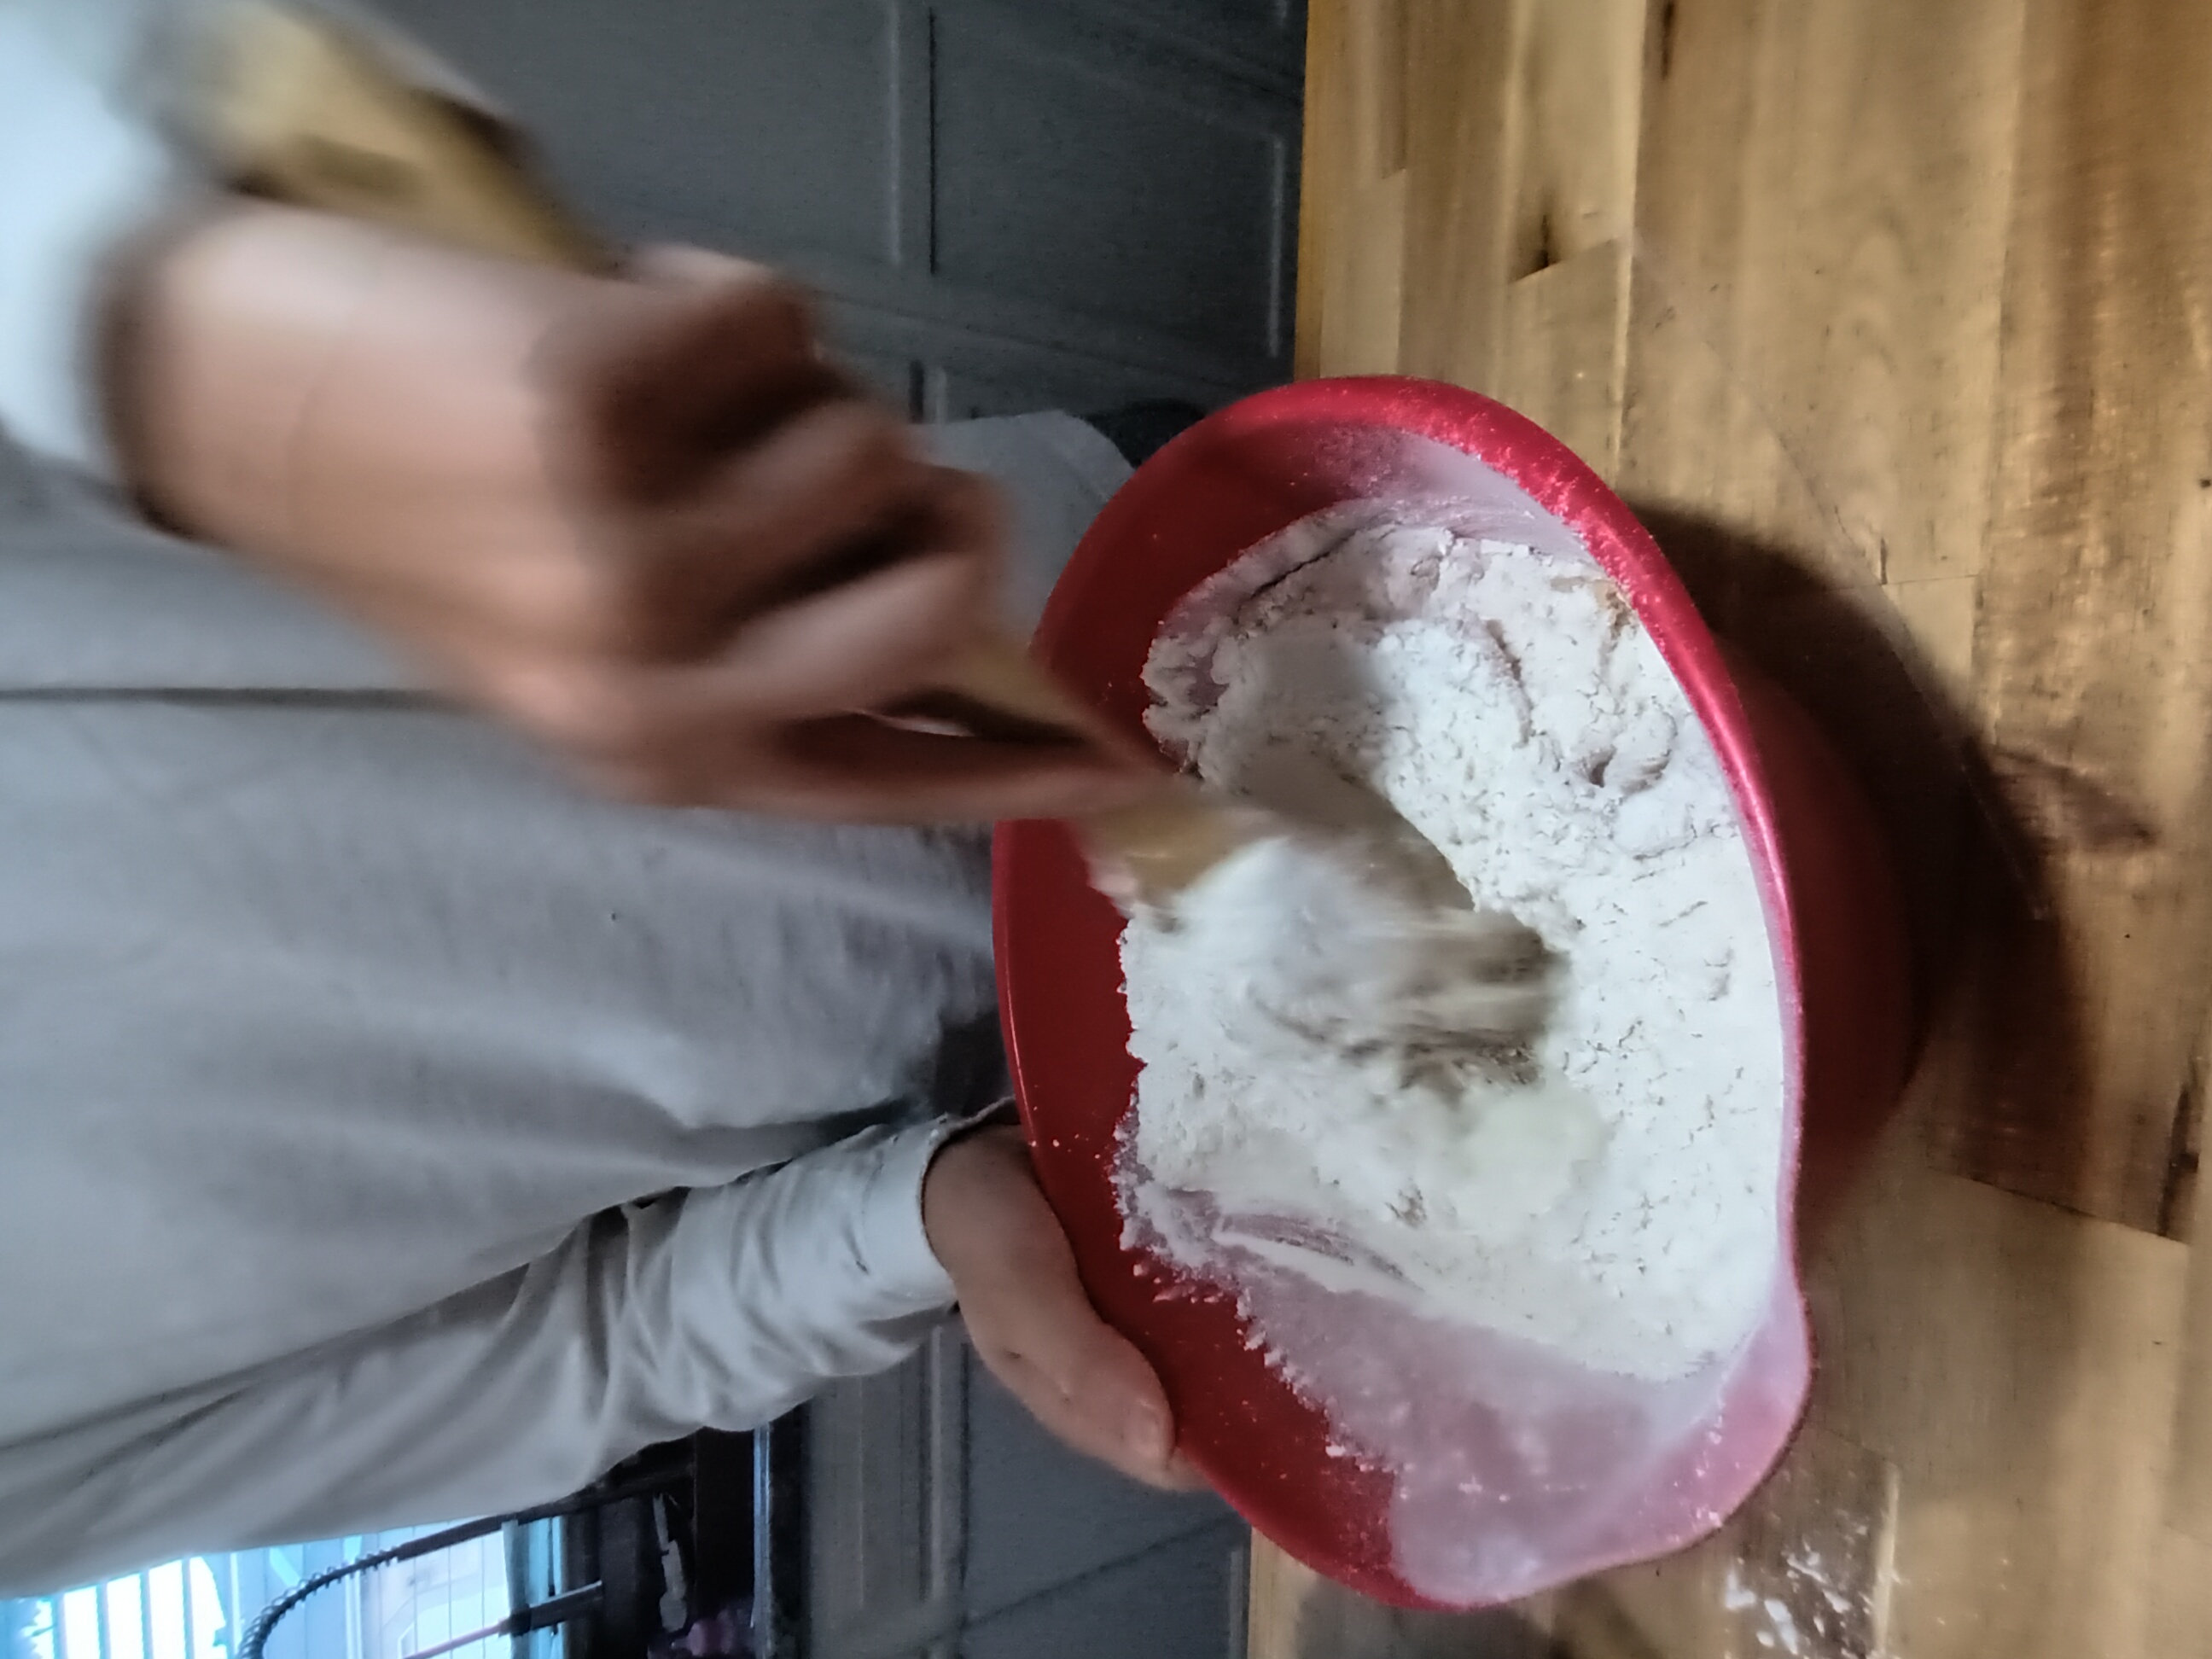
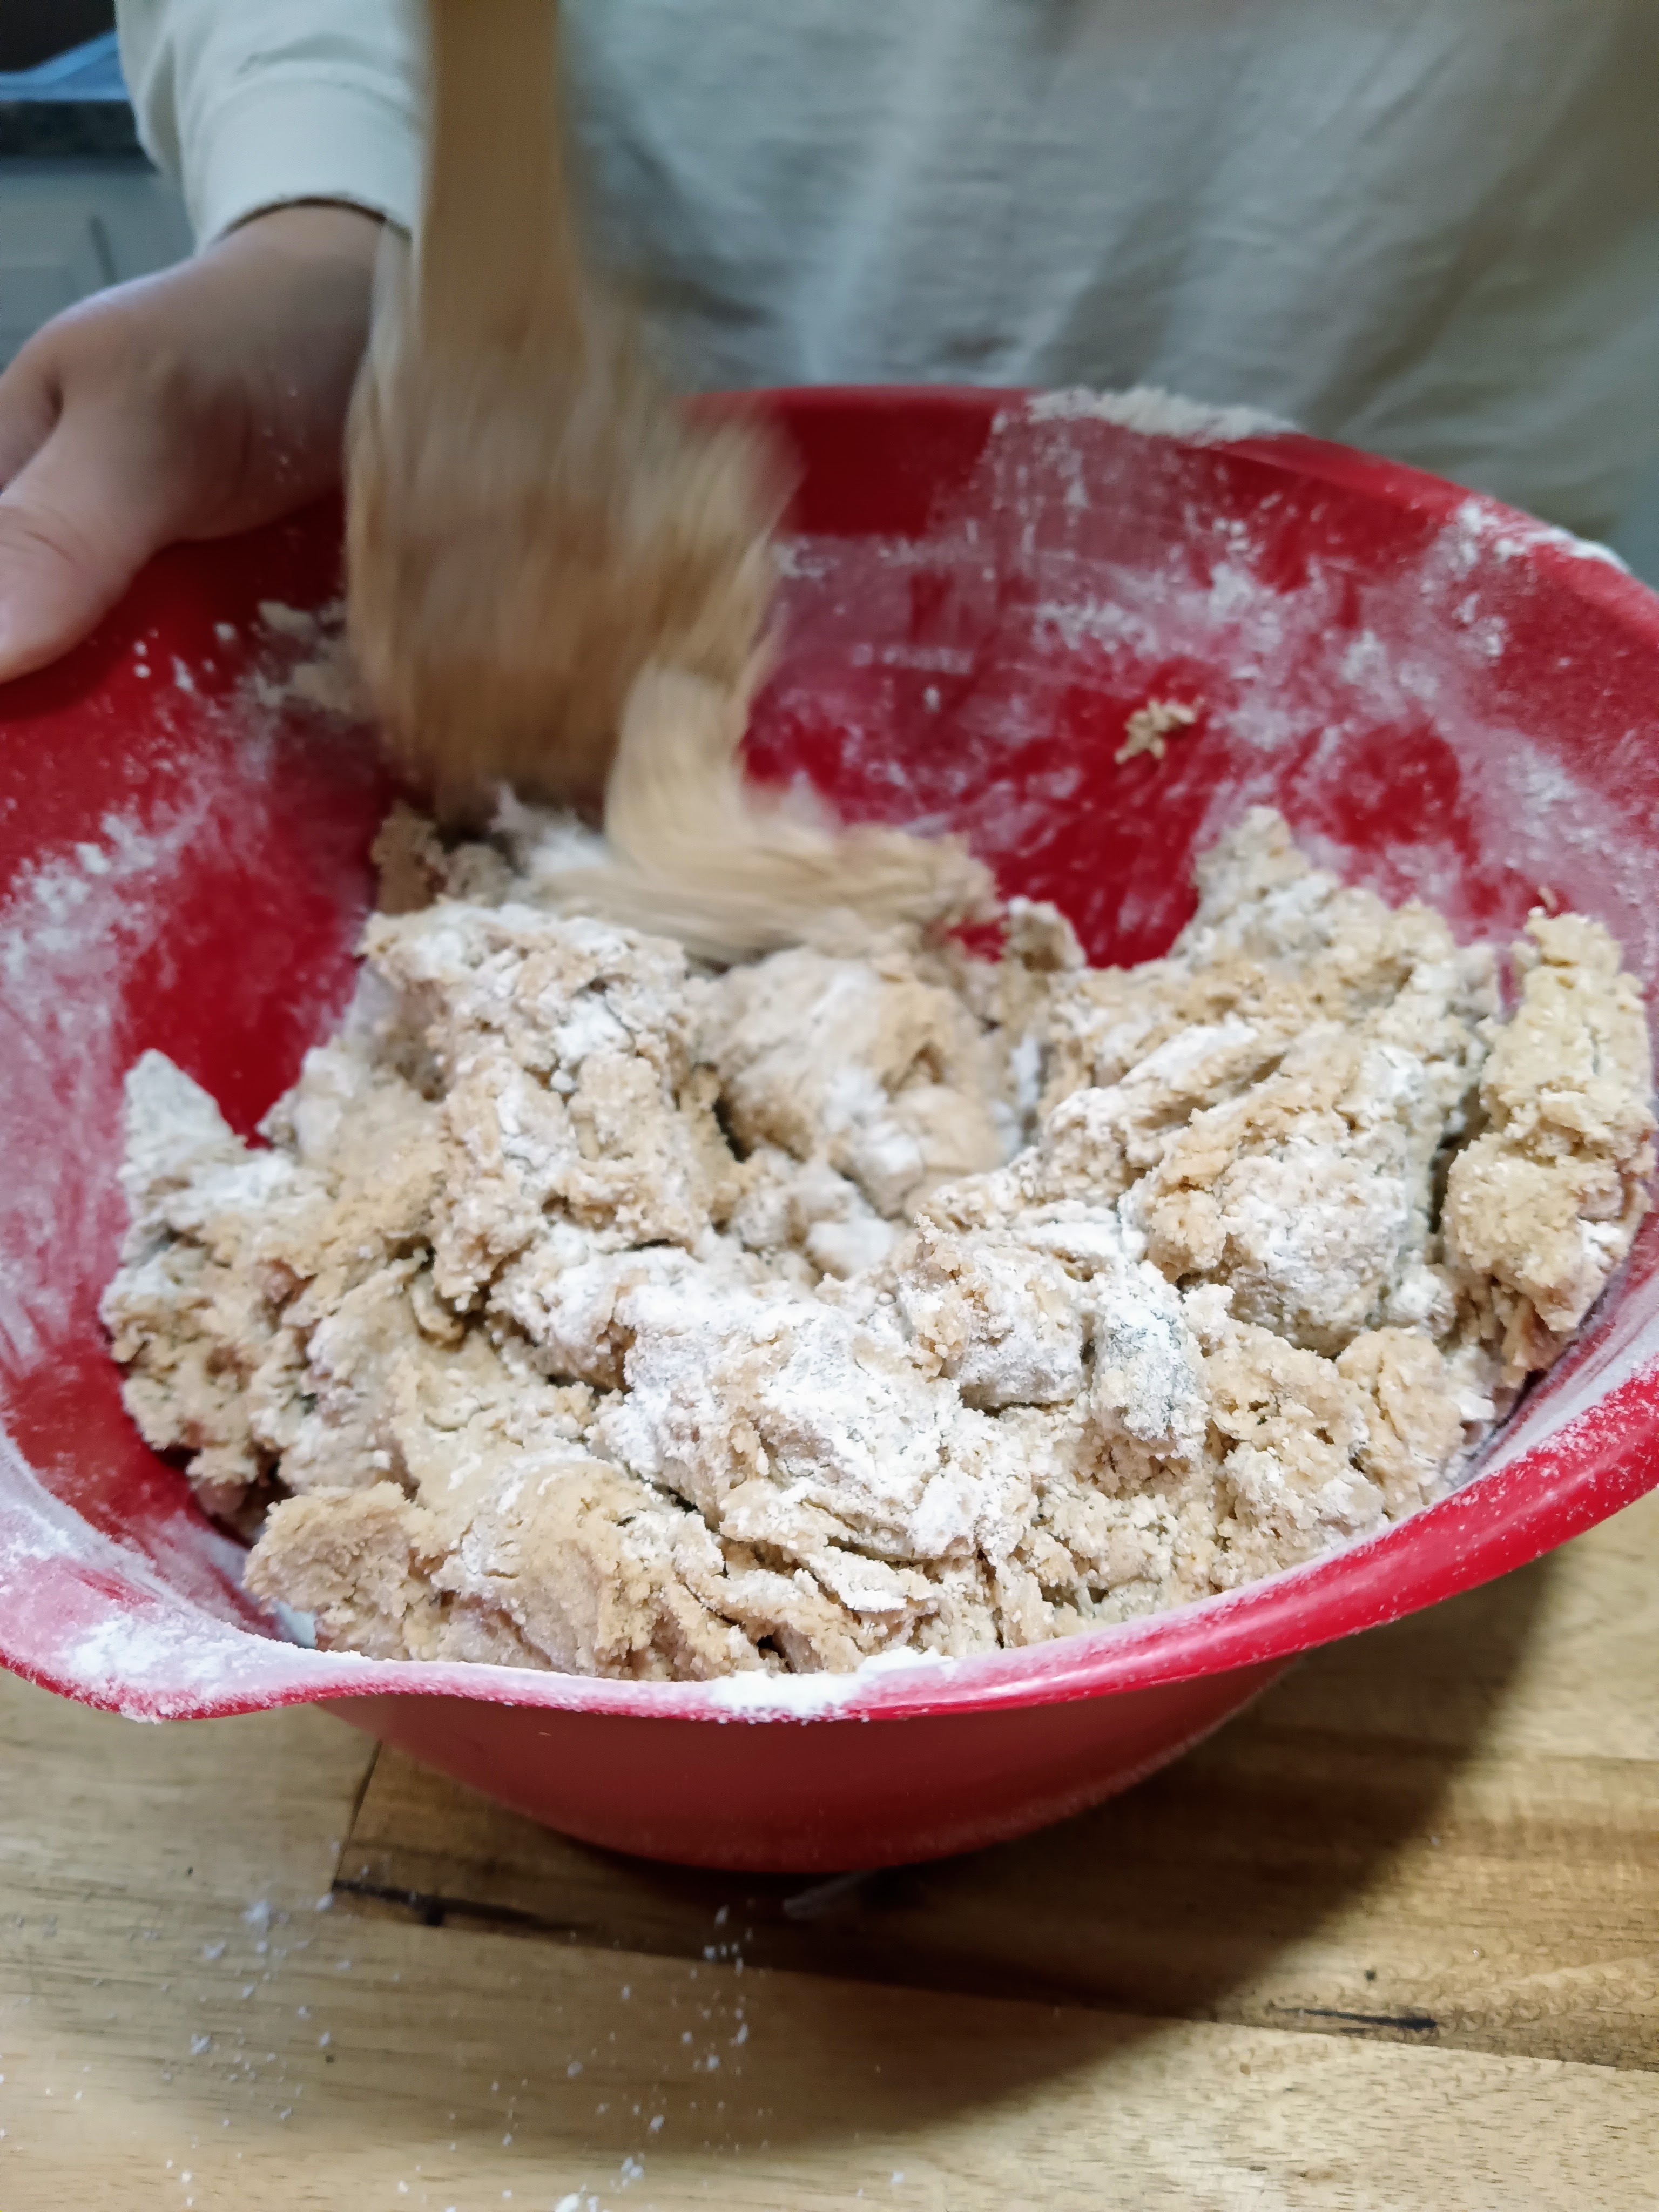
Hand Mix Your Dough
If you’re going to ignore any of my tips, I hope it’s this one. With that being said, hand-mixed cookie dough hits super different. Machine-mixed dough has a tendency to get over mixed, which develops gluten too much and results in a firmer cookie. Personally, I like my cookies to be so gooey inside that it feels like a volcanic eruption, yet on the outside they are so crumbly and flaky that they seem like a biscuit. Does that combination of textures seem impossible? Ha! Try hand mixing your cookie dough.
One warning: if you try hand-mixing your dough, you may get nervous at how the flour doesn’t seem to fully incorporate. This is a feature of the process. The flour doesn’t need to fully incorporate to make a great cookie. I mix my cookie dough so that it has a uniform color, but is still streaky from flour.
Just kidding, here’s a second warning: if you hand mix your dough, it might be strange how shaggy the dough is. It won’t come together in the same way as machine-mixed dough. Again, this is a feature—it means the gluten isn’t locking down the cookies’ molecular structure (science!!!). If the shagginess is too much to handle, try gathering the dough together in the bowl and pressing down on it firmly with two hands. This will make the dough easier to handle long enough to form into balls and bake.
This is also the tip that industrial kitchens can’t replicate. They’re moving through hundreds of cookies a day, so they don’t have the time to lovingly work with their dough as if it’s their little cookie child (that they’ll devour moments later). You, on the other hand, probably aren’t cooking for hundreds. Just a few dozen is enough. You can hand mix your dough.
Age Your Cookie Dough
This is a weird tip, but it works and I can’t explain it. Wait, explaining it is my job. Okay, here it goes:
First off, when you let your cookie dough sit for three days, it lets the flavors deepen and balance out. This doesn’t mean the cookie tastes all “samey.” Rather, flavors that might be underdeveloped, like vanilla or browned butter, will become more pronounced. This way, your cookie will taste even more like a cookie. That’s right, with a little bit of time investment, you will get more cookie per cookie. Take that tip to the bank.
Second, giving your cookie dough time to rest allows moisture to more evenly distribute through the dough. This will make the center more gooey and the outside more crispy as water evaporates in the oven.
Big Cookies Are Not Just Big Cookies
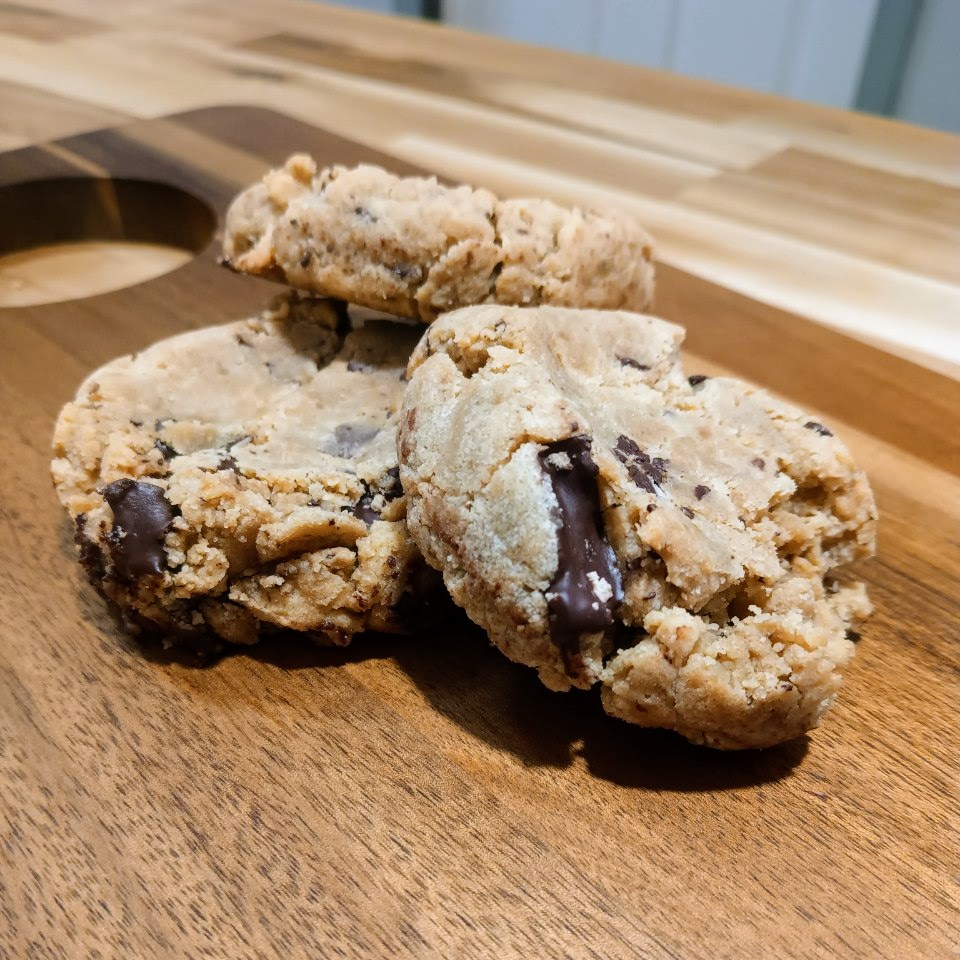
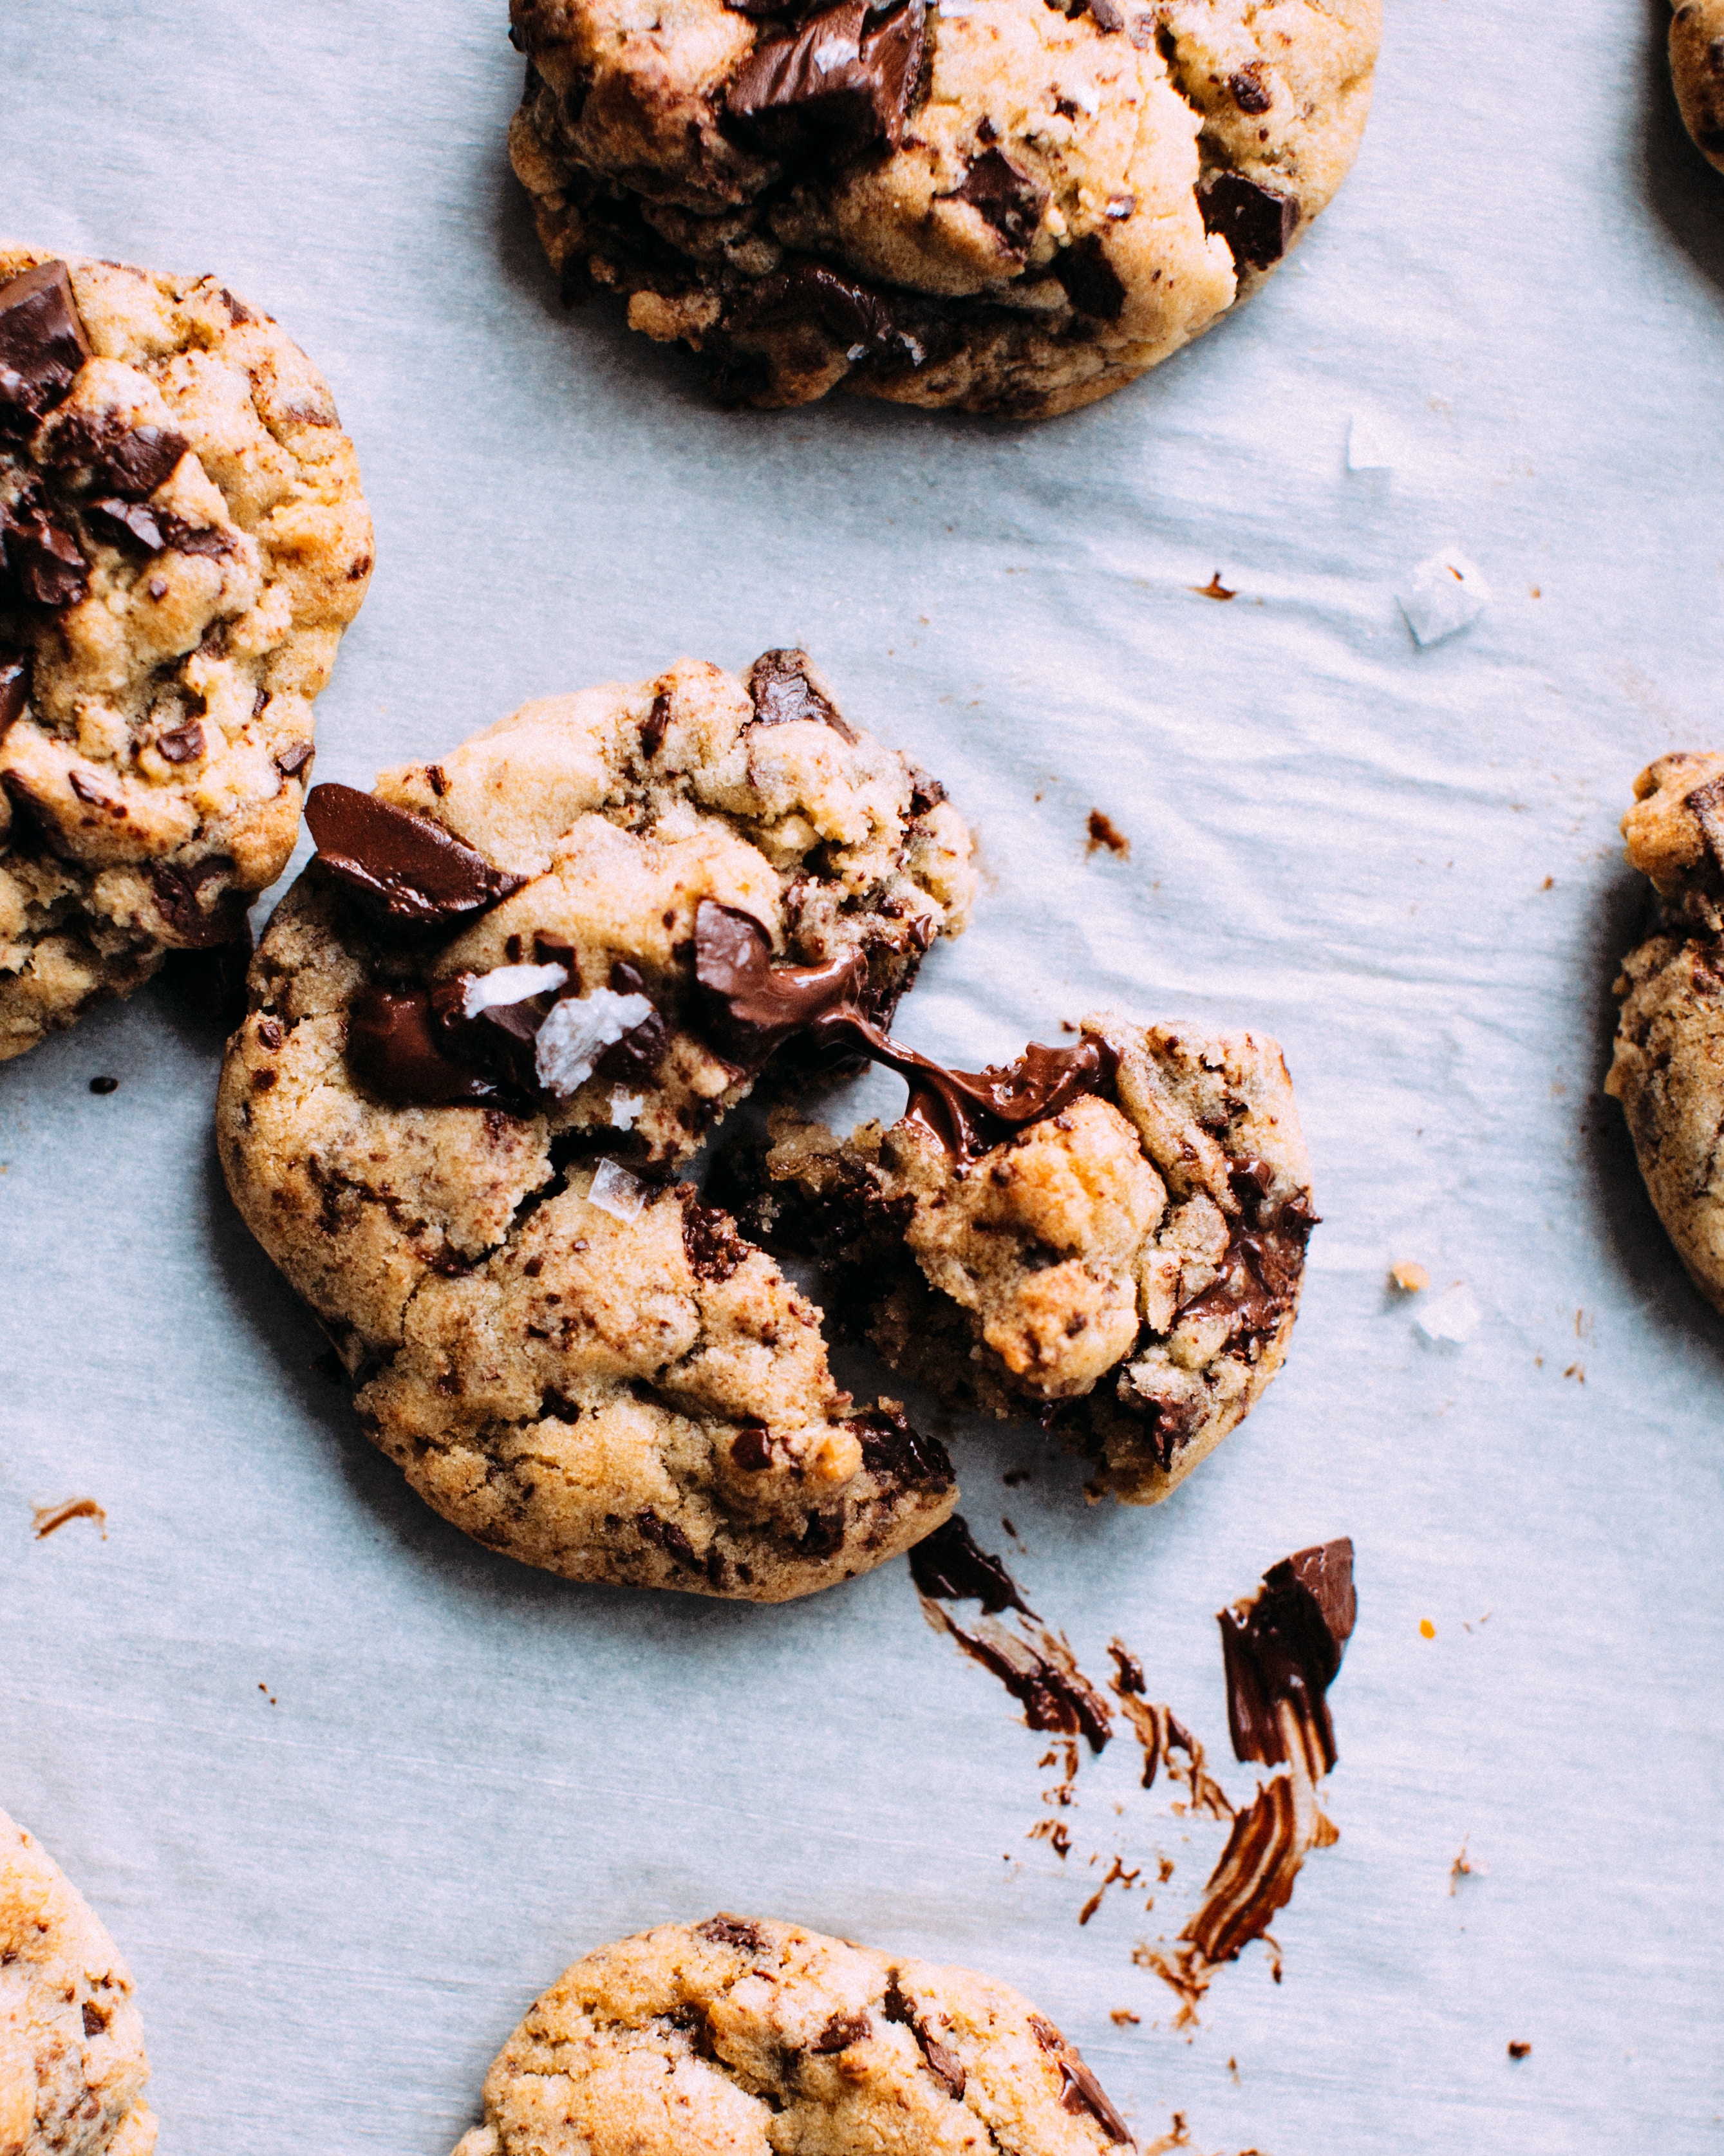
Here is where I confess to something terrible. When I was baking the cookies for this article, I got so excited to eat them I forgot to take pictures when they came out of the oven. I dove right in, ate way too many to be proud of, then took them to work to share with my coworkers. I didn’t take the picture above until the next day, when they were no longer gooey and didn’t look nearly as appetizing. I’m sorry the picture is ugly. The flavor is not. Anyway, let’s jump to the next tip.
Cookie franchises have gotten pretty popular lately (you know, like that one that’s getting sued for violating child labor laws?). They’ve made big cookies popular, but for the wrong reason. To them, a big cookie is a chance to pack in more sugar, thus giving their customers a bigger sugar rush and fueling a literal addiction to come back and buy more of their product. It’s like selling drugs, only it’s legal.
Big cookies (especially if you hand mix your batter and start baking with cold dough) take on unique qualities. The outside of the cookie caramelizes and develops a crispy, crunchy crust, while the inside of the cookie turns into a chocolaty hot tub party. It’s a marriage between two contrasting textures, which is wholly addictive in its own beautiful way, and doesn’t require the disgusting amounts of sugar that industrial cookie peddlers are pushing.
And if your cookie is too big? Cut it in half. Share it with a loved one (unless that loved one is a dog). Enjoy it with lots of milk. Cookies are a million times better at home. It’s science.
Bake Them Cold
This is a neat trick that I recently discovered. Baking with cold dough is a huge bonus for two reasons.First, the outside of the cookie will bake faster, thus caramelizing at a gorgeous 320℉ while the inside is just getting started. Thus, when the interior of the cookie has reached its peak (165 to 180℉), the outside of the cookie is ready in an entirely new way. Suddenly, you have a cookie that is alternately soft, pillowy, and dangerously gooey when warm on the inside, and crispy, buttery, and flakey on the outside. Double win.
Second, and this is very important, if you’re baking a big, cold ball of cookie dough, then it won’t get hot enough to flatten out the way you want. SO YOU HAVE TO SMASH IT!!! First off, smashing things is great therapy. But second, just try this… place your palm on a cold ball of cookie dough and gently press down until it’s a ½ to ¾ inch-thick puck. You’ll notice that the ball has split along the edges and didn’t form a perfect circle. You know all that is? That’s extra surface area to turn into a delicious, caramelized mass of crispy, crunchy goodness. Plus, if you’ll just go to my next tip, it’s shockingly easy to reform your cookies into a perfect little circle when you’re done baking them.
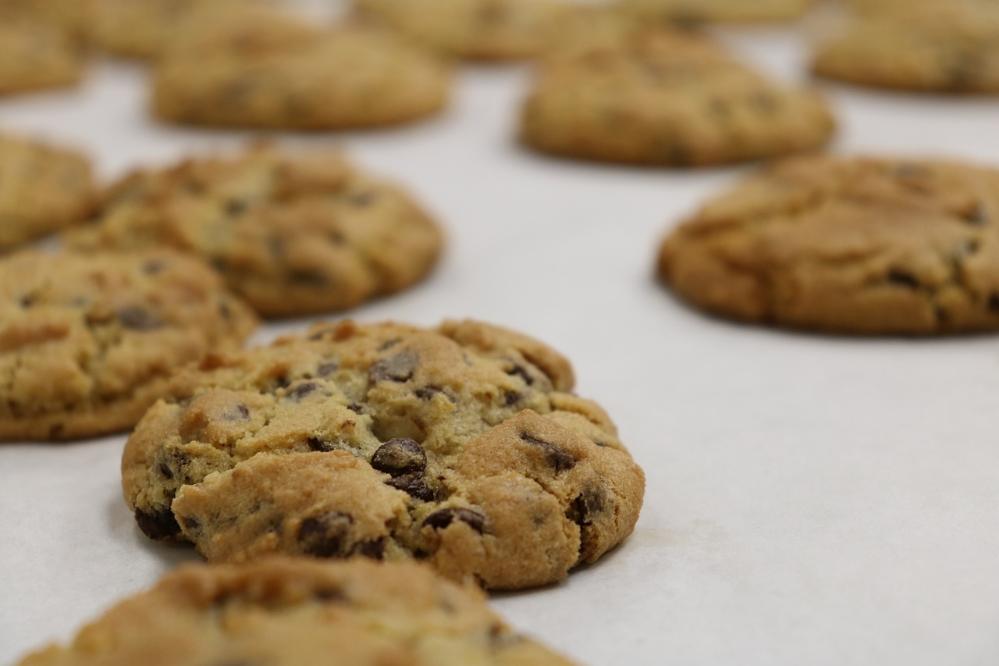
Use a Ring Mold
This is how you turn your cookies into a perfect little circle. This is great if you’re like my Nana, who taught me to bake. She is super precise and likes her cookies uniform (she even weighs each cookie dough ball to make sure they’ll be exactly the same size). It’s also perfect if you make cookies like mine, which for a moment during baking look like terrifying amalgamations of chopped chocolate and smashed cookie dough.Just grab a ring mold or a heat resistant cup with a mouth wide enough to fit around your cookies. The moment you take the baking sheet out of the oven, place the ring mold or cup around your cookie and swish it around in little circles. What you’re doing is pressing the cookie into the sides of the ring mold, which reshapes it into that symmetrical circle we all seem to like so much. Though personally, I might just start serving Frankenstein’s for the fun of it. ‘Tis the season, after all.
Did I Miss Anything?
Do you know of any other cookie-making tips that I may have missed? If so, please let me know in the comments below. I certainly don’t know everything, and I won’t be happy until I’ve made someone weep when they taste my cookie.My Mouth is Watering and I Can’t Think Straight. Please Give Me a Recipe!
No worries, I’ve got you. I’ve tried thinking of a name for these cookies, but have had some trouble. Let me know if you can think of a better name.Matthew's Incredible 3-Day Chocolate Chip Cookies
This recipe is not for the faint of heart. First off, if you make it my way, it'll take three days of waiting. But secondly, these are not little cookie vitamins. They're not little crunchy cowards masquerading as health food. These are incredibly rich cookies. You should really only eat one with a big glass of milk. But if you have the gumption to follow this recipe to every last detail, these will be the best chocolate chip cookies you've ever had. These cookies are so good for several reasons: They emphasize high-quality chocolate, which is imperative in good baked foods. They use brown butter, which has a more complex flavor. They take time to refrigerate, harden, and age the cookie dough, which deepens the flavor and gives you the opportunity for some incredible texture. One note, I made this recipe at a rather high altitude. If you live at a low altitude (such as in a coastal region), you'll need to increase the amount of flour you use.
Cook time:
Yield: 32 Large Cookies
Ingredients:
1 pound softened (not melted) browned butter
1 pound dark brown sugar
2 cups sugar
4 eggs
3 teaspoons baking soda
2 teaspoons salt
4 teaspoons vanilla extract (preferably Mexican)
1 pound 15 ounzes flour (slightly over 6 cups)
4 cups (or two bars) dark chocolate
Directions:
1. In a high-walled saucepan, melt your butter over medium-low heat. You want a high-walled saucepan because it will prevent too much water from evaporating. You'll hear your butter start to pop and crackle. This is fine.
2. Once your butter is browned, remove it from the heat. You'll best know it's browned by the smell. It should be nutty and caramelized. The color will also be brown (obviously), but I often can't quite see the butter because of the thick layer of froth that forms over it.
3. Let your butter reconstitute into softened (not melted) butter. I usually just let it sit, covered, for several hours until it hardens (stirring it once in a while to evenly distribute all the browned milk solids). The butter's high fat content will keep any bacteria from growing. However, a faster version of this is to take two large bowls. In one bowl, pour ice water. In the other bowl, pour the melted butter, then place that bowl over the bowl with the ice water. Vigorously stir the butter. The very-cold ice water will quickly reconstitute the butter back into softened butter.
Second Step: Make sugar cream
1. Use a rubber spatula to scrape your softened (and browned) butter into a mixing bowl. Ideally, use a stand mixer like a Bosch or Kitchenaid.
2. Shovel in your brown and white sugar on top of the butter.
3. Cream your butter and sugar together by mixing it on high speed until the sugar is thoroughly incorporated and the butter has taken on a fair amount of air. You are NOT trying to whip your butter, and there is such thing as mixing it for too long. However, the butter should be light and able to hold its shape.
Third Step: Incorporate everything but the flour and chocolate
1. Add your eggs, baking soda, salt, and vanilla extract to the butter and mix it just until incorporated.
Fourth Step: If applicable, chop your chocolate
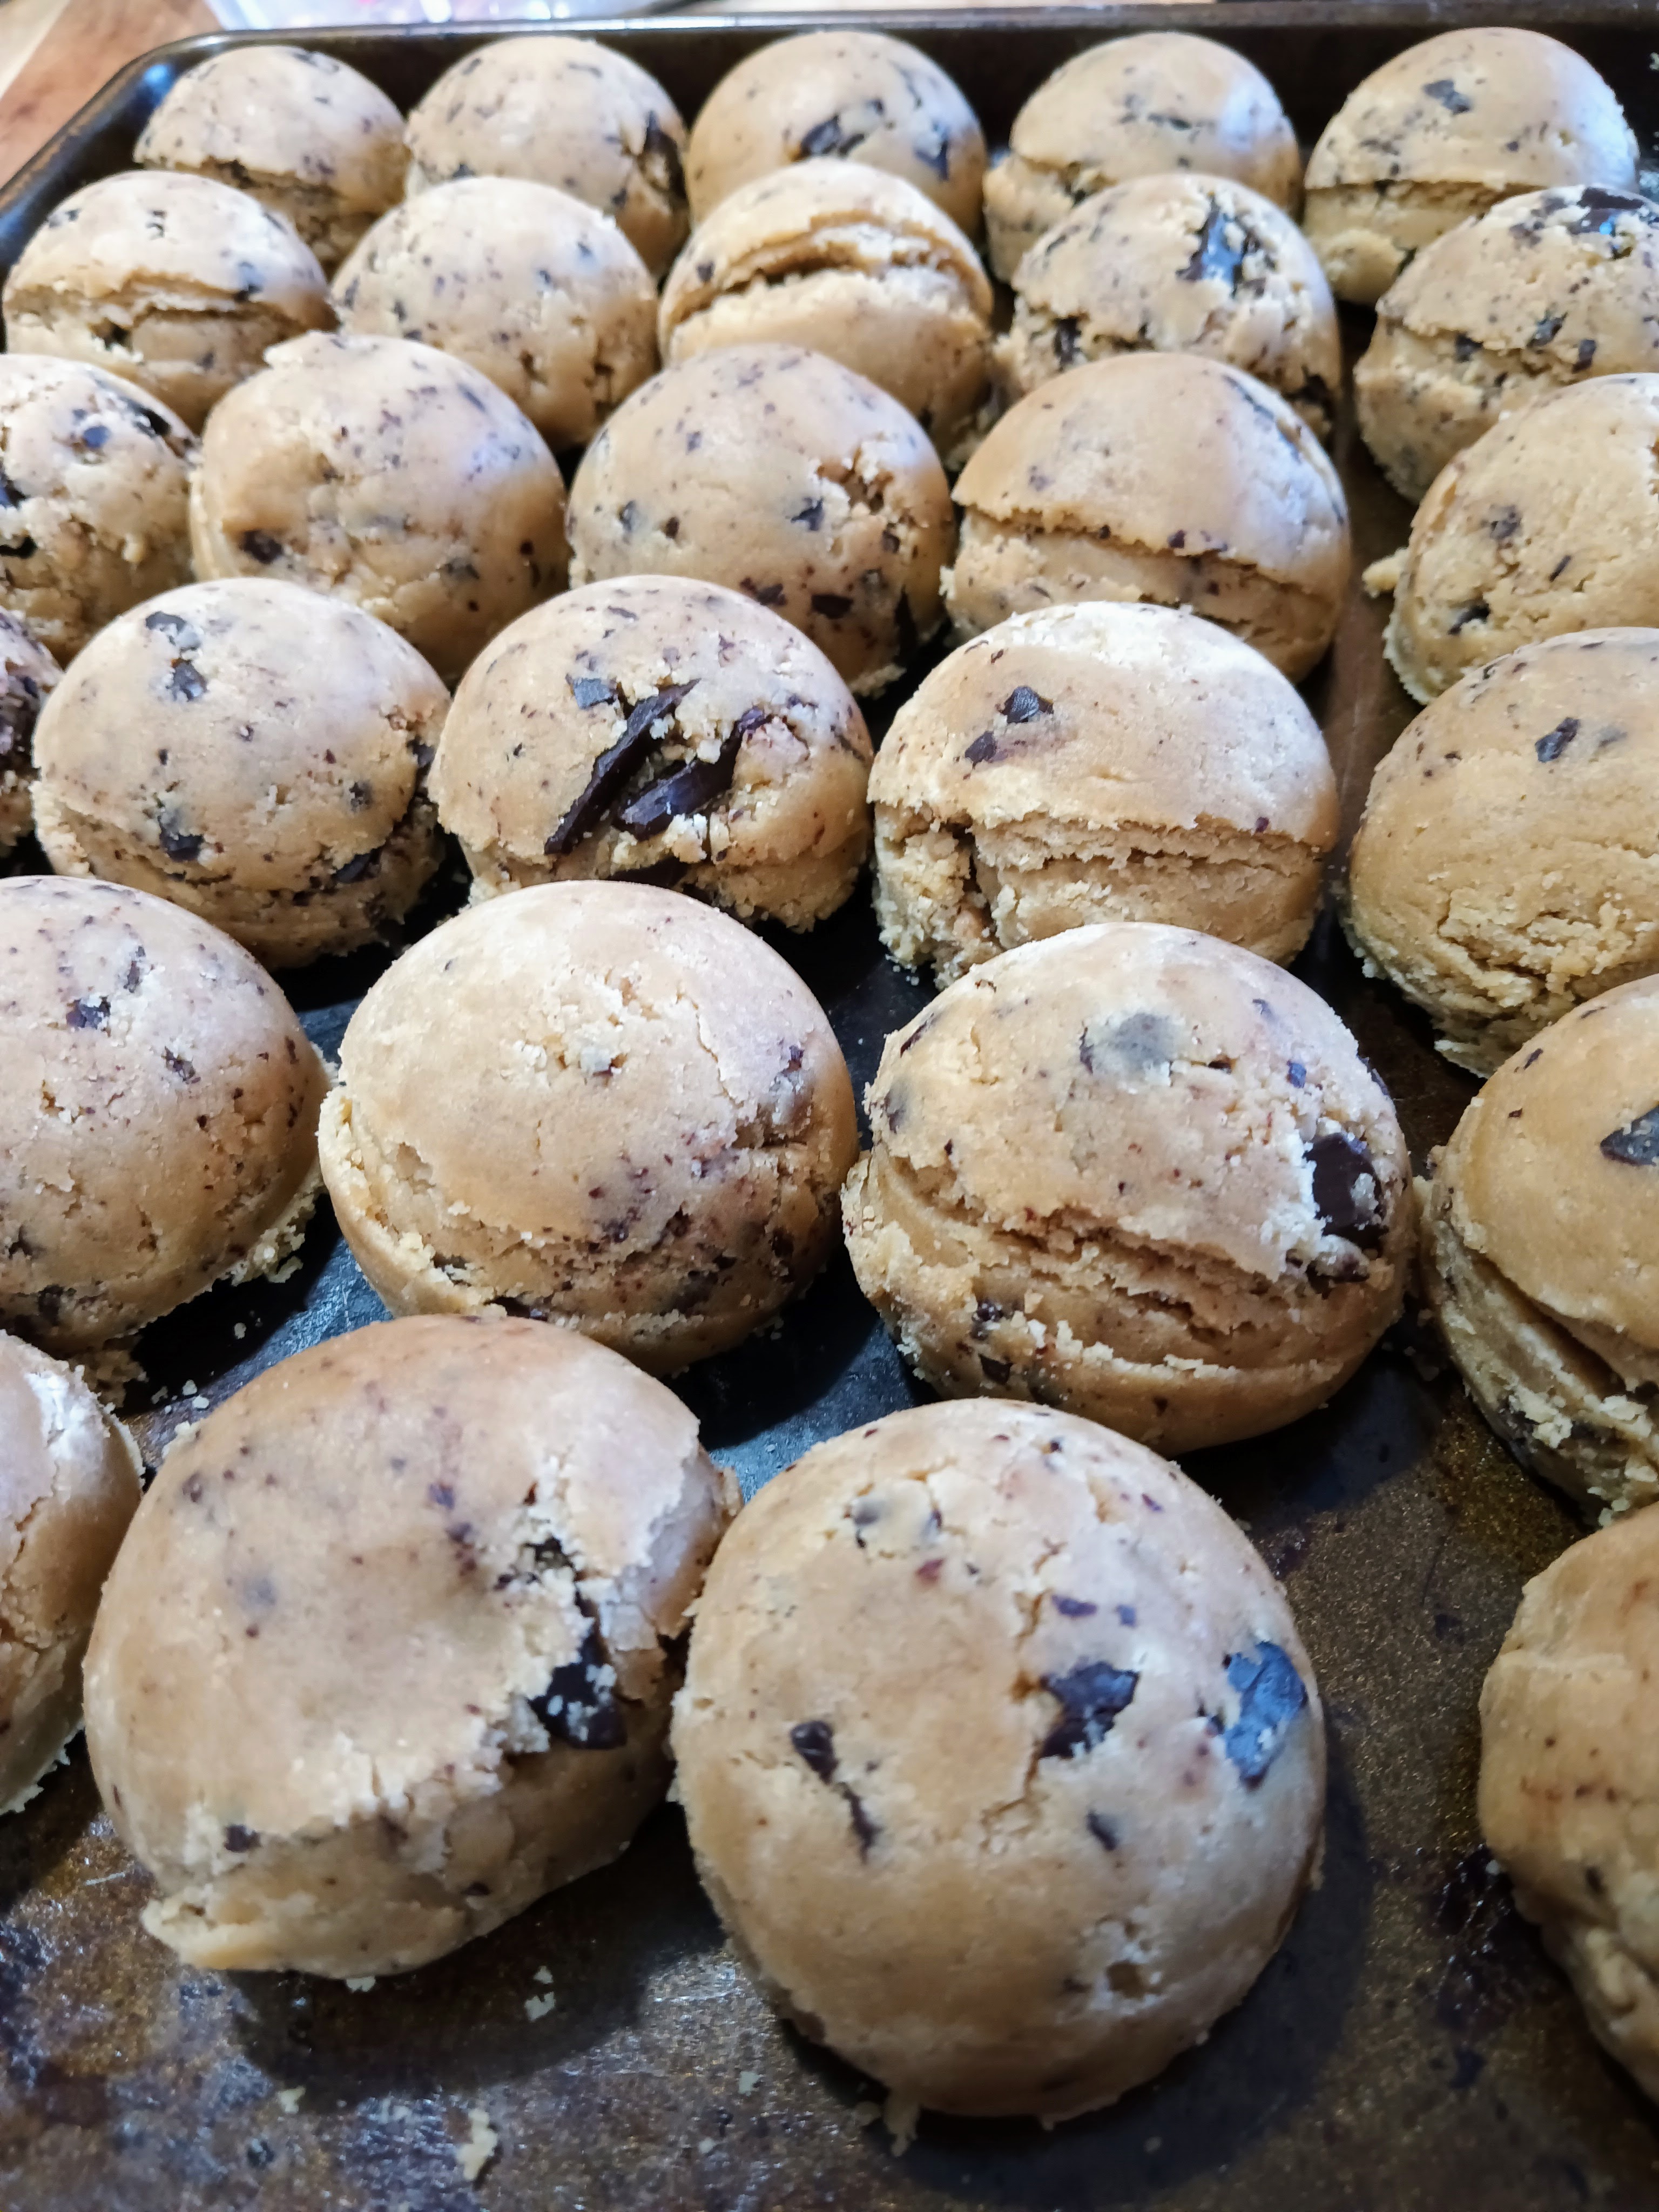
1. If you bought a couple bars of really good chocolate like I prefer, then place them on a cutting board and chop them up with a chef's knife. I like to aim for some big chunks of chocolate and some small ones, but this is your call.
Note: chocolate bars are preferable to chocolate chips for three reasons. First, it's easier to find high-quality chocolate in bar form. The quality of your chocolate will determine the quality of your cookie, and if you haven't had incredibly good chocolate, you haven't lived. Second, the chopped chocolate bar adds variety in texture to your cookie. There will be some really good cookie bits as well as some luscious pockets of molten chocolate. Third, chopped chocolate bars are GORGEOUS in your cookie, and they put chocolate chips to shame.
Fourth Step: Gradually add the flour and chocolate
1. Gradually incorporate the flour into the rest of the dough. First best results, you will no longer use your machine mixer. Instead, use a wooden spatula to stir the flour in by hand. This is for the same reason you don't want to overmix your pancake batter; overmixed cookie dough results in a tougher cookie. We want this cookie to be crumbly and biscuit-like on the edges, and incredibly soft in the center.
2. Once the flour is incorporated, mix in your chocolate.
Note: because of your mixing method (and especially if you lost a lot of water content from your butter), your dough may be very shaggy or crumbly. You may even notice some spots where the flour isn't entirely incorporated. If this happens, don't panic. Just use your hand to compress the dough in on itself. The spare bits of flour won't be a problem (as long as there isn't a ton of it).
Fifth Step: Wait for three days
1. Form your dough into large balls. I usually use a cupcake scoop, though this understandably might be too large for you.
2. Place your cookie dough balls on a baking sheet and cover it in plastic wrap.
3. Place the baking sheet in the fridge. Leave it for three days.
4. (Optional) to save some fridge space, take your baking sheet out for a couple of hours and transfer the cookie dough balls to a storage bag.
Note: technically, you can skip this step and move on to step six after just a couple of hours. However, that's a mistake. Giving your cookie dough time allows the flavors to develop in a unique way. It's one of the many elements that makes these cookies so good.
Sixth Step: Flatten and bake
1. Preheat the oven to 350°F.
2. Take your cookie dough balls out of the fridge. Your cookie dough will be hard, and because of the temperature, will not soften and melt properly while they bake. This is all according to plan!
3. Give your cookie dough balls a little squishy squish! Flatten them into pucks about the size you would be happy eating. I aim for about 1/2 to 3/4 of an inch thick. Your cookie dough balls will almost certainly crack along the edges. This is a good thing! As they bake, all that extra surface area will become crispy and delicious. Meanwhile, the cold interior of the cookie will bake slower, leaving it soft and gooey.
4. Bake your cookies for 10-12 minutes. Ideally, use an insert thermometer to measure the internal temperature of one of your cookies. When the temperature is somewhere between 160 and 185°F (depending on how gooey you like them), your cookies are done. This is the temperature where gluten starts to coagulate.
Seventh (and final) Step: Re-shape, cool, and enjoy
It's possible many of your cookies will have very cracked up edges and be very mishapen. This can be part of the charm and isn't generally a major issue. However, it might make them TOO crumbly. Otherwise, you might just not like the look of the craggly edges.
1. Take a large ring mold or wide-mouthed cup. Place it over one of your cookies that is fresh out of the oven (before even taking it off the baking sheet).
2. Swish the ring mold or cup in gentle circles. This will knock the cookie against the sides and, because it is still soft, will gently reshape the cookie back into a neat circle.
3. After 3-5 minutes, transfer the cookies from a baking sheet to a cooling rack.
4. Eat them when you feel brave enough to withstand the molten chocolate. Experts say wait at least fifteen minutes. Alternatively, you can just eat them on the way to the emergency room because you were too impatient and gave your mouth second-degree burns (just kidding. Don't do that).
Recipe formatted with the Cook'n Recipe Software from DVO Enterprises.
 Matthew Christensen
Weekly Newsletter Contributor since 2023
Email the author! matthew@dvo.com