|
With all the blends and flavors of yogurt on the market, who would think to make their own yogurt if they hadn't seen it done before? Luckily, I had a mother who liked to figure out how to do stuff without the aid of commercial enterprises. She's now an expert soap maker, and I'm not just talking about melting glycerin soap and pouring it into molds. No, she goes the entire nine yards, collecting bear or deer fat from hunters, adding lye, and all. And, she makes her own leather, too. Not fruit leather, folks . . . deer or moose or elk hide leather.
So it should come as no surprise that she made homemade yogurt for us when I was growing up. I don't recall eating it, but I clearly see those white glass jars in that Salton Cosmopolitan Yogurt Maker sitting in that very yellow, sunny kitchen. Forgetting all that, I decided to try my hand at yogurt about 4 years ago. I found instructions in a book I'd checked out from the library. Curious, I set to work. And, it was work. I had no Cosmopolitan Yogurt Maker. I only had an oven and a stove. I gauged the temperature of those appliances in 15 minute intervals for about six hours, turning the oven off/on/off/on, trying to maintain steady warmth for my yogurt attempt. The yogurt turned out great! However, being glued to my kitchen for six hours did not encourage me in the yogurt business.
Then, my Mom phoned me. "Hey, I'm decluttering. Would you like this old yogurt maker?" Hallelujah! I didn't believe that old thing could still exist, let alone work. But, it does. Thus, I didn't give up on making yogurt. It's become a great way to rotate my powdered milk storage, a cheap, healthy base for all sorts of breakfast drinks, and a guilt-free substitution for mayonnaise in my many, many recipes calling for that added fat. I've also used it to make alternatives for sour cream and cream cheese. It is amazingly versatile.
 Now if you don't own a yogurt maker, don't despair. A couple months ago I came across an even better way to incubate yogurt using a thermos or insulated container. I use a Coleman camping water jug that came with our cooler. It's terrific for maintaining the right temperature. Because of its size, I can make about 2 quarts of yogurt in one sitting that lasts for 2 weeks. You can purchase these water jugs for about $3-15 dollars, depending on the size purchased and the store you buy it from. Now if you don't own a yogurt maker, don't despair. A couple months ago I came across an even better way to incubate yogurt using a thermos or insulated container. I use a Coleman camping water jug that came with our cooler. It's terrific for maintaining the right temperature. Because of its size, I can make about 2 quarts of yogurt in one sitting that lasts for 2 weeks. You can purchase these water jugs for about $3-15 dollars, depending on the size purchased and the store you buy it from.
Why Bother?
It's just too easy to make yogurt not to do it! Plus, you decide what goes in and what stays out of your yogurt. You control the fat and sugar content, there's no preservatives, artificial colors or flavorings (unless you add them), and yogurt provides low-fat, high-protein alternatives to sour cream, mayonnaise, and cream cheese. It is much less expensive than buying yogurt and it tastes fresh. If these reasons don't convince you, that's a-okay! You can still use store-bought yogurt in all of the recipes. This low-calorie, high protein and high-calcium food can increase the nutritional value of your diet, regardless of whether you pull it from the store shelf or pour it from a thermos.
Supplies Needed
- Incubator: As mentioned, you'll need some type of incubating container. You can get as fancy as you wish by buying a yogurt maker. If you prefer simplicity, you can even use a covered casserole and warm towels. You can use a thermos container or you can use canning jars set in warm water and monitor the temperature of the water in the oven or on the stovetop. Finally, you can use an electric skillet, a heated blanket, or a crock-pot to maintain warmth.
- Thermometer: Because the yogurt texture is best when the milk is heated and cooled, a thermometer is handy. If the milk is too hot when the yogurt starter is added, the bacteria in the starter die and the yogurt will not set up. A candy, cooking, or instant read thermometer work perfectly to let you know when the milk is ready.
- Cooking supplies: a 1-1/2 to 2 quart pan to scald milk in, a wire whisk, measuring cups and spoons, a rubber scraper, and a mixing bowl
Ingredients Needed
- Milk: Any type of milk will work for making yogurt. Whole, low-fat, skim, evaporated, raw milk, pasteurized, sheep or goat's milk, or powdered milk. Each type will vary the taste of the yogurt somewhat. You can mix milk too. By adding cream, half-and-half, or evaporated milk to powdered milk, for example, you can produce a thicker, creamier texture and richer flavor. Many recipes request additional powdered milk per quart of any type milk used just to give the yogurt better texture. Whatever type of milk is used, I find the yogurt texture is better if it is scalded first to 180 F.
- Starter: The great thing about making your own yogurt is that after you finish your first batch, you have starter to last for 4-6 more batches. Initially, however, you will need to buy the yogurt starter. Plain yogurt purchased from the local grocer works beautifully. Just be sure the label reads "contains live cultures." You can also purchase freeze-dried yogurt culture powder at health-food stores or request it from your local grocer. This dried powder is handy to store for a fresh start of yogurt whenever you need it. After making a batch of yogurt, scoop out about 1/4 cup yogurt and freeze it. It will last for up to 4 weeks in the freezer. Pull it out and place it in the refrigerator to thaw, and make a new batch of yogurt using the starter within 5 days of thawing. After 4-6 batches of using homemade starter, you may begin to notice texture or flavor changes in the yogurt. This is the signal to introduce fresh starter (plain commercial yogurt or powder) into your yogurt. However, if you make yogurt on a daily basis from that initial batch, your starter can be used continually as the bacteria will be fed daily on the milk sugar and survive indefinitely.
- Other: You can add sweeteners such as honey, malt, maple syrup, molasses, corn syrup, fructose, dextrose, or artificial sweeteners as desired by your personal taste. If you want your entire batch of yogurt sweetened, stir the sugars into the milk after scalding (1/4 -1/3 cup per quart of milk). You can also add flavorings of all sorts to your imagination's whim after the sugar is dissolved. See Flavored Yogurt Flair to get your creative circuits moving.
The Basics
For your first attempt, enjoy this basic recipe. Remember, you can substitute any type of milk as desired. This recipe yields about 1 quart of yogurt.
4 cups low-fat or skim milk
1/2 cup instant nonfat dry milk (or 3 tablespoons + 1 teaspoon non-instant)
3 tablespoons plain yogurt, room temperature
1. Scald the milk. Pour 4 cups milk into saucepan (spray the bottom with non-stick cooking spray to prevent milk from scorching). Attach thermometer. Heat milk to 180-200 degrees F. or until bubbles form around the edge of the pan. Stir often to further prevent scorching.
2. Cool the milk. Remove scalded milk from heat. Stir in the powdered milk. Let cool to 105-110 degrees F. To speed up the cooling process, you may transfer the milk to a chilled jar or bowl and refrigerate for several minutes. Remove film from top and discard.
3. Add the starter. Place the plain yogurt in a small bowl and stir until creamy. Add 1/3 cup warm milk, and mix until smooth. Stir starter mixture into remaining milk. Mix well.
4. Incubate the yogurt. Pour the yogurt mixture into your desired incubating container. Cover. Incubate 3-5 hours at a constant temperature of 110-degrees F. Do not shake or disturb during incubation. After 3 hours, check to see if yogurt is set by gently tilting the container. If yogurt is set and firm, place it in refrigerator and chill for 6 hours before serving. If not, continue to incubate. Check yogurt every hour and place in refrigerator as soon as it sets. The longer the yogurt incubates the tarter the flavor will be. If your yogurt sets within 3 hours, but you'd prefer more tartness, continue the incubation process for another hour or so.
Incubation Methods
Covered Casserole Method: Warm a casserole dish either in the oven, microwave, or by running hot water over it. Pour the yogurt mixture into the warm dish and cover. Wrap the dish in a large towel or thermal blanket and set in a warm spot of the kitchen, on a warm heater, on a heating pad, or on a warming shelf of a cookstove. You can also wrap it in an electric blanket. Don't disturb for at least 6 hours or overnight. Check the consistency of the yogurt by unwrapping the towel and tilting the casserole gently. Do not jar or shake it. If it is solid enough for you, refrigerate immediately. If not, rewrap with the towel and let sit again. May take up to 24 hours. Serve when thoroughly chilled. Make sure the spot where you warm it doesn't rise the temperature of the milk mixture above 115 F.
Electric Frying Pan Method: Pour mixture into pint jars. Set into a deep pan filled with warm water (100-120 F.). Set the pan into an electric frying pan, and set the control at 100 F. Check the consistency at the end of 3 hours. It may take longer. When thick, refrigerate.
Oven Method: Pour yogurt into a container, jars, or a large oven-proof bowl, for incubation. Cover. Set on a tray in the oven. Turn oven to lowest setting to maintain temperature of the yogurt mixture between 105-115 degrees. Continue checking the temperature often, turning the oven off when the temperature of the yogurt rises above 113 degrees F. (Do not exceed 115 degrees F. as the culture will inactivate.) Maintain temperature for 3-4 hours or longer as necessary. When yogurt is firm and coagulated, refrigerate at once. Do not shake.
Thermos-Method: Pour mixture into a wide-mouth thermos. Put on the lid and let sit 4-6 hours before refrigerating.
Water Method: Pour yogurt into containers and cover tightly. Place covered containers in a large pot. Add water, heated to 110-degrees F., to cover containers. Place pan over a gas stove pilot light, near a wood-burning stove, cover with folded blankets or towels, on a heating tray or pad set on low, or on an electric burner. If using the electric burner, monitor the temperature of the water periodically to maintain a 110-degree temperature. Heat water as needed, being careful that the temperature does not reach 115-degrees.
In a Crock-Pot: Preheat a Crock-Pot on low for about 15 minutes, until it feels very warm to the fingertips. Put covered containers of yogurt mixture into the Crock-Pot, cover the Crock-Pot, and turn off the heat. At 35- to 45-minutes intervals, heat the Crock-Pot on low for 10 to 15 minutes.
Yogurt-Maker Method: Follow manufacturer's instructions.
Great Expectations
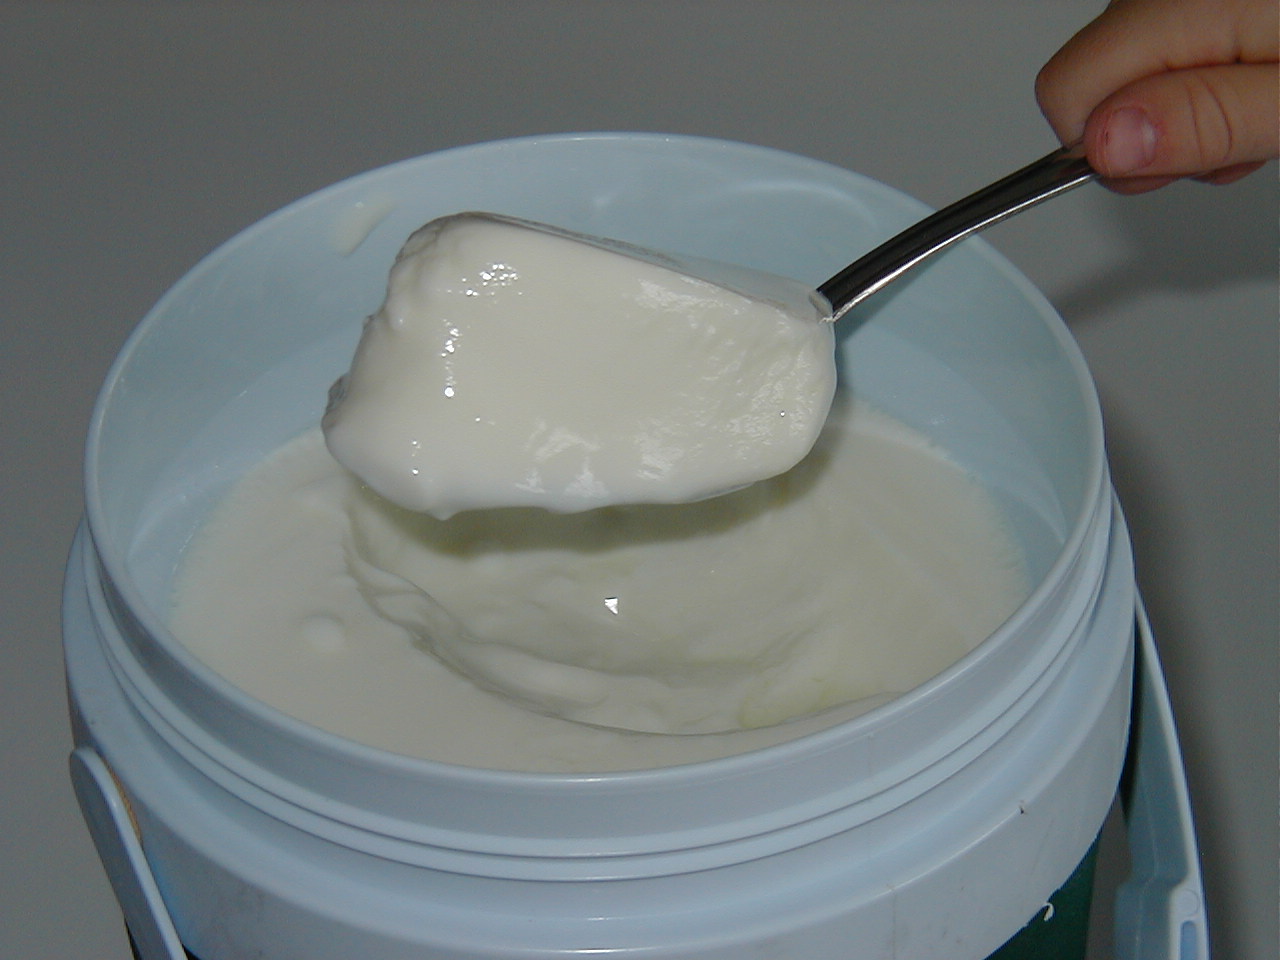 Finished yogurt should be rich and custardy with a creamy texture and slightly tart flavor; though, homemade yogurt is typically sweeter than its commercial counterparts. If you desire a thicker yogurt, try this trick. Place several layers of clean, white paper towels atop chilled yogurt. The paper towels will absorb the whey that separates from the yogurt (this is a natural occurrence). However, whey is nutritious, high in vitamin B12 and minerals. Stir it back into the yogurt or drain it off for use in bread making or in other recipes calling for water. Finished yogurt should be rich and custardy with a creamy texture and slightly tart flavor; though, homemade yogurt is typically sweeter than its commercial counterparts. If you desire a thicker yogurt, try this trick. Place several layers of clean, white paper towels atop chilled yogurt. The paper towels will absorb the whey that separates from the yogurt (this is a natural occurrence). However, whey is nutritious, high in vitamin B12 and minerals. Stir it back into the yogurt or drain it off for use in bread making or in other recipes calling for water.
You can expect wonderful texture and flavor in your homemade yogurt. However, sometimes you might run into trouble. Use the following troubleshooter to find out how to remedy your next batch.
YOGURT TROUBLESHOOTER
Yogurt doesn't thicken
- milk too hot or cool when starter added (make sure milk temperature is 105 to 110-degrees F. before adding starter)
- didn't add enough starter (add 3 tablespoons starter per quart of milk)
- incubating temperature too low or too high (incubate at 105 to 115 degrees F. Incubate longer; though it will be tart, it will eventually set up)
- yogurt mixture moved or disturbed during incubation (place in a location where it can't be disturbed)
- starter too old; inactive (use fresh starter on your next batch; be sure it contains live active cultures)
Yogurt is too thin
- weak starter (Introduce a fresh starter for your next batch)
- didn't add enough powdered milk (add more next time)
Yogurt too tart
- incubated too long (try another method to ensure the yogurt sets up sooner; milk will continue to thicken in the refrigerator, so chill yogurt as soon as milk begins to thicken)
Whey separates from yogurt
- incubated too long (cut the incubation time; chill yogurt as soon as milk begins to thicken)
- disturbed, bumped, stirred during incubation (incubate in a quiet place where it won't be bumped)
Storing Yogurt
In an airtight container, yogurt will last for about 8 days in the refrigerator. You can freeze it for up to several months if you don't mind separation and a loss of the smooth consistency after thawing. This is usually not a problem if you use the yogurt in cooking but may be bothersome if you wish to eat it fresh. Frozen yogurt that has been thawed can be used to start a new batch. Be sure to thaw it under refrigeration and use it within five days of pulling it from the freezer.
Store-bought flavored yogurts can be frozen in their unopened packages for about 6 weeks. To defrost, thaw at room temperature in an undisturbed place for about 3 hours, or place yogurt in the refrigerator overnight.
Make your own healthy yogurt with our:
Yogurt Maker
Yogurt Thermometer
Yogurt Maker Jars
* DVO welcomes your kitchen hints and cooking or nutrition questions! Email us and we'll post your hints and Q/A's in upcoming newsletters! *
|